During last week, I created two sets of marble nails - mostly to practice my skills more, but also to see what would be my go-to technique in the future, when I want to get a set of marble on my nails.
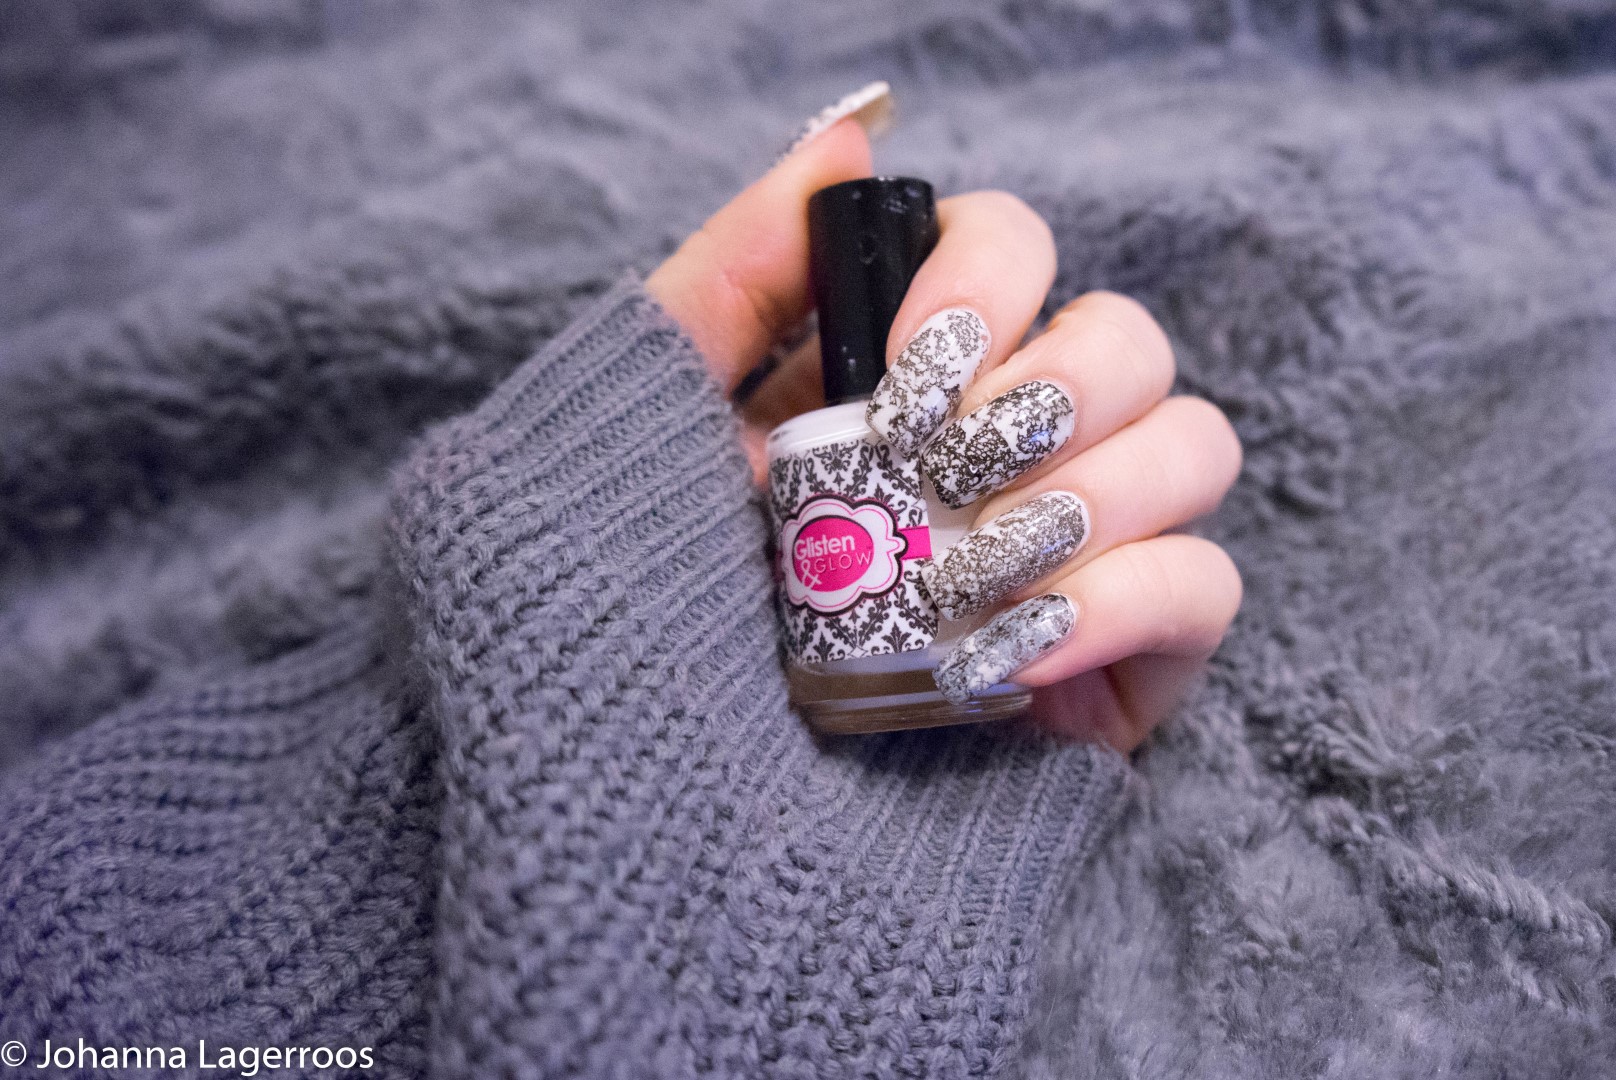
Way one requires less skill, but is way, way messier. For this you'll need a base color, a detail color, base coat, fast dry top coat, a cup you don't mind ruining (I used a plastic one as I have so many of those in my kitchen still), water (I used distilled one meant for car batteries), body mist/hair spray/etc. spray with alcohol, cotton swabs, tape or liquid latex to cover your fingers from getting messy, and nail polish remover and brush for finishing the cleanup.
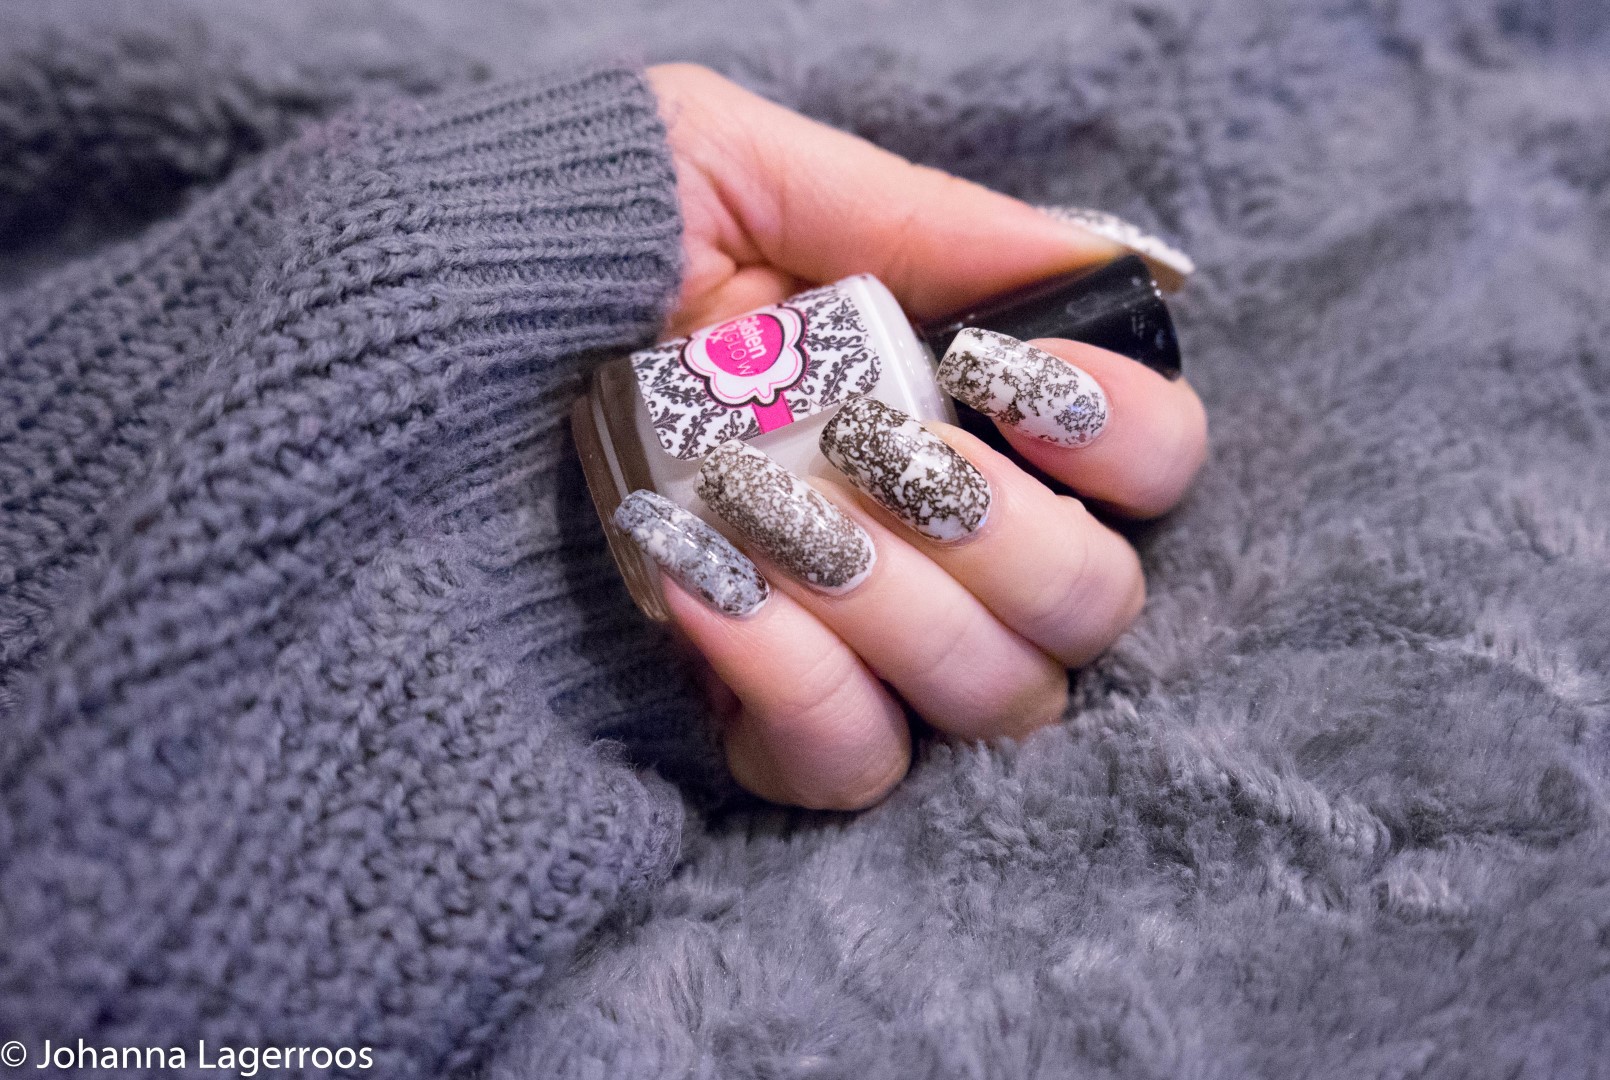
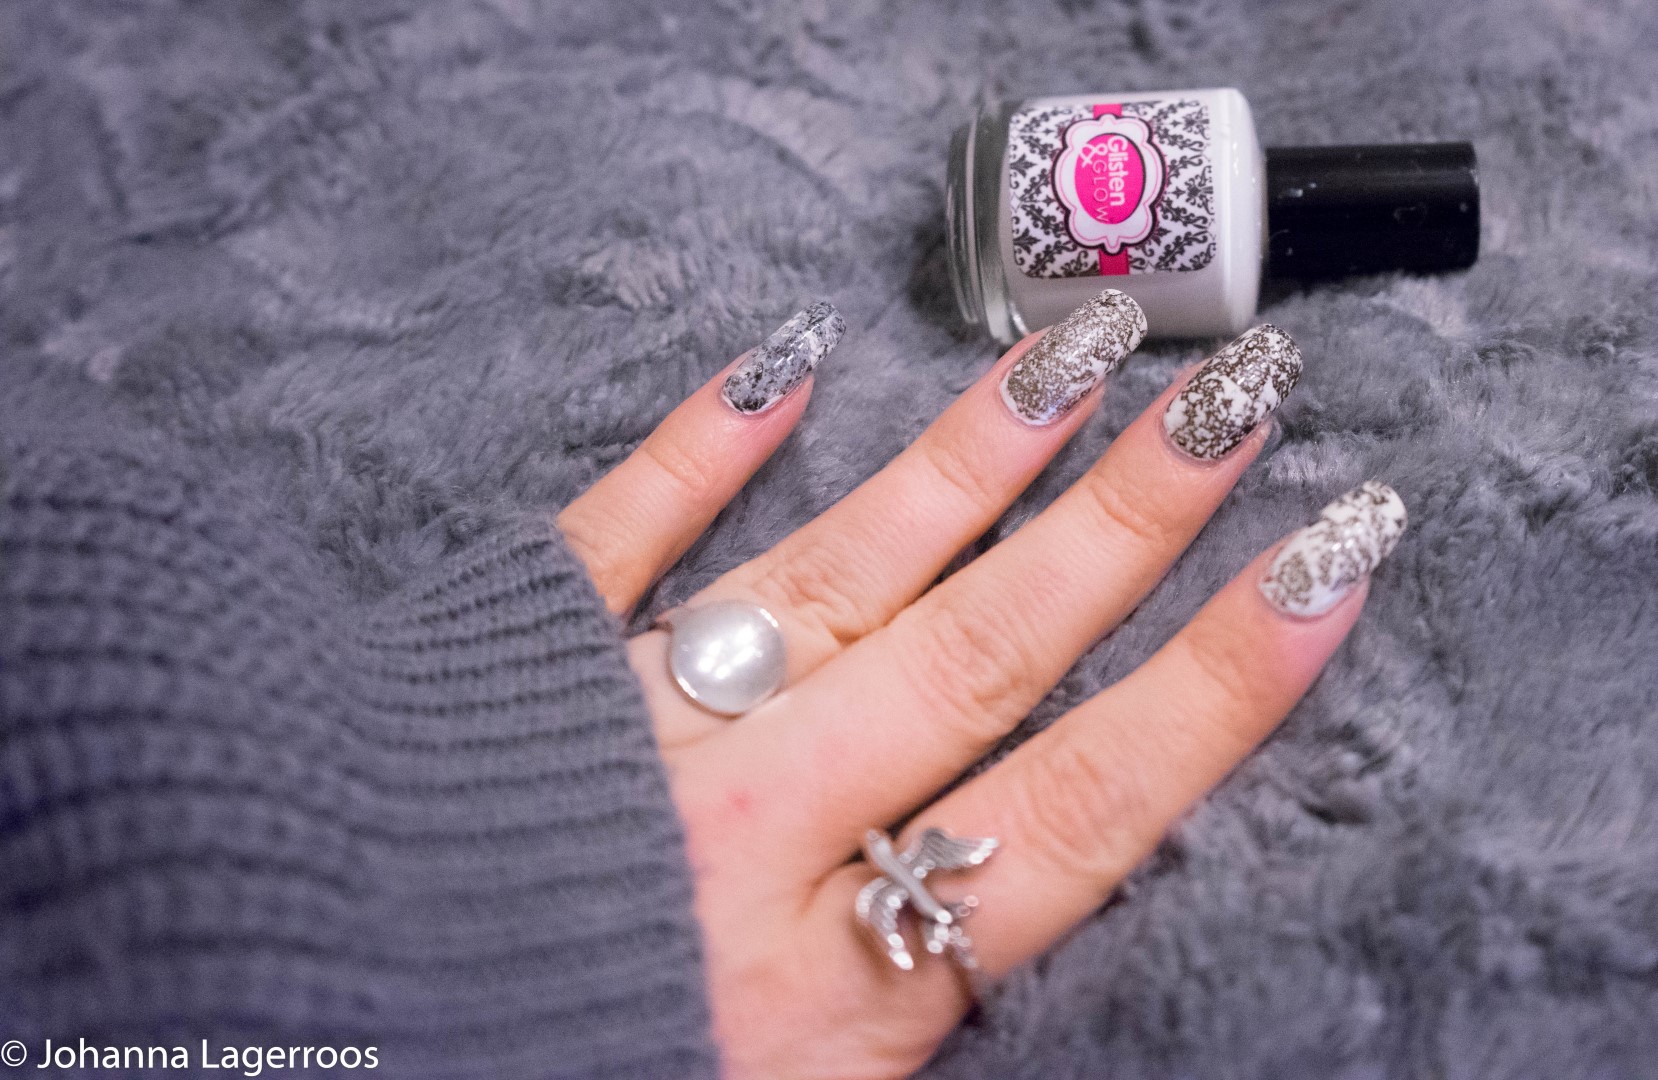
So the technique I used here was water spotting, in case you're not familiar with the texture here. I believe experimenting with different sprays would give you different results, and I actually think the Victoria's Secret Body Mist wasn't the best for this (for those wondering, I purchased the ones I have before going cruelty-free and am using them up instead of just throwing usable thigns away). I'll try with something else next time. The way this works is that you fill a cup with water, carefully add drop of few of the polish you want to use as the details on the surface, and spray body mist/hair spray on top, and the alcohol in the spray will break the polish layer and create a texture. Then you dip your nail that has base color and is protected from the extra polish through the layer, and clean up the extra surface with the cotton swap so you won't mess up the mani while lifting the nail from the water. You can search "water spotted nails" on YouTube and I assure you a ton of tutorials come up, explaining this better.
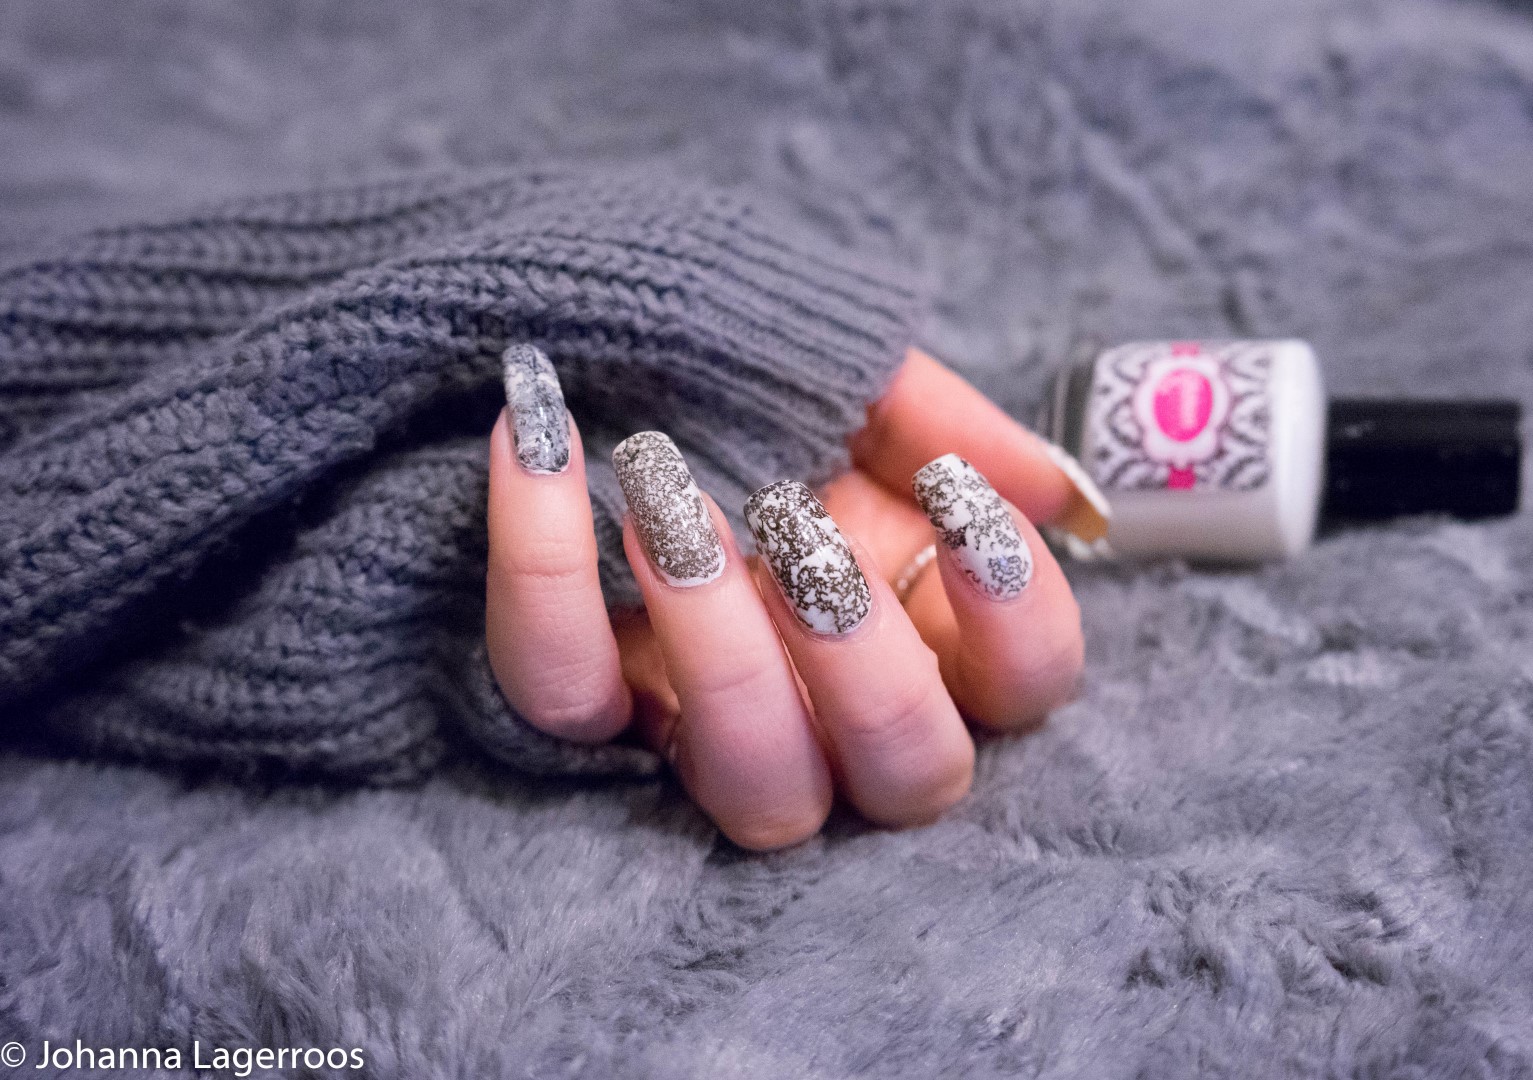
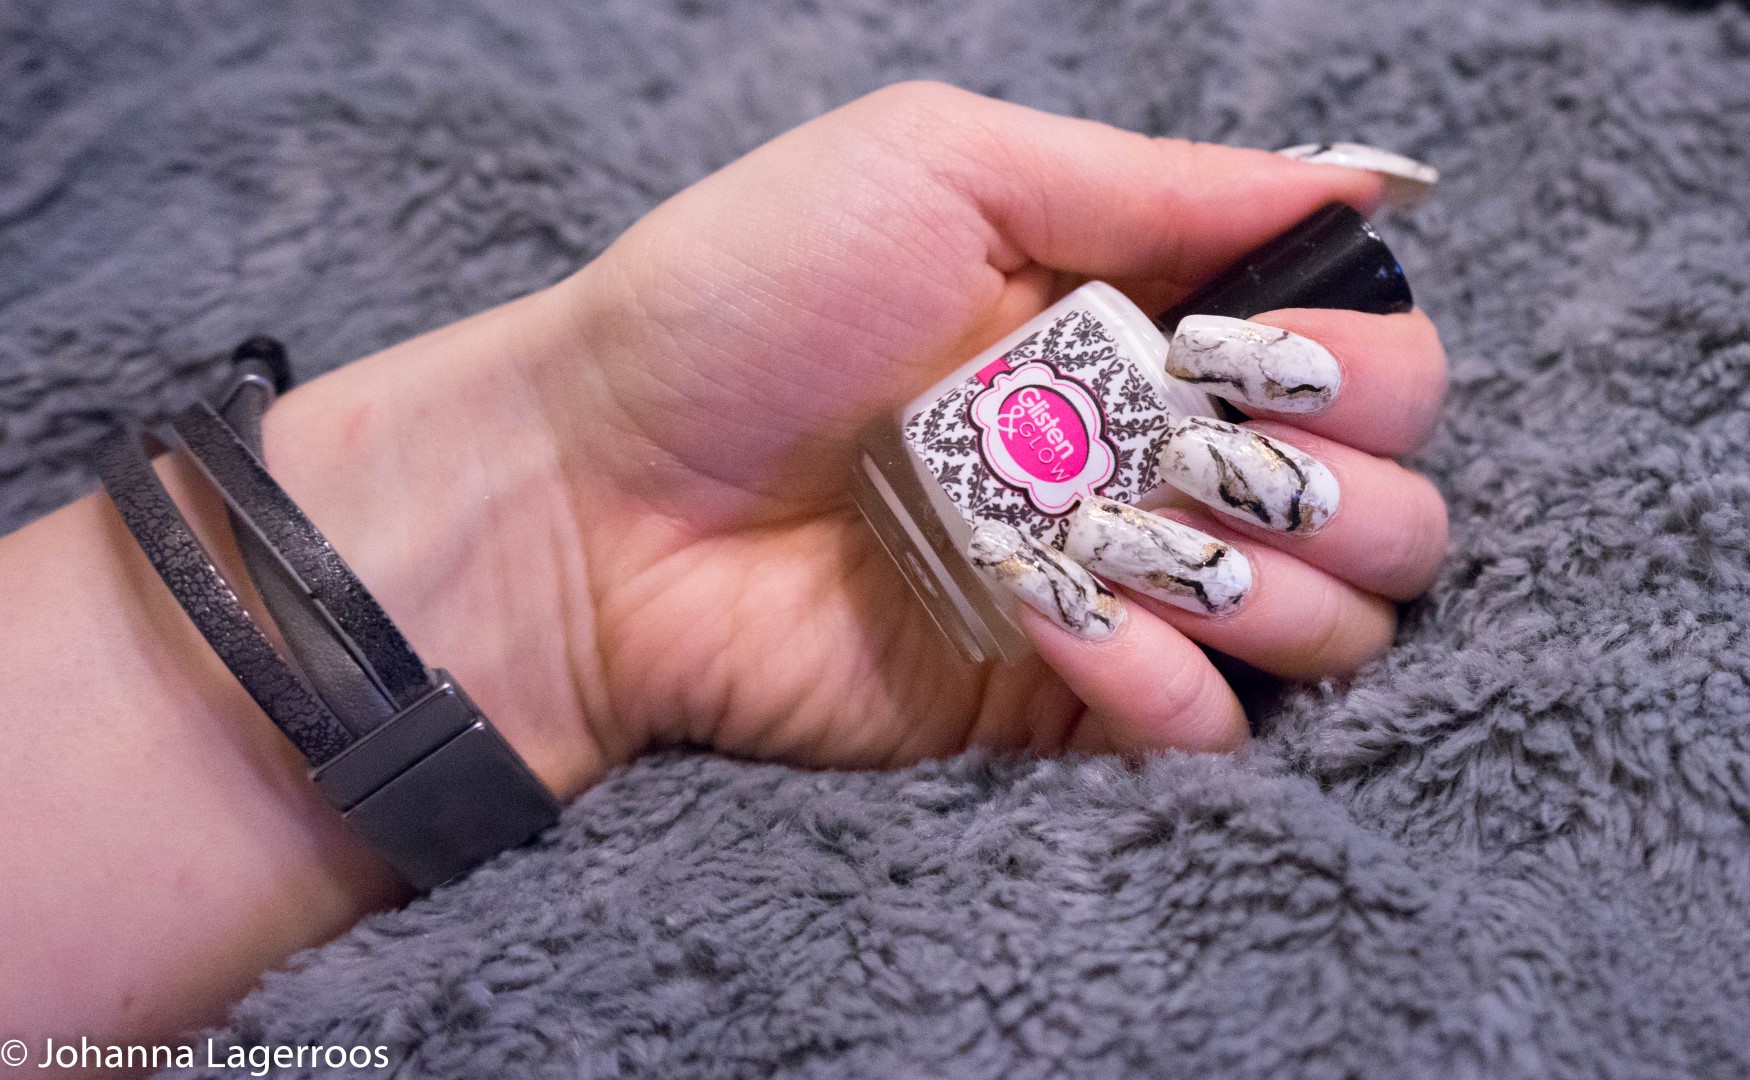
Way two requires more painting skill, but isn't still too difficult. For this you'll need a base color, three colors for texture, one dark color for the details, gold foil or gold polish (or you know, any metallic shade you prefer), nail polish remover, fine brush, plastic wrap or plastic bag, base coat and fast dry top coat.
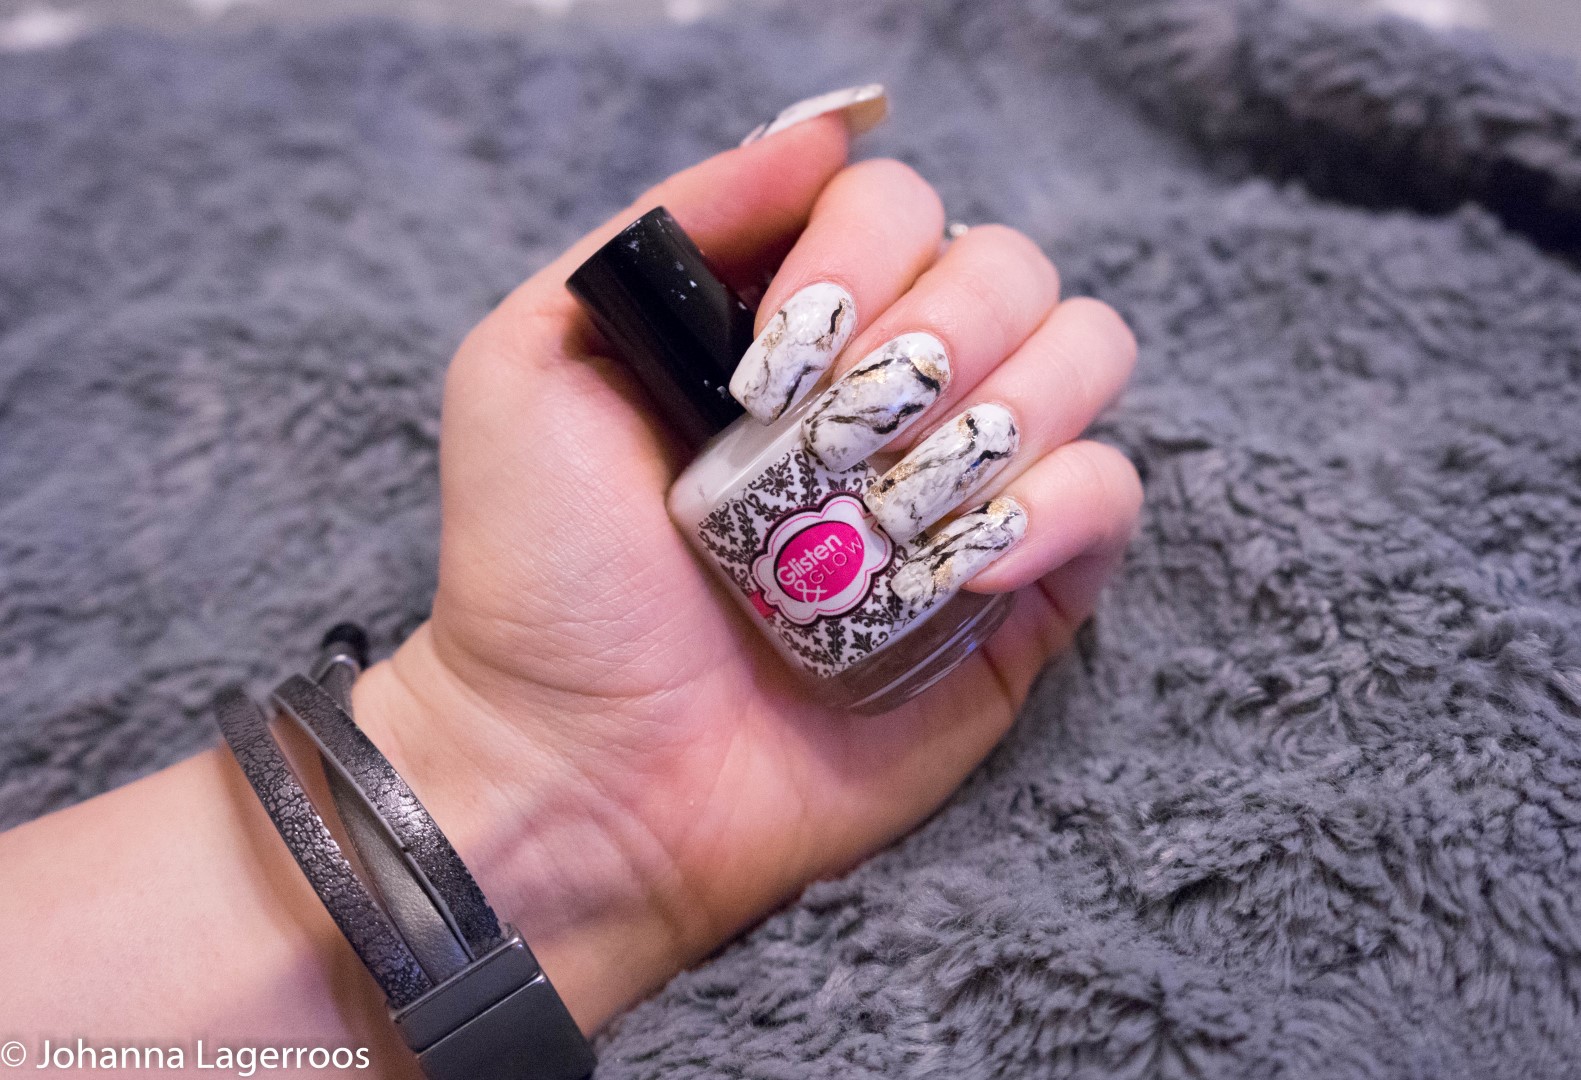
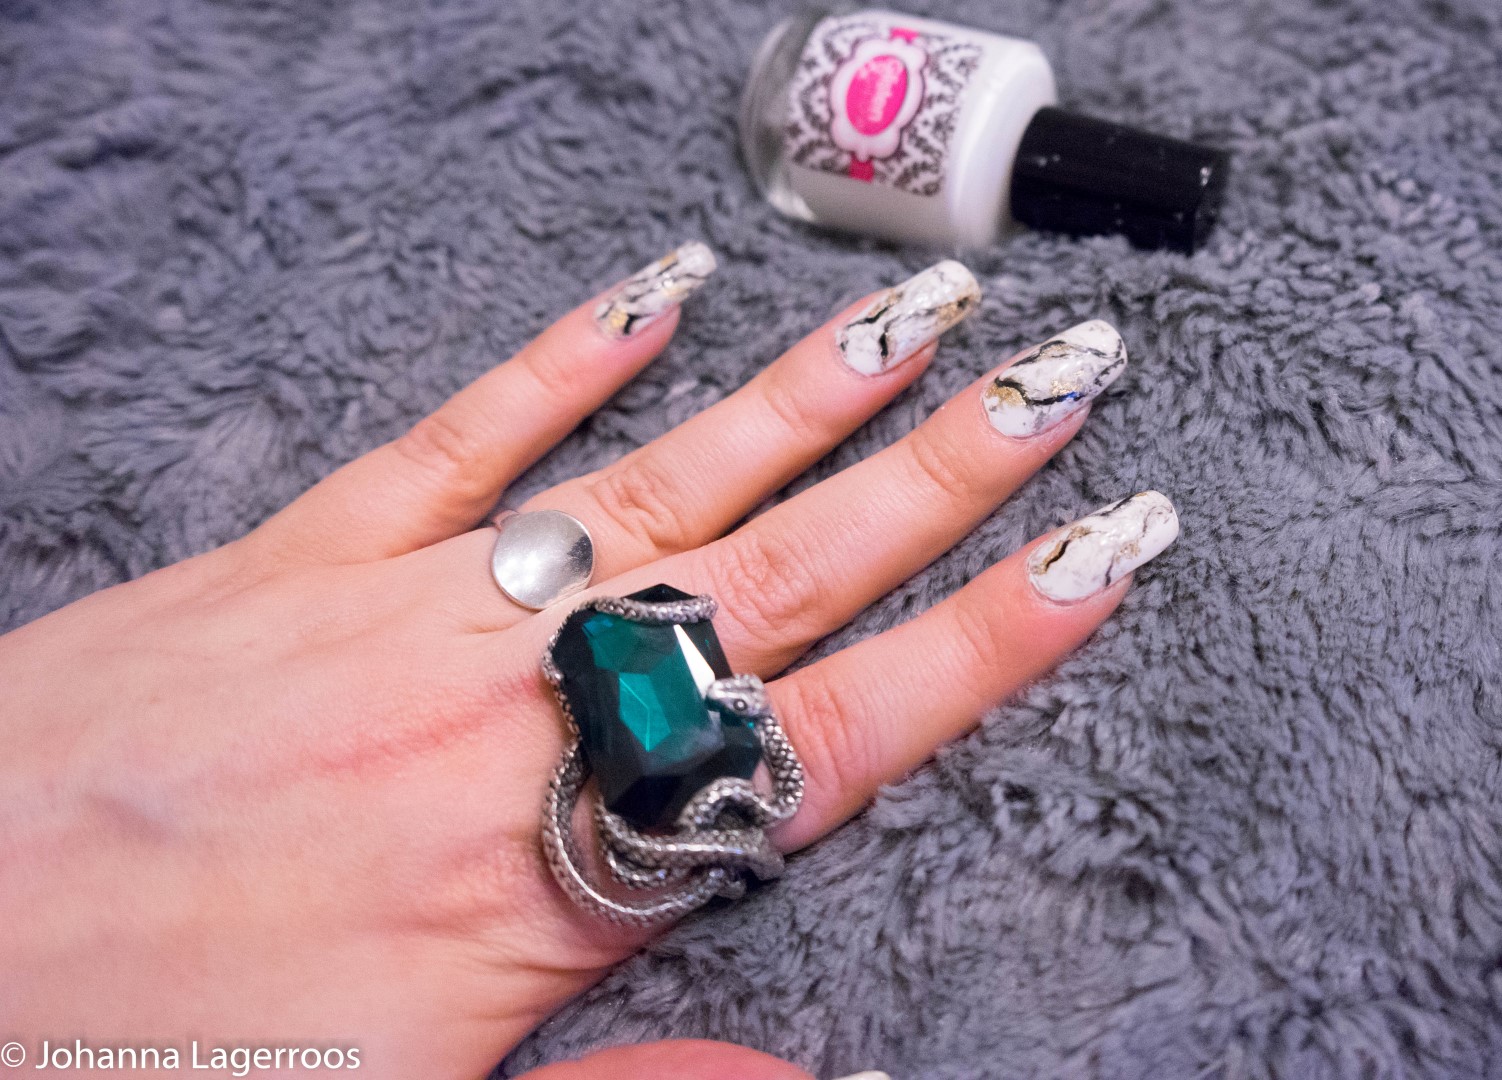
These were created by painting the nails white, waiting for the base color to dry, then taking drops of 3 shades of grey on a surface that can be ruined, and blotting them with crumpled plastic wrap, and then stamping the colors on the nails. After that, I took black polish on the thin brush, and sketched the "cracks" along the darkest spots on the nails. At this point, you might want to thin the black polish a little or alternatively use the remover to fade out the lines after painting them on. After that, I added some leaf gold foil with foil glue on some spots on the nails. A great tutorial for this can be found on Kelli Marissa's YouTube channel here (click!), so I recommend checking that in case you want to recreate these. She explains the technique better than I ever could!
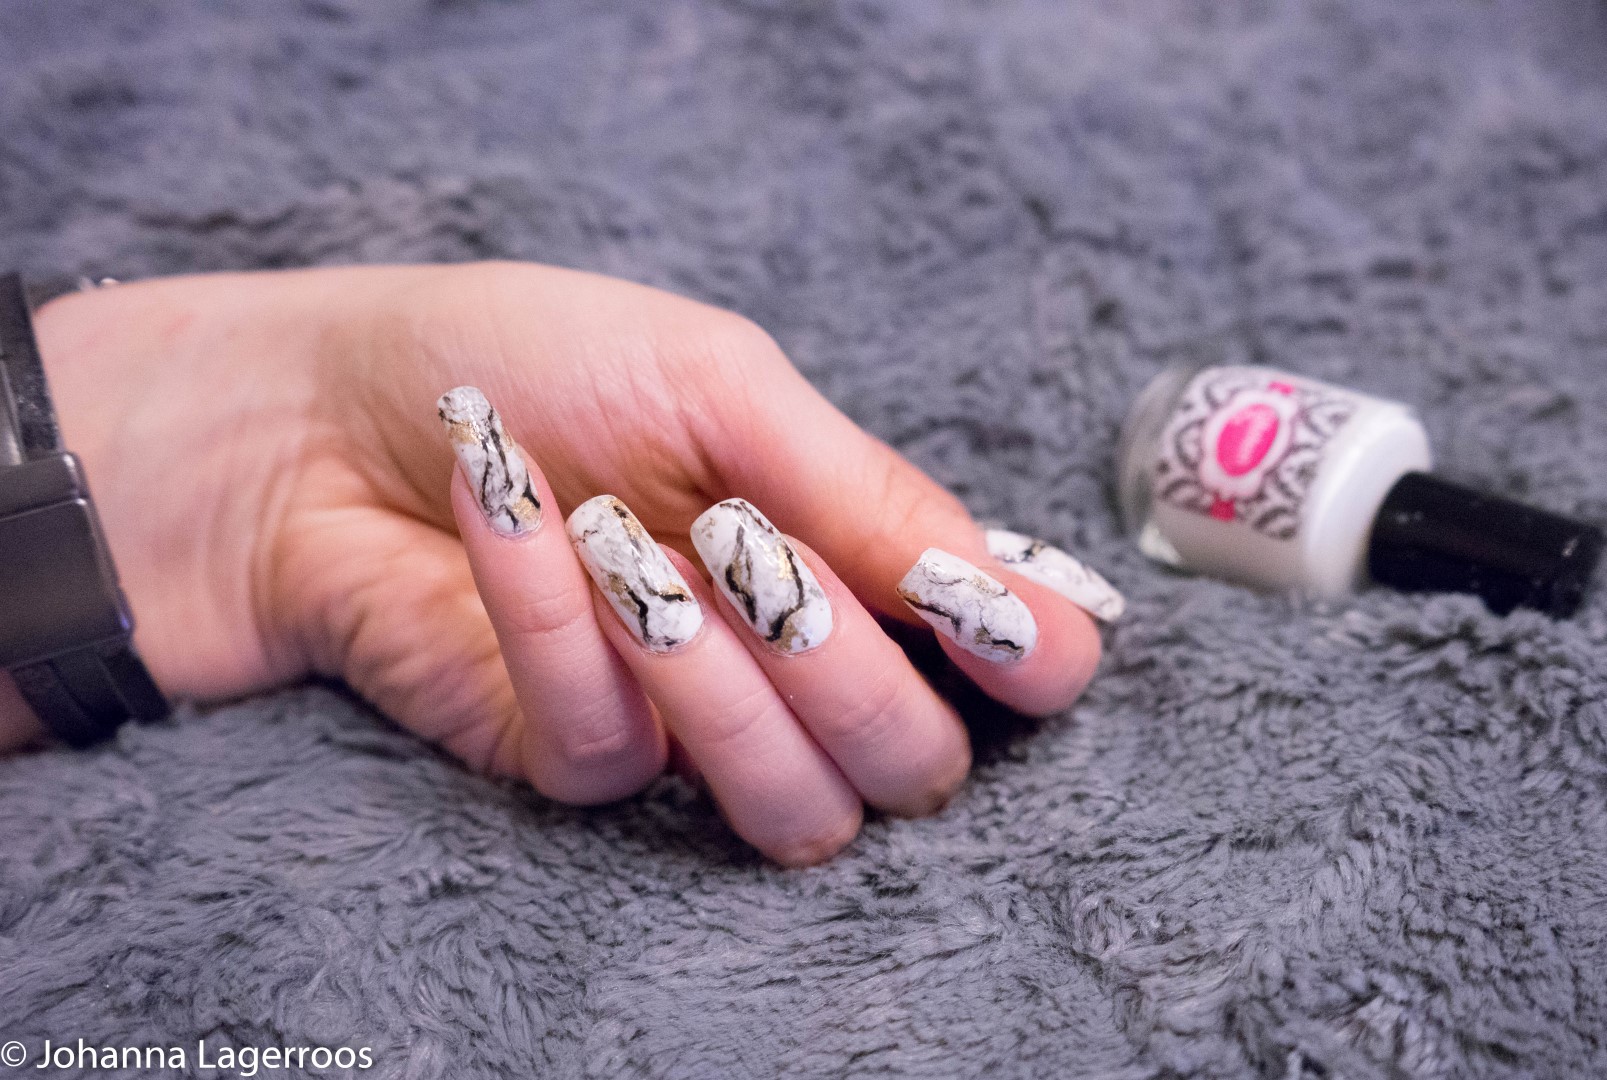


These were created by painting the nails white, waiting for the base color to dry, then taking drops of 3 shades of grey on a surface that can be ruined, and blotting them with crumpled plastic wrap, and then stamping the colors on the nails. After that, I took black polish on the thin brush, and sketched the "cracks" along the darkest spots on the nails. At this point, you might want to thin the black polish a little or alternatively use the remover to fade out the lines after painting them on. After that, I added some leaf gold foil with foil glue on some spots on the nails. A great tutorial for this can be found on Kelli Marissa's YouTube channel here (click!), so I recommend checking that in case you want to recreate these. She explains the technique better than I ever could!

So there you have it, marble nails in two different ways - both different but fun, and both challenged me decently when it comes to technique. If there's other techniques or such you'd like to see here, feel free to suggest them in the comments!
Which mani do you prefer? Let me know in the comments!
That's it for today, but I'll be back soon with some style related posts. In case you absolutely need style-related content right away, check my Instagram for my daily outfits and more! And currently, I'm also doing a 30-day declutter challenge in my Story/Highlights, so you can follow how I do on it - but of course I will also have a recap post here on the blog at the end of the month/start of the next one, to sum up how much stuff I actually got rid off. But anyway, I'll see you in the next post.
Have a wonderful day ♥


No comments
Thank you for taking the time to leave a comment for me. I always read every single one of them, and they truly make my day! Please remember to be nice while commenting, thank you! ♥
You can comment in following languages (as these are the ones I understand):
English, Swedish, Finnish, Spanish, German
xoxo ♥