Showing posts with label trends. Show all posts

Duping the Spring 2021 trends with things I already own

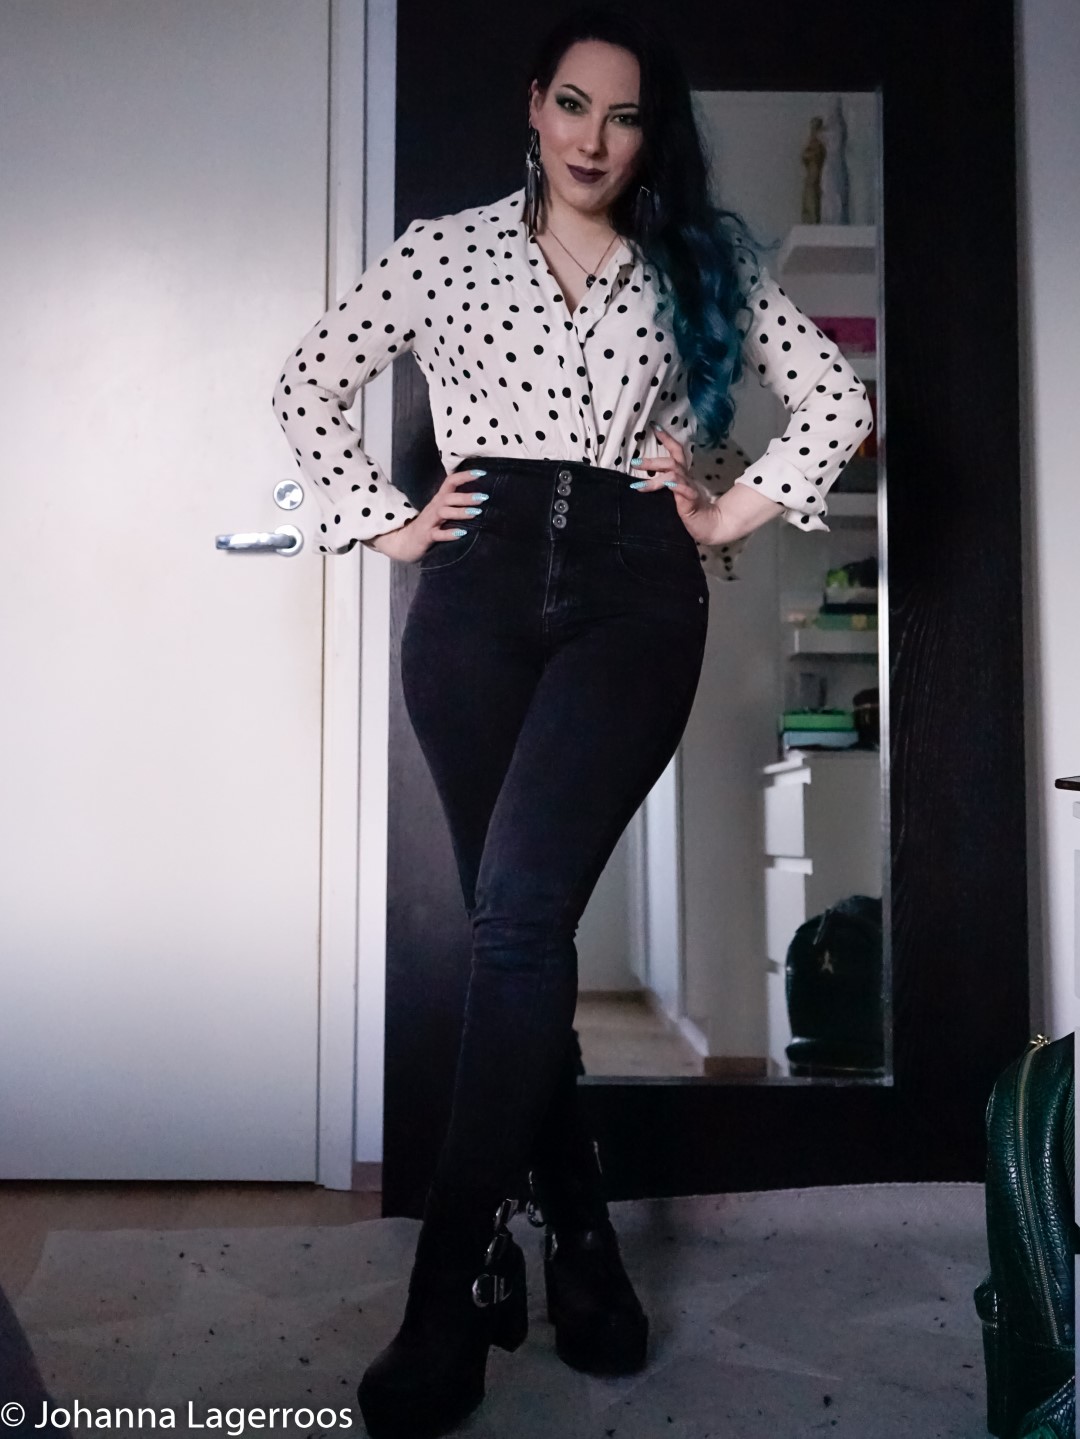
Another season is starting really soon, and in the fashion world that means getting into new trends. I always highly encourage you to think style over fashion, and this is why today, I'm showing you how I would style my existing clothes to embrace the Spring 2021 mentioned in this Vogue article. There are couple that I didn't style, and I will let you know why when we get to them. The style names I used are more or less copied from the Vogue article just so you can compare them if you please.

Let's get straight into the looks:

monotone outfit

Thrifting The Trends - Lace

Hello March. The month I'm going to not be eating meat or chicken. I'm hoping that would give a boost towards my summer body, not necessarily by losing weight but certainly by making me feel lighter, even less bloated and all that jazz. More on that once we get more into this month, as currently it's only been two days. 

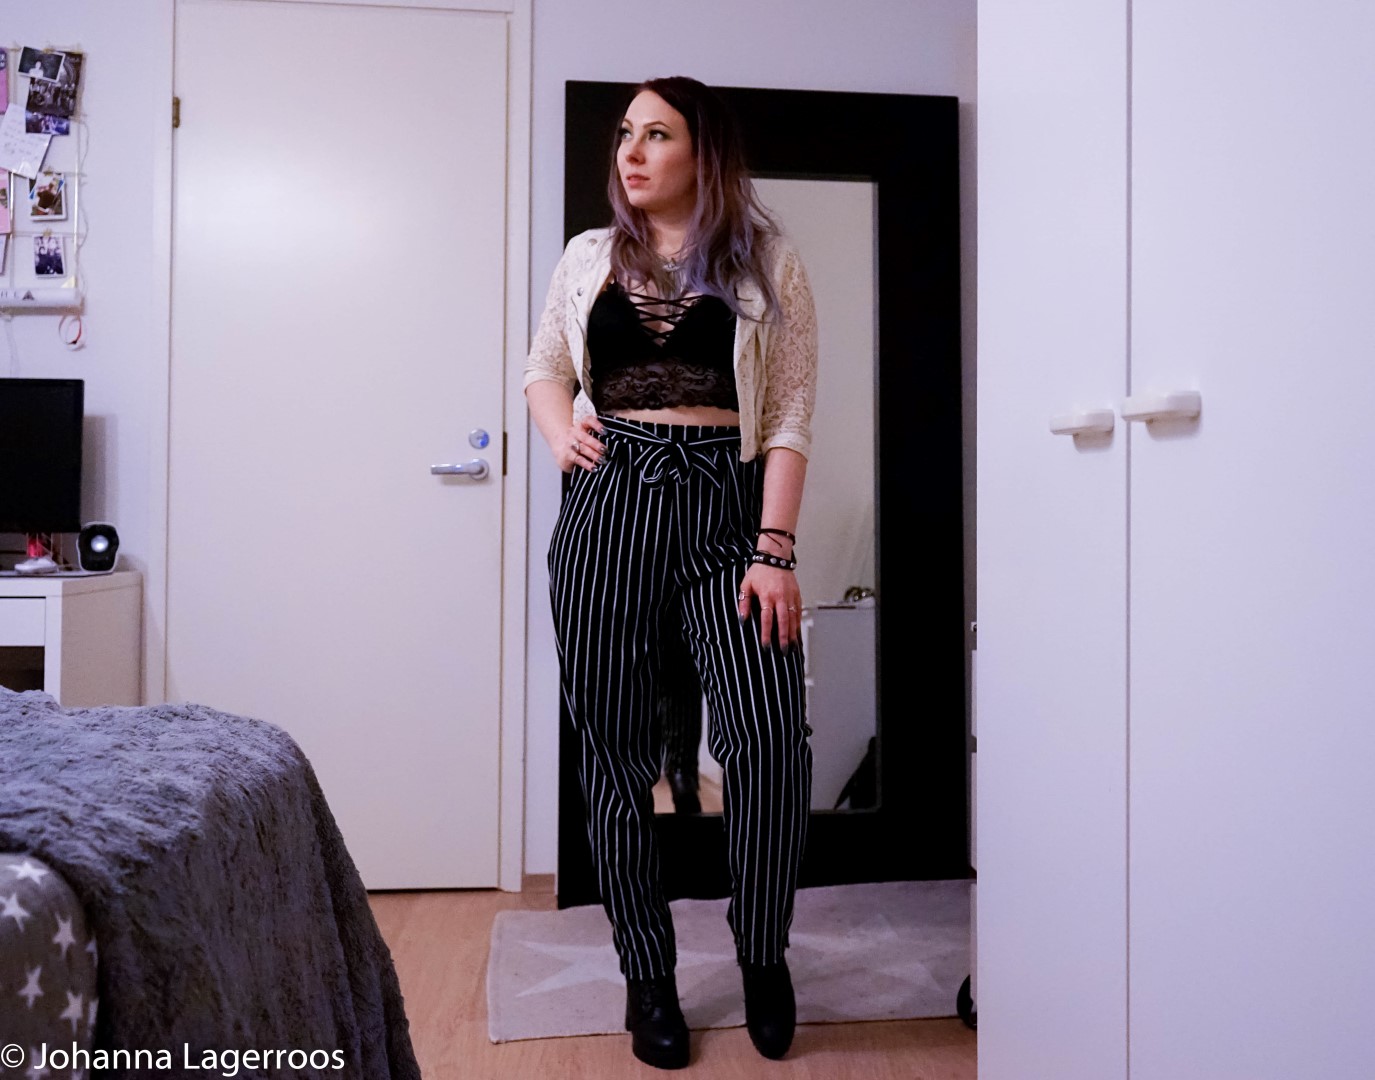
Anyway, today's post is another installment to the Thrifting The Trends series. If you're new here, this is a series where I take trends and colors from a Vogue article here and Pantone color trend report here and create outfits based on them by thrifting, using my existing clothes and DIYing. The goal is to show that everyone can wear the trends in normal life, it just takes adjusting the things you see on the catwalks into your own wardrobe. And it is actually much easier than one would think. 

I promise.

lace look office

Thrifting the Trends - Big Bows

Finally getting to post another piece to this series. It took a while, but let's get back to this. The title should tell you more than enough, but in case you haven't checked out the first post, here's a little explanation:

This series is called Thrifting The Trends, and in this one I will choose a theme seen on SS19 runways in each post, and will create a practical look for a small budget. Like in my other series, I will not buy brand new things, but rather thrift, shop my closet and DIY. Again the goal is to show that many of you probably have something in your closet already that you can wear to be trendy - if that's what you like. I'm not the one to go for trends that much, I rather just pick items I think suit my style without really caring if they're in trend or not. However, I guess many of you out there might want to try the new trends while maybe saving up and/or being somewhat sustainable, so I feel that series might benefit you.

The references for the colors and trends in this series are the Vogue article on SS19 trends (click!) and Pantone SS19 color trend report (click!). I went through those both and picked my favorite things from the Vogue piece to work into this series. (I did rule out the statement headpieces and wetsuit surfer style as I can't see myself wearing those in any occasion, other trends I'm at least considering or recreating!) 

spring 2019 outfit

DIY: Flower crown ♥

Hello lovelies!

How are you all? ♥

Remember how promised you a little DIY post? Well, here goes. Hopefully this is any helpful!

So today, I give my view on how to make a flower crown from fabric flowers.

You'll need:

iron wire
wire cutters
pliers (for handling wire)
scissors
florist's tape, green
silk/fabric flowers & leaves

Feel free to get as much flowers as you want, that's the part that makes your crown unique. Ready? Let's get started!

 photo DSC01482Large.jpg photo DSC01373Large.jpg photo DSC01375Large.jpg

First, measure a wire that goes around your head three times. Then, before cutting the wire, wrap it around itself like in the pic, so that you'll have a "ring" that fits to your head. You should now have the wire going four times around. Use pliers to secure the ends.

 photo DSC01378Large.jpg

Next, prep your flowers and leaves if necessary. For example, mine were from IKEA, so they had still a lot of stalk and extra things on them that weren't needed for the crown.

 photo DSC01477Large.jpg

Then, attach the greens (if you have those) around the wire crown with the florist's tape.

 photo DSC01478Large.jpg

It should look something like this. After this, attach the flowers the way you want: all the way around, or just on the front or whatever you like. I put mine all over the crown. You can secure the flowers with thin wire, but that's totally optional. For me, it was the best option.

 photo DSC01480Large.jpg

The ready product looks like this. Well, at least, mine does. Yours might be totally different.

 photo DSC01484Large.jpg

And it's like this when worn. Pretty neat, huh?

Let me know what you think about this tutorial, and let me know if there are other fashion items you'd like to see me recreate, in the comments below!

Now, this girl is off to bed as I have loads to do in the morning. Talk to you soon! ♥

Have a fantastic day!

Tutorial for galaxy nails

Hey babes!

Happy Wednesday ♥ How are you doing today?

I'm practically buried under a pile of school deadlines, but I wrote this piece to you over the weekend so I wouldn't have to be in silence the whole week. Now, you all remember the galaxy nails from the 31-day Manicure Challenge? Well, I promised a tutorial, and I'm sorry it took me so long, but, here it is!

Galaxy nails


First, choose your desired color scheme. I went for purple this time, with a little hint of blue. The pic above was the inspiration, and then it was time to take out the colors.

 photo DSC09671.jpg

I chose a range of purple, pink and blue, and reserved a white polish and glitter for detailing. Note! You'll also need a thin brush, sponge, dotting tool and nail polish remover.

 photo DSC09674.jpg

Start off with painting the base for your art, using the base coat (not pictured). Then, paint your nails with the desired base color. I needed a dark plum base, but as I don't have a polish of that color, I made a shade myself, using Essie - Licorice and Ciaté Mini - Cabaret.

 photo DSC09677.jpg

So, this is the shade I had as the base.

 photo DSC09678.jpg

Next, take the sponge, and your white polish. I used Essie - Blanc.

 photo DSC09682.jpg

Sponge out random shapes to each nail. This will help the lighter colors to show on top of the dark base.

 photo DSC09684.jpg

Take out the bright pink. I used two different ones, Gosh - Pink Lady (in the pictures), and China Glaze - Escaping Reality.

 photo DSC09686.jpg

So, use the darker pink first, and sponge it on the edge of the white shapes.

 photo DSC09688.jpg

Next, take the lighter pink, and sponge it in the middle of the white shapes, starting from the edge of the other pink. Don't worry about covering all the white, it gives the art more dimension if the white shows somewhere.

 photo DSC09691.jpg

Now, take your blue polish. I used China Glaze - Splish Splash.

 photo DSC09692.jpg

Sponge the blue to the edge that is still left white. You should now have somewhat gradient finish on your nails, in various shapes.

Then take out the white again, and with a small dotting tool, create "stars" (dots) randomly around the nails. Then, using the thin brush, paint few more cross-like stars.

 photo DSC09694.jpg

Finish off with a glitter polish or two. I used Rimmel London - Disco Ball and China Glaze - Fairy Dust. Add the glitter wherever you think your design should have more stars.

 photo DSC09699.jpg

Add a top coat to protect your design, and clean up the cuticles with nail polish remover. And, you're done!

 photo DSC09696.jpg

So, what do you all think? Cool or not? And, should I do more of these tutorials for you? ♥

If you have tried this, or will try it after this, it would be fun to get some links to see your creations :)

I'll be posting something again as soon as I can, but until then:

Have a lovely week, everyone! ♥

Blog ya later,

xoxo

Johanna

Let's be friends in IG!