Showing posts with label DIY. Show all posts

First DIYs of the year 2021

Happy weekend dearies! Hope you’ll be having a relaxing one. I for one have various school tasks, some household chores and quite a bit of content preparing to do, but once all that is sorted out I plan on just relaxing the rest of the weekend. And as part of my relaxing ritual there will be some knitting/crafting. 

Which is my sequeue into the topic today, which are my latest DIY projects. 

_DSC6388 (Large)

12 Days of Christmas: Simple Gift Ideas That Will Fit Your Budget

If 2020 has taught me something, it is to value things based on the thought that goes into them rather than what their monetary value is. Especially now that meeting people is tricky if not impossible, I truly appreciate the little things that are thoughtfully picked or made for me. 

And I'm sure many feel the same. So in this post, I'm listing few gift ideas that don't require big budget or can easily be adjusted to fit your budget. I'm sure these are ideas that are readily available in other sources too, but these are some I've tested out in recent years and people have really like them. I know this is probably a little late for this year, but save it for next year or for another occasion you need simple gifts for!

Ready? Let's go.

_DSC5930 (Large)

12 Days of Christmas: My DIYs since the previous update

What's up my loves? As promised, today's post is all about DIY things, although I haven't been up to as many things as I had in the previous DIY update here (click!). That's because I'm busy with studying and working all the darn time, and can't put as much time into DIY as I'd love to. However, that'll change once I graduate (which should be in June if all goes well). 

But without further ado, let's talk about DIY!

knitted skirt

Latest DIY Projects a.k.a My Stress Relief Outcomes

I was supposed to post this a week ago, but am honestly so busy I'm happy we're getting this up only a week late. So, let that be said, posts may be a little more sparse for the time being as I am working, studying and living all at the same time, so Internet must wait at times. But once I get my studies out of the way, there'll be more time for blog posts and such. I will try my best to compensate the lack of quantity with quality, so that the few posts you get will then be better. But without any further ado, let's get into this post and to my latest DIY projects.

beanie

Mittens for Amaranthe

Today, I want to share the little DIY gifts I made for Amaranthe to give to them when I got to meet them before all the lockdowns and such. The band us full of amazing people whose music truly makes my life so much better - and has made me meet people who I want to have in my life for the rest of eternity. To thank the band for this amazing, magical music as well as the friendships I've got to build through the music, I figured I'd create a pair of mittens for each. 

All these patterns are at least based on ones I've found/bought on the internet, some of them I've only changed the color to, some are quite a bit modified. 

music mittens

DIY Autumn Photo Decor

This new season feels like it deserves some new photo props. I haven't ever been big on getting stuff just for pics, but I thought if I find a sustainable way to do it, I will. And while looking for inspiration and after that trying to find places to buy props, it hit me: I could DIY them. I always have yarn around anyway and Pinterest is full of autumnal ideas and free patterns, so why not crotchet and knit my props.

And that's how we got props seen in below picture:

fall decor

DIY Bracelet Inspiration

In order to get back to my creative self and DIY roots, I actually went and ordered quite a bit of jewelry making supplies and even went to a bead shop (and dragged my boyfriend there too, haha), to get things for nice jewelry pieces. So maybe from now on, I can craft new jewelry pieces instead of buying them from places where the origins of the pieces might be questionable (a.k.a. sweatshops). Since the internet is full of amazing tutorials for everything imaginable, there's basically no reason to not try to make things myself.

bracelet ingredients

DIY T-shirt Dress

A while back Amaranthe opened their Europe-wide merch store, and naturally I had to go and place an order. The thing was though, that the shirt I wanted only had men's XL sizes left then. But, as I have my crafting background, I figured I could buy the tee and just craft it into something that fits. And I feel it makes a cool little blog post as well.

diy band tee dress

DIY Print Hoodie + Other Little Projects

I will probably say this in few different posts at the beginning of this year, but don't mind me repeating myself… This year, I decided to take a step back and instead of maybe doing what's popular and all, I'm going somewhat back to the roots of this blog with my content. With the same time trying to keep the ideas fresh enough for it to not look like it was just dragged from 2012 or so. Not that there's anything wrong with it, but I don't think that would be exciting for the most  people.

So, the roots. If you've ever wondered the long name of the blog and why I've been stuck with it instead of just having my name there or something cool and short, here's why. To me, Handmade Dreams of Mine is a bit layered thing. On one hand (pun totally intented) it means "life is what you make of it", and that the dreams you have are yours to realize, and no one else's. But on the other hand, if refers to my nature of loving to do things myself, whether it's painting, drawing, knitting, sewing, baking or whatever. And both sides are something I've let go too much in the past couple of years.

Meaning that this year, we're doing more DIYs and such, and also trying to make some dreams come true. But being realistic, let's start with the DIYs.

diy print hoodie

DIY Christmas Gifts

I've been dreaming about making some of the Christmas gifts myself for years, but haven't really been in a place to do so until now. Now, before we go all in to this post, if you belong to the inner circle of mine (you know who you are, darlings) DO NOT read any further. This post will contain part of your presents so don't go spoiling yourselves, please! If you are not someone who would possibly receive a present from me, go ahead and continue along!

christmas gifts

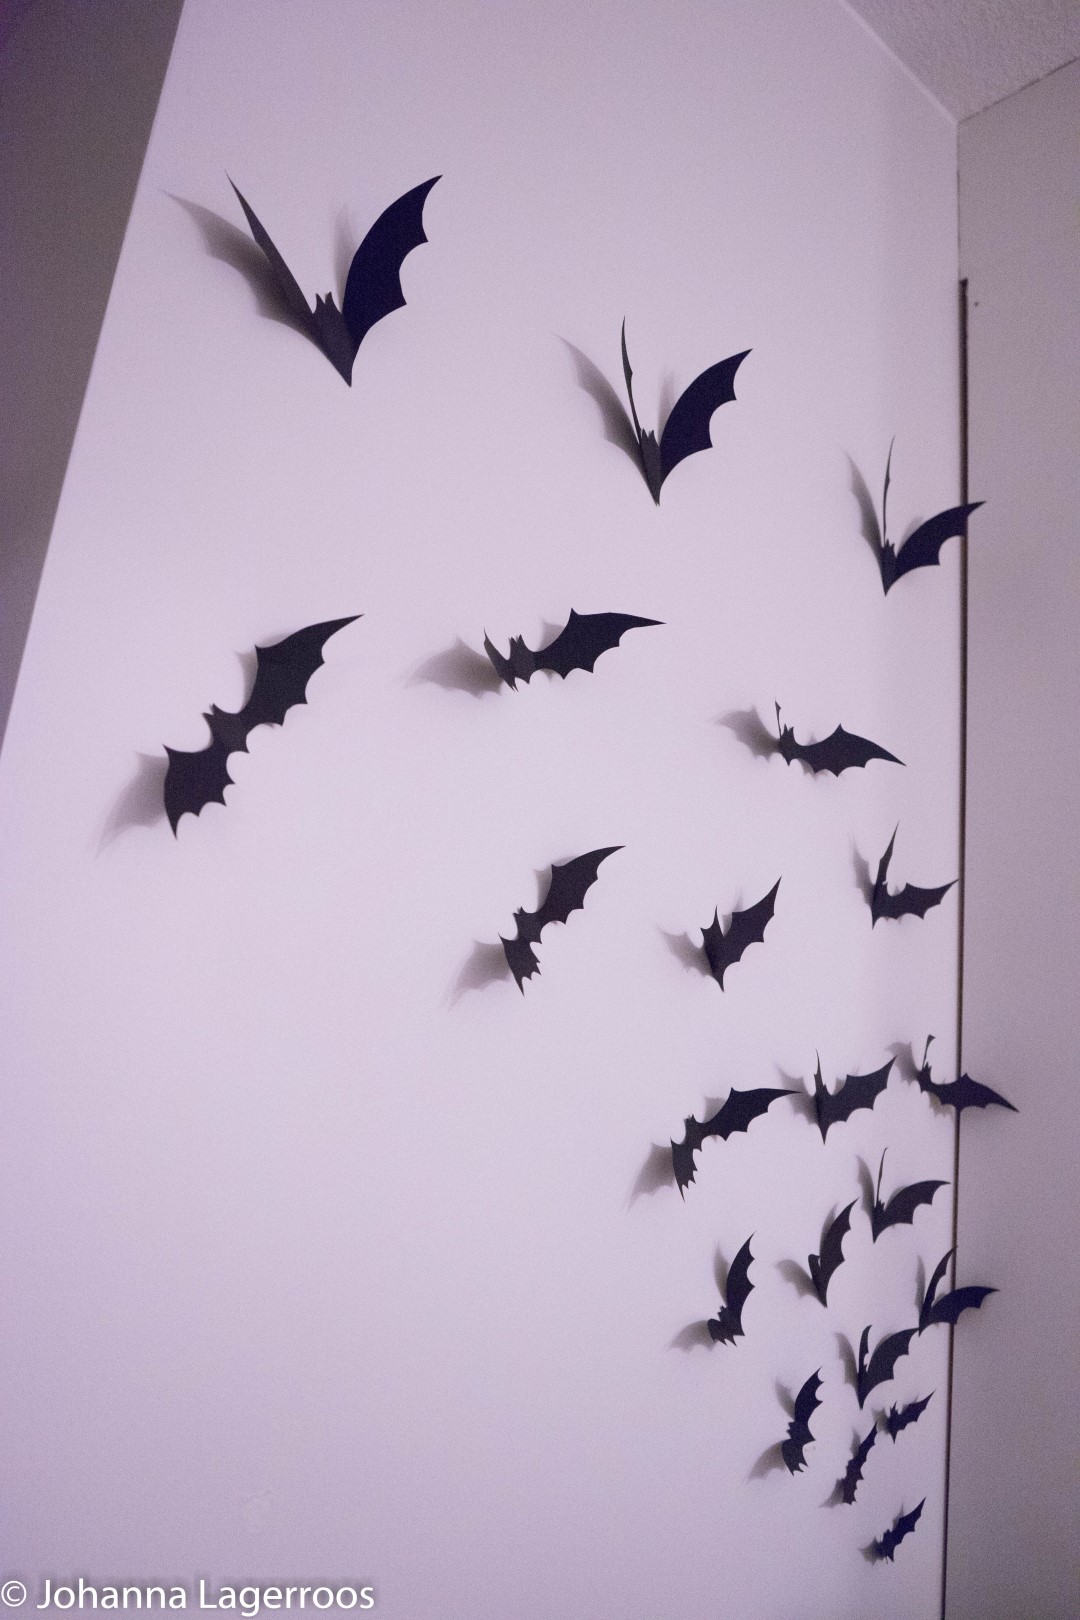
Blogoween: DIY Paper Bats

So, as you may have noticed yesterday there was no Blogoween post yesterday. That's because my PC couldn't connect to the Internet and this is the only appliance I can actually post from (it has my editing software and all). Therefore, I figured we'd skip a day, and make it up on the weekend with three uploads instead of two. I think you're going to be okay with that. But now, let's get to today's craft:

paper bats

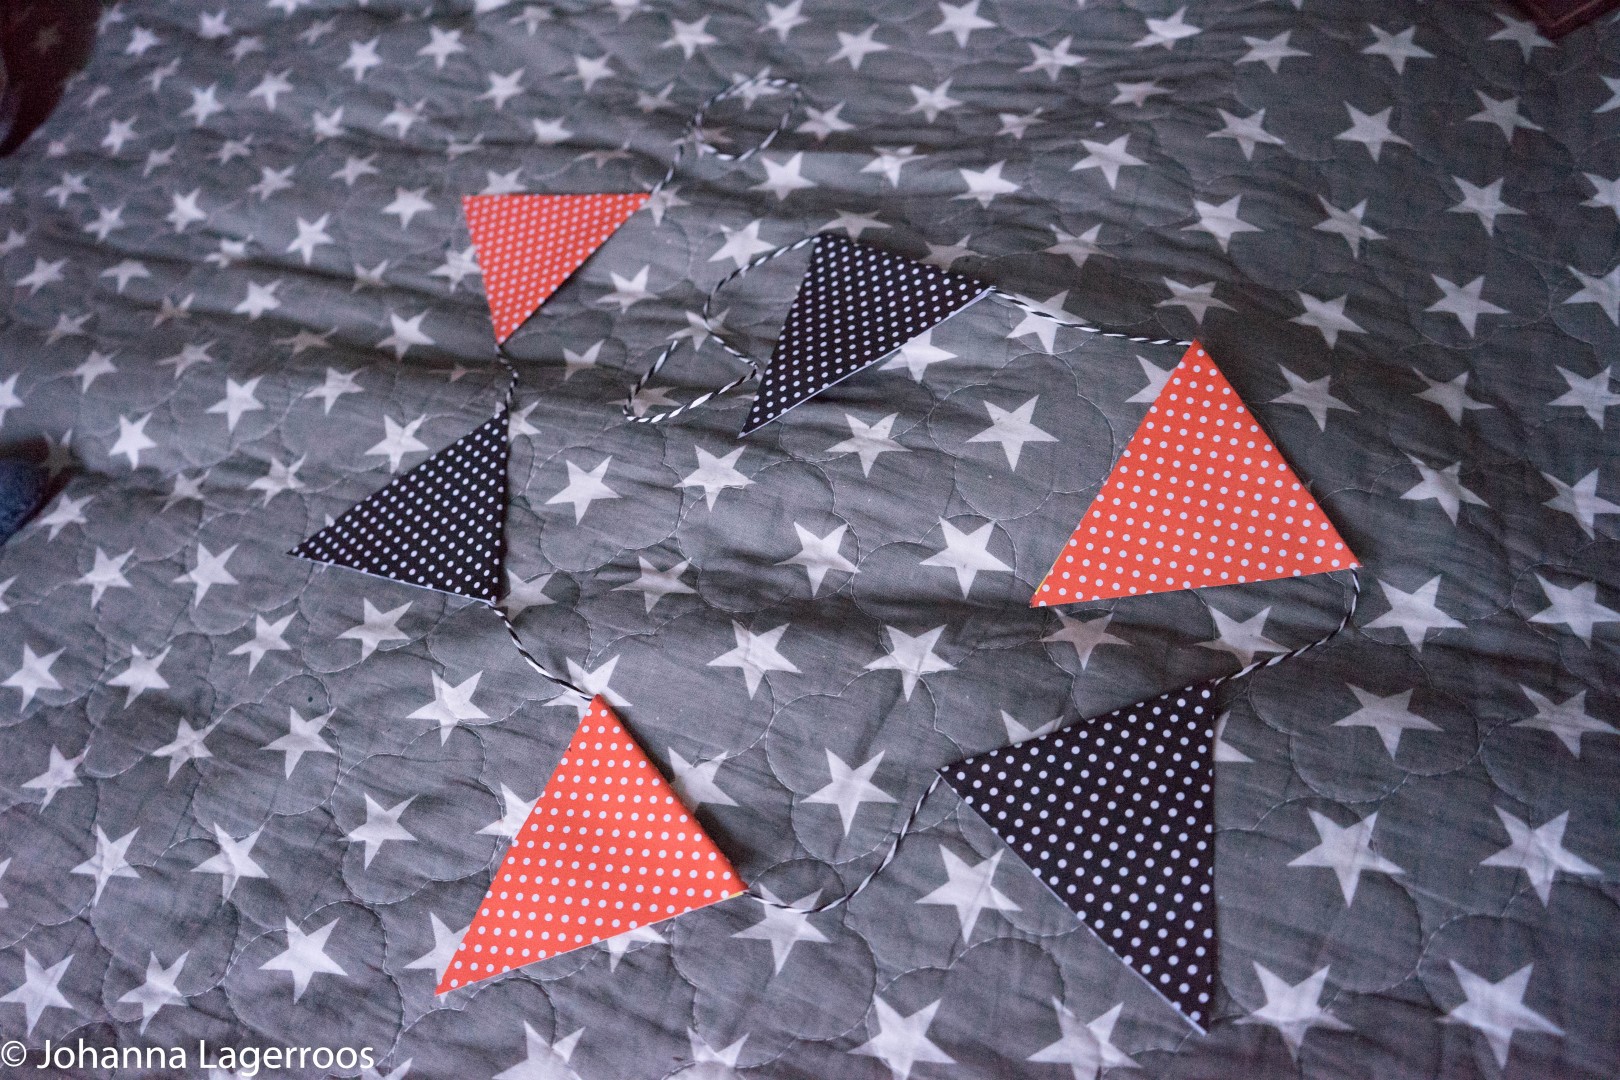
Blogoween: Halloween Garland

Can you believe we're already halfway through Blogoween? Me neither! It seems like it was just July and I started planning for all of these and now we're halfway done with the posts. Time really flies.

Anyway, today I'm sharing another cute DIY that will bring some Halloween spirit in your home without being too overboard or spooky. And it will compliment minimalistic home decor if that's your style!

halloween garland

Blogoween: Indoor Pumpkin Lanterns

Who feels like crafting today? I would, if I hadn't already done these! As the night's get darker, it's nice to have something to light up the place with. But, as a new cat owner, I had to come up with something that is safe indoors and around pets/children.

diy halloween decor

Blogoween: Eevee Costume

Today's post is up a little late to the schedule (sorry!) because I was busier with things than I thought and didn't get to assemble the costume before today. But nevertheless, I feel it cam out fine and I'm happy to share it with you.

pokemon cosplay

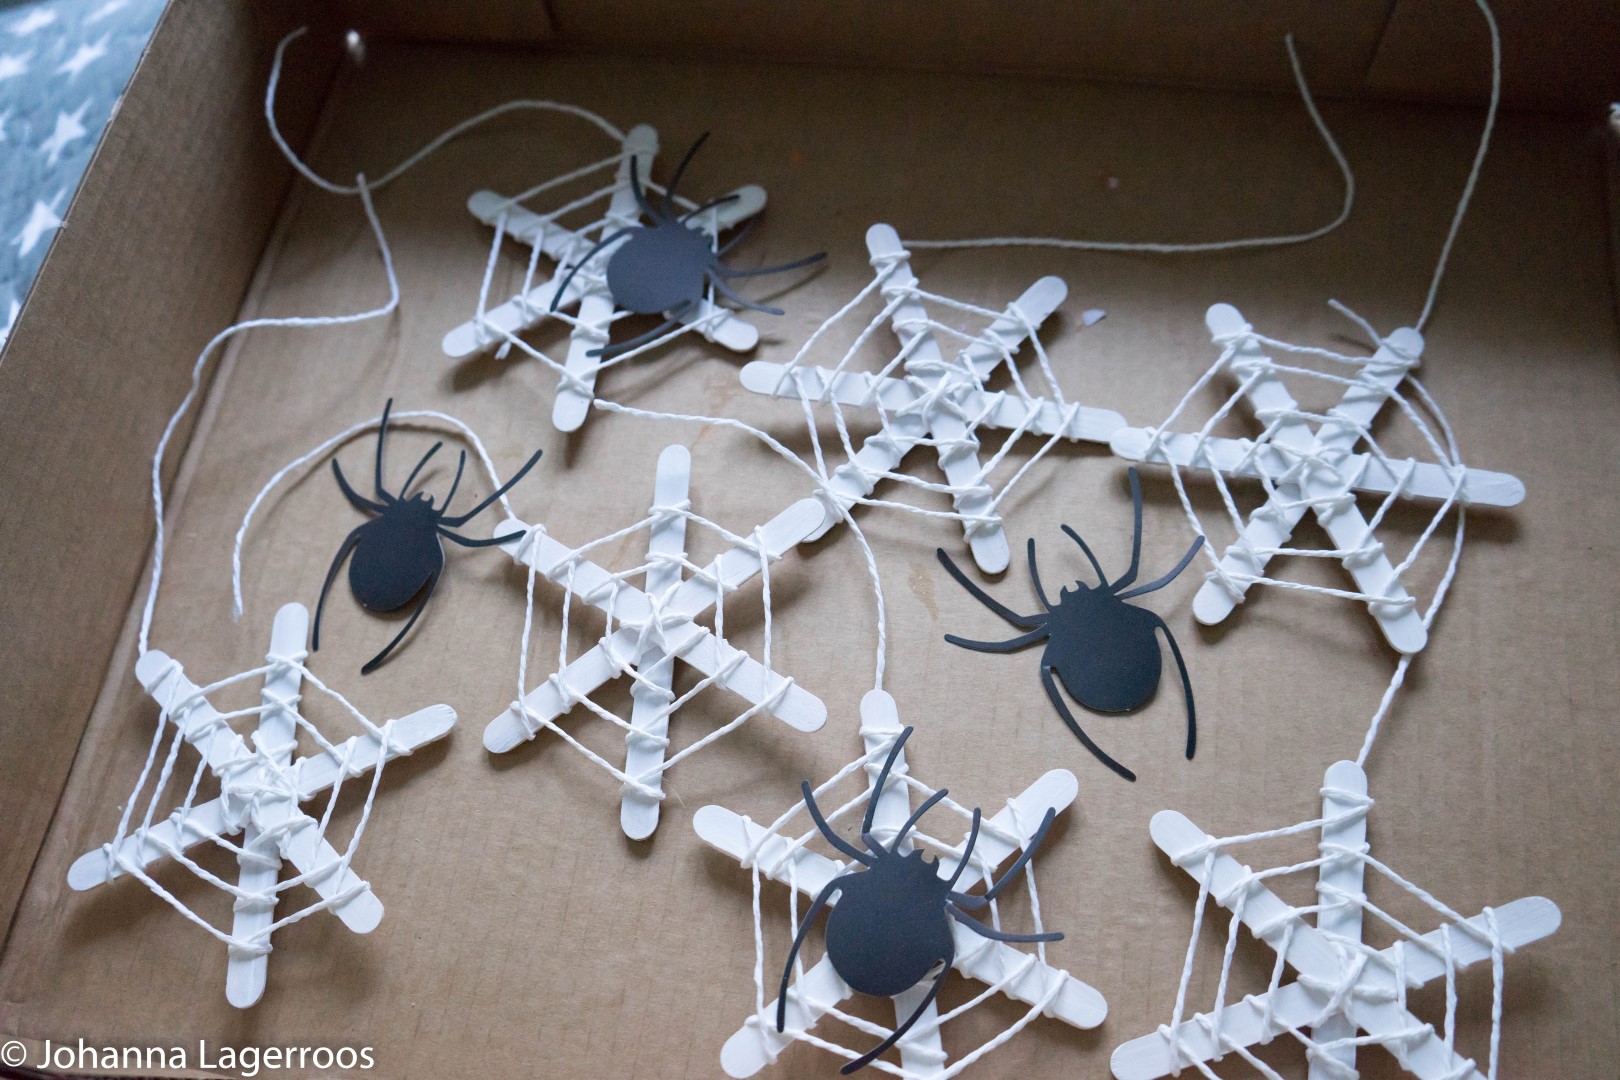
Blogoween: Easy DIY Spider Webs

Want to decorate for Halloween but don't like super spooky stuff? I have a DIY for you. And it's so easy even children can make it! Seriously, the blog I found it from (see the post here!) called it a craft for kids. See how I created mine below!

halloween diy spiderwebs

What Does Your Hair Say About You?

Few days ago it felt again like it's time to refresh my hair. I have an event to go to in couple of weeks so I thought a fresh color would be kinda nice. Once again I used Manic Panic colors, this time Cotton Candy Pink, Cleo Rose and Hot Hot Pink. I love how easy it is to play with hair colors when you use Manic Panic, especially if you have very light hair.

15.1.2018 167 (Large)

Coloring My Hair With Manic Panic

Hey lovelies! How are you today? ❤️

I've been super tired this week and still can't sleep in even this weekend because I have so much going on. So to get more energy, I decided to do a mini makeover yesterday. That means I lightly dyed my hair. 

Manic Panic Haircolors

Our Wedding Journey: Designing the Invites

Hello lovelies!

How are you all? ♥

I've had a nice weekend away from the computer, which was much needed after starting the internship and working more or less on a computer 8 hours per day. Not to worry though, my writing schedule be more on point after the coming week as I get some things over and done with.

As you might have read here, my man and I are getting married this summer, and there are quite many things we need to take care of before the big day. Our party will be quite casual, but I'd like to share some little details here with you along the way. One of them being the invites, which have been mailed to our loved ones some days ago. I have showed a sneak peek a while back on my Instagram, but let's talk a bit about it here on the blog as well.

DSC05323 (Large)

I definitely wanted to make our cards myself, especially since we didn't need that many and we wanted quite simple ones. The hardest point here was choosing the colors, but we opted for this cute pink (which I love a lot, like I love everything pink) with black and white detailing.

DSC05324 (Large)DSC05322 (Large)DSC05321 (Large)DSC05320 (Large)

I'm not much of a calligrapher, so I chose word stickers instead (otherwise we would've have different writing in every invite). We used some lace and handmade bows to give the invites a romantic touch. And yes, I made the bows myself, using ribbon and fork. Not too difficult, since there are tons of tutorials to help you out.

DSC05319 (Large)

The cards ended up looking like this, and we sent them out in pink envelopes. I also created a appropriate texts inside with all the needed details, but for privacy reasons I won't be sharing those here. But I can tell you this much: I pictured what I wanted the insides of the cards to look like, and then hunted down free fonts from the internet. I searched for fonts one can use without credit when doing non-commercial stuff. I found nice ones from here: http://www.1001freefonts.com/ (Always check the source so that you know if a donation or other credit is needed to use the fonts.)

So that, in all shortness is how our wedding invites turned out. We are pretty happy with them, and we hope our guests like them as well. Now all I need is an outfit for the big day, and I'm mostly done with the preparations. We'll see what more I can post about the event before the day itself.

But now, I really need to hit the bed as I need to be up nice and early tomorrow morning. I'm guessing I will be having another tough week since I'm still so new to the workplace and I have a ton to learn. I will be back soon however, since I have so many posts I simply need to get out here to remain any of my planned schedule. Stay tuned!

Have a great start for your week!

Our Halloween Decoration ♥

Happy Halloween my darlings!

I hope you're having nice parties today. I'm not, but I finished a pretty confusing class today, so chilling at home is a nice idea. Especially with our cute little decorations, that I will be sharing you below:

 photo DSC03127Large.jpg photo DSC03109Large.jpg photo DSC03112Large.jpg

Handmade bat decor...

 photo DSC03115Large.jpg photo DSC03114Large.jpg photo DSC03118Large.jpg photo DSC03119Large.jpg

Lights and stuff from different places...

 photo DSC03121Large.jpg photo DSC03123Large.jpg

Little spider decor (I made the web myself!)...

 photo DSC03124Large.jpg

And a table with treats.

 photo DSC03128Large.jpg photo DSC03130Large.jpg

We have ghost cupcakes and paw-shaped cookies as a treat - both gluten free so I can eat as much as I like, hehe. Both recipes can be found on Martha Stewart's website, but if you want to make gluten free, you have to figure out the flours yourself. It's easier than you'd think. ;)

What kind of decorations do/did you have this Halloween? Let me know in the comments below!

Now, I'm gonna go hit the bed as tomorrow, I will have a hot date with my math book. Steamy, I know. I will also show you what I maybe would've dressed up, if I had a party to go to. So stay tuned for that.

Have a fantastic Halloween weekend ♥

DIY: Flower crown ♥

Hello lovelies!

How are you all? ♥

Remember how promised you a little DIY post? Well, here goes. Hopefully this is any helpful!

So today, I give my view on how to make a flower crown from fabric flowers.

You'll need:

iron wire
wire cutters
pliers (for handling wire)
scissors
florist's tape, green
silk/fabric flowers & leaves

Feel free to get as much flowers as you want, that's the part that makes your crown unique. Ready? Let's get started!

 photo DSC01482Large.jpg photo DSC01373Large.jpg photo DSC01375Large.jpg

First, measure a wire that goes around your head three times. Then, before cutting the wire, wrap it around itself like in the pic, so that you'll have a "ring" that fits to your head. You should now have the wire going four times around. Use pliers to secure the ends.

 photo DSC01378Large.jpg

Next, prep your flowers and leaves if necessary. For example, mine were from IKEA, so they had still a lot of stalk and extra things on them that weren't needed for the crown.

 photo DSC01477Large.jpg

Then, attach the greens (if you have those) around the wire crown with the florist's tape.

 photo DSC01478Large.jpg

It should look something like this. After this, attach the flowers the way you want: all the way around, or just on the front or whatever you like. I put mine all over the crown. You can secure the flowers with thin wire, but that's totally optional. For me, it was the best option.

 photo DSC01480Large.jpg

The ready product looks like this. Well, at least, mine does. Yours might be totally different.

 photo DSC01484Large.jpg

And it's like this when worn. Pretty neat, huh?

Let me know what you think about this tutorial, and let me know if there are other fashion items you'd like to see me recreate, in the comments below!

Now, this girl is off to bed as I have loads to do in the morning. Talk to you soon! ♥

Have a fantastic day!

Let's be friends in IG!