
Long time, no nail art - even on my Instagram - but here we go again. These nails I did already at the end of September so that should tell you how incative I've been. I always have my nails painted but just haven't felt like sharing them. Until now, when the Fleeky Friday is upon us. If you don't know what Fleeky Friday is, don't worry, you've only missed yesterday's post. I recently decided to develop my blog a little more after the month long break giving me perspective on what I want to do, and I decided we would have dedicated weekdays for different topics. Fridays will now on be Fleeky Fridays, and whenever I post on Friday, it will be about nails, hair, beauty or fashion - or anything that can be on fleek. But I assume it will mostly be nails, knowing myself.

This design was supposed to be on my Blogoween, but like mentioned in the previous post, the passing of a family member has held me back. But my best legacy for them is to keep grinding (but in a healthy way) even through the hard times. If one stops their life every time something bad happens, they will never get anything done nor will they achieve anything. And in case you are going through something rough right now, don't take that sentence the wrong way, if your mental health or physical health needs a break, take it. Never risk your life for the grind, it's not worth it.
But that's something I will have to maybe touch more in some Wisdom Wednesday post later on, today we're here to talk about nails.

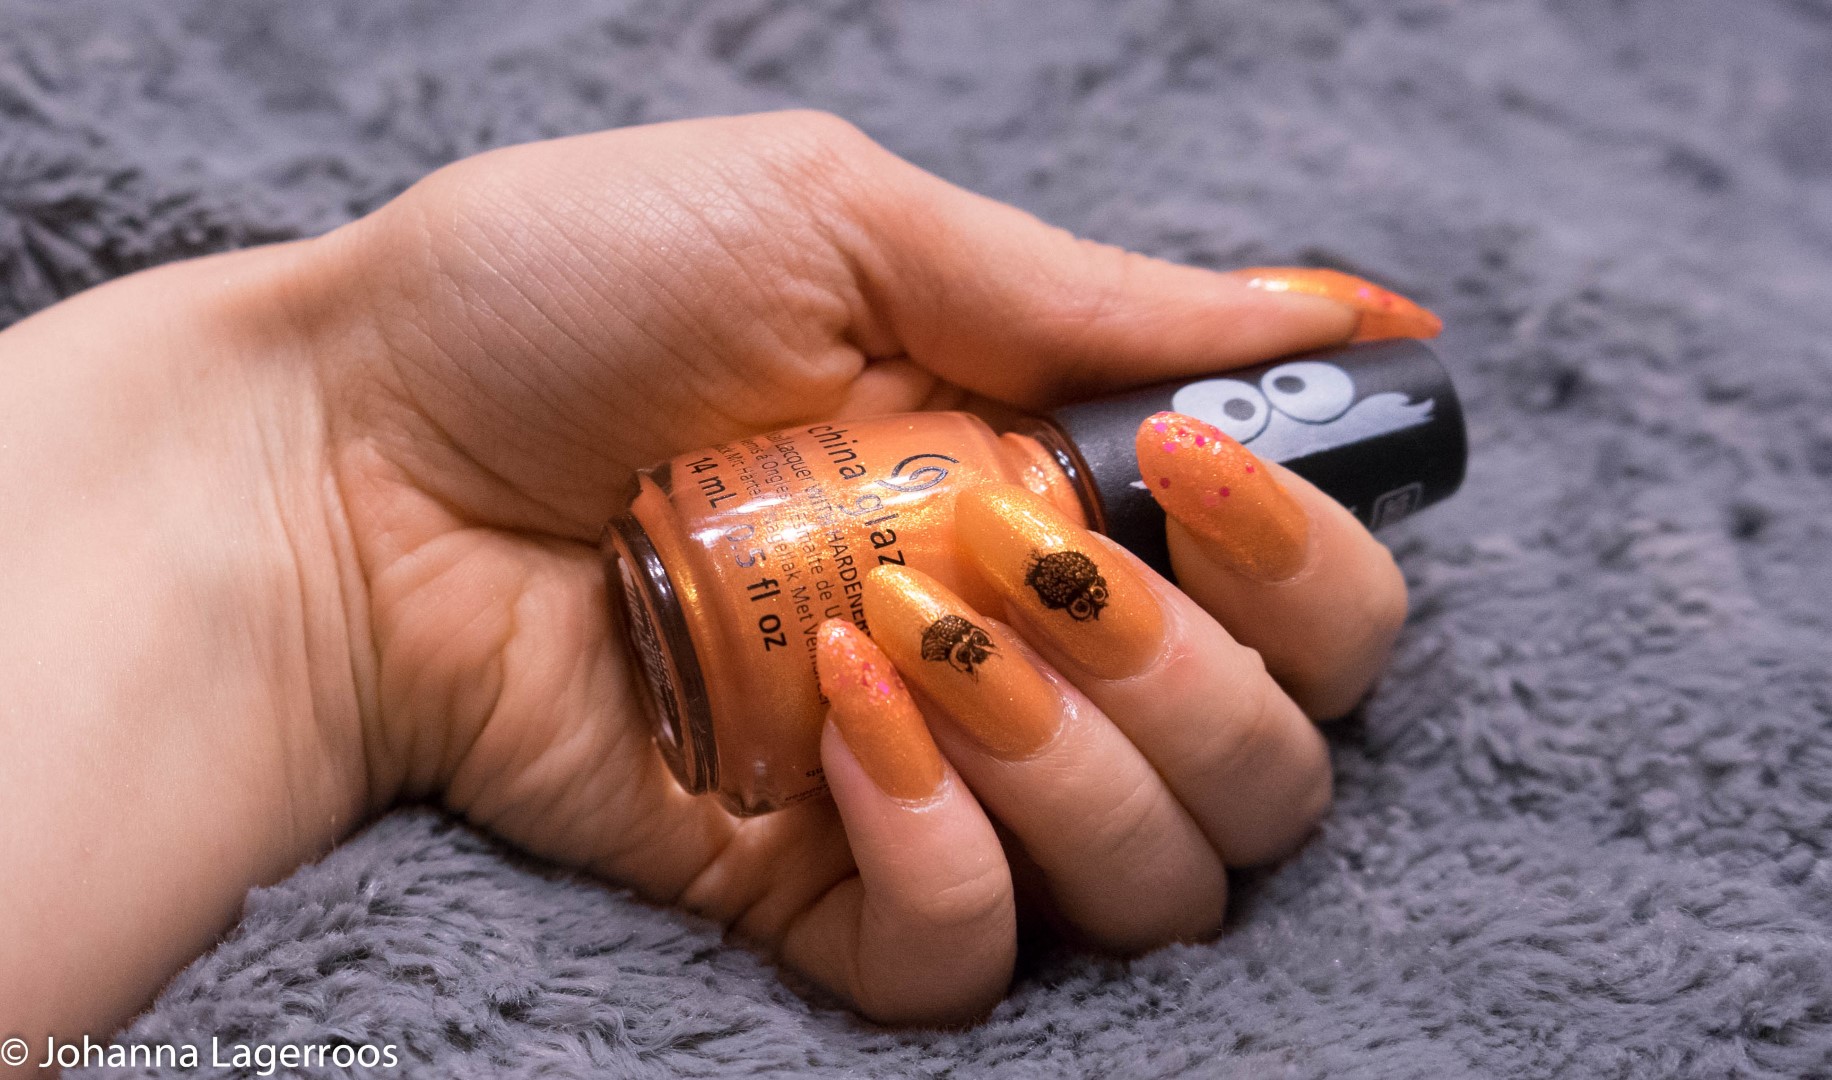
I did this cute little owl design with the help of Shop Keeki decals, which are my favorite decals out there from the ones I've tried so far. These owl designs felt perfect for autumn and Halloween, and I really should have shared these before. So many regrets. But then again, if you're like me, and a Harry Potter fan, owl nails are appropriate all year round.
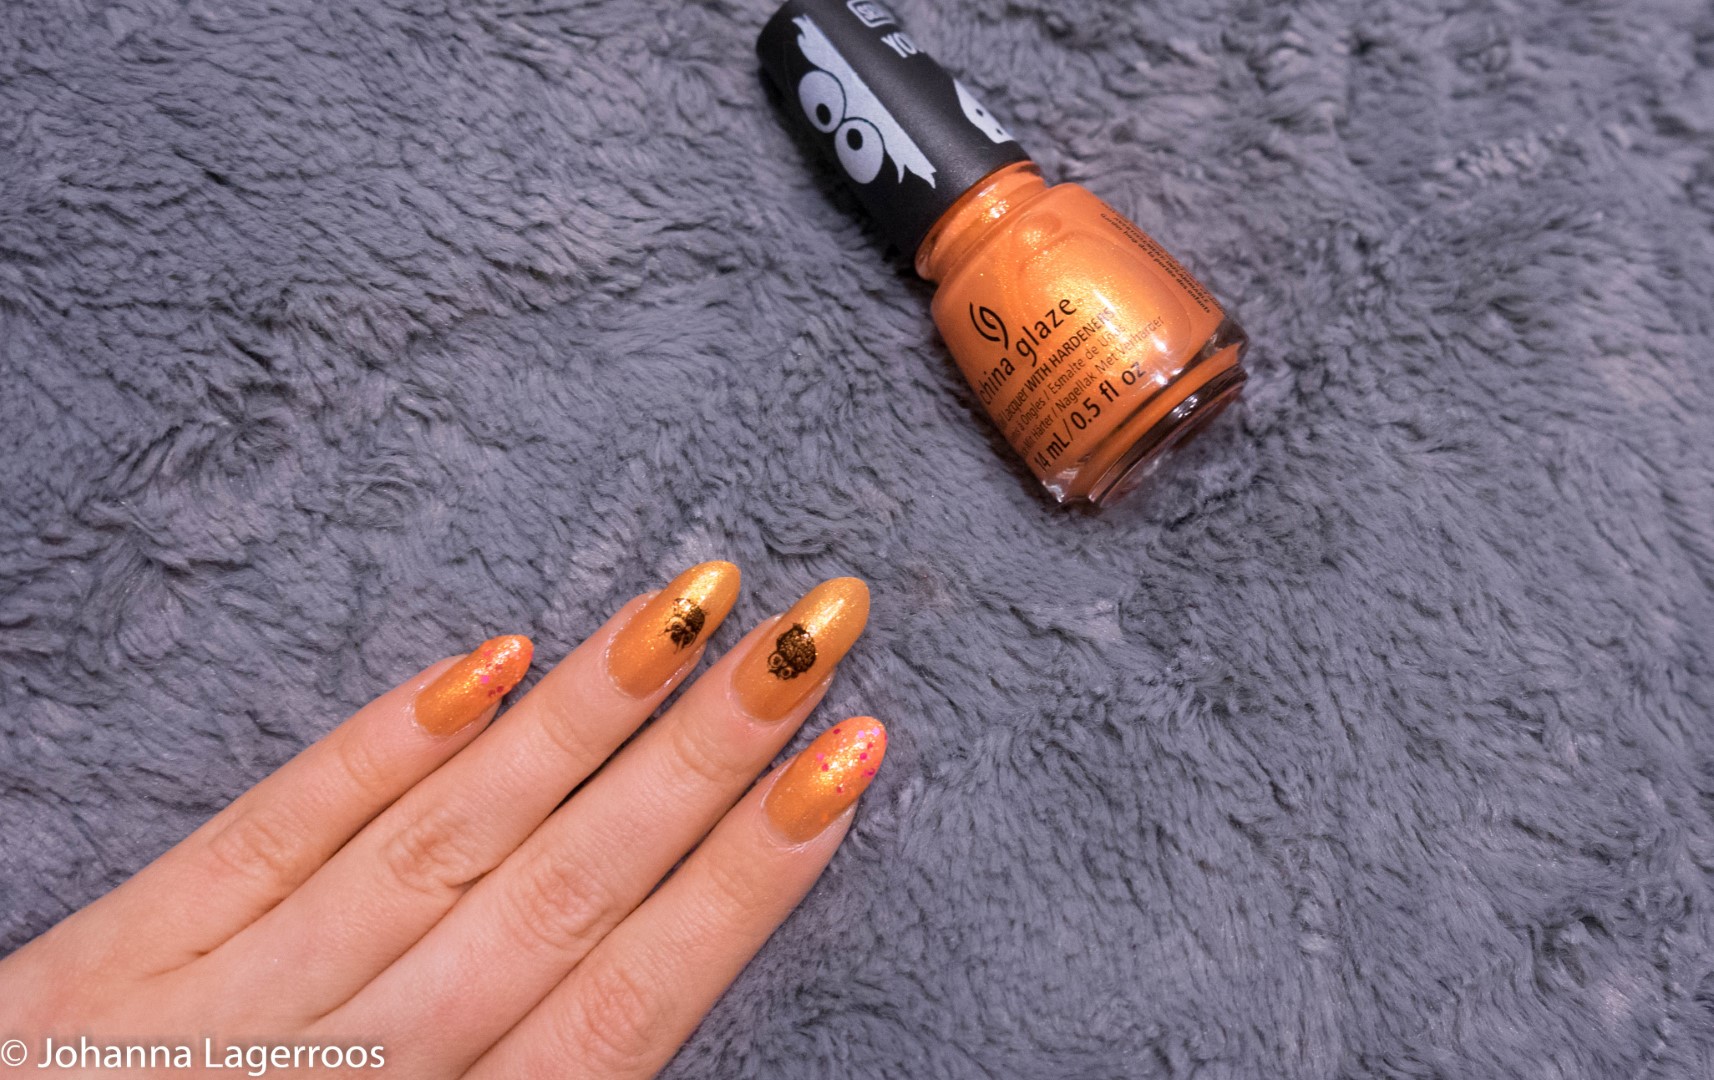
The polishes I used for these were base coat and fast dry top coat by Glisten & Glow, and Ernie Your Stripes and Let The Beat Drop by China Glaze. I painted the nails with the base coat, let dry, applied Ernie Your Stripes (2 to 3 coats, depending on how I liked the finish on each), let dry a bit, added Let The Beat Drop on the tips of thumbs, index fingers and pinky fingers, then applied the water decals on middle fingers and ring fingers. And finally added fast dry top coat over everything to seal the design in and make it all dry faster and last longer.
What do you think about this design? Let me know in the comments!
That's all for today, and I'm not entirely sure of we'll have a post tomorrow or if I will be stuck with school work, but on Sunday I will have an exciting post up for sure. I'll work on the finishing touches on it tonight after seeing whether or not I'm able to snatch myself something from the Shane X Jeffree Star collection. I've been nervous about it for few days, which is absolutely silly since it's literally just makeup but I know it'll sell out and I really, really wan to get mine from the very first batch. If I get mine, expect a Makeup Monday post surrounding the launch really soon, if not, that'll come later. If you enjoy my content and want to see more, follow me on Instagram (@silvertigo) where I'm most active online, posting stuff 1 to 2 times per day and even more on my Story. I'll see you soon with another post!
Have a wonderful weekend ♥


No comments
Thank you for taking the time to leave a comment for me. I always read every single one of them, and they truly make my day! Please remember to be nice while commenting, thank you! ♥
You can comment in following languages (as these are the ones I understand):
English, Swedish, Finnish, Spanish, German
xoxo ♥