
Often when I post any of my artsy stuff online (which isn't often, but still), I hear the girls in my life say how they wish they had the skills to do the same. I believe that with patience and practice, anyone can do all the things I do, but, in case you're not confident in your DIY skills just yet, I made this year's Halloween crafts easy and affordable. That way, no one has reason not to do them - unless they just don't want to.
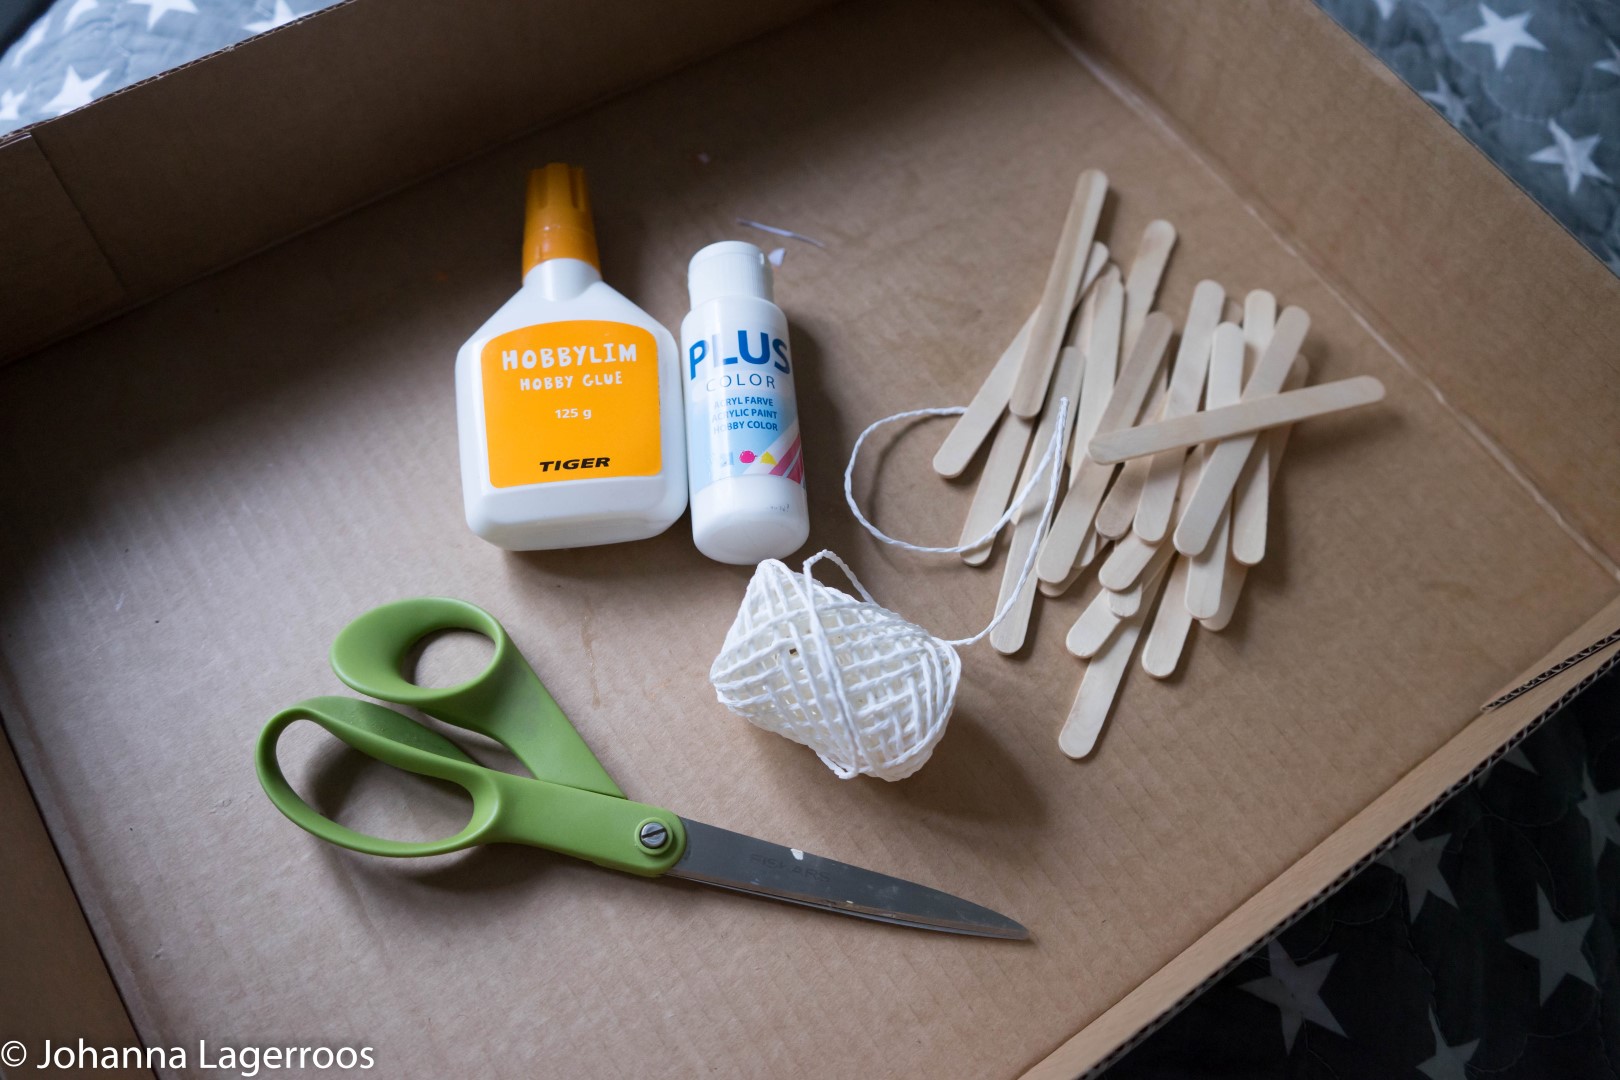
For these spider webs, you need:
- Ice cream sticks (you'll need 3 for one web, so decode how many webs you want to make and multiply it by three to count how many sticks you need)
- Paint & brush - unless your sticks come in color you want the webs to be
- Glue (I used basic crafting glue)
- Scissors
- Yarn (I used paper one but you can use knitting yarn if you want something that's bit easier to handle)
And that's it. Simple supplies and even an excuse to eat ice cream, haha. Although I personally bought my sticks from a craft store.
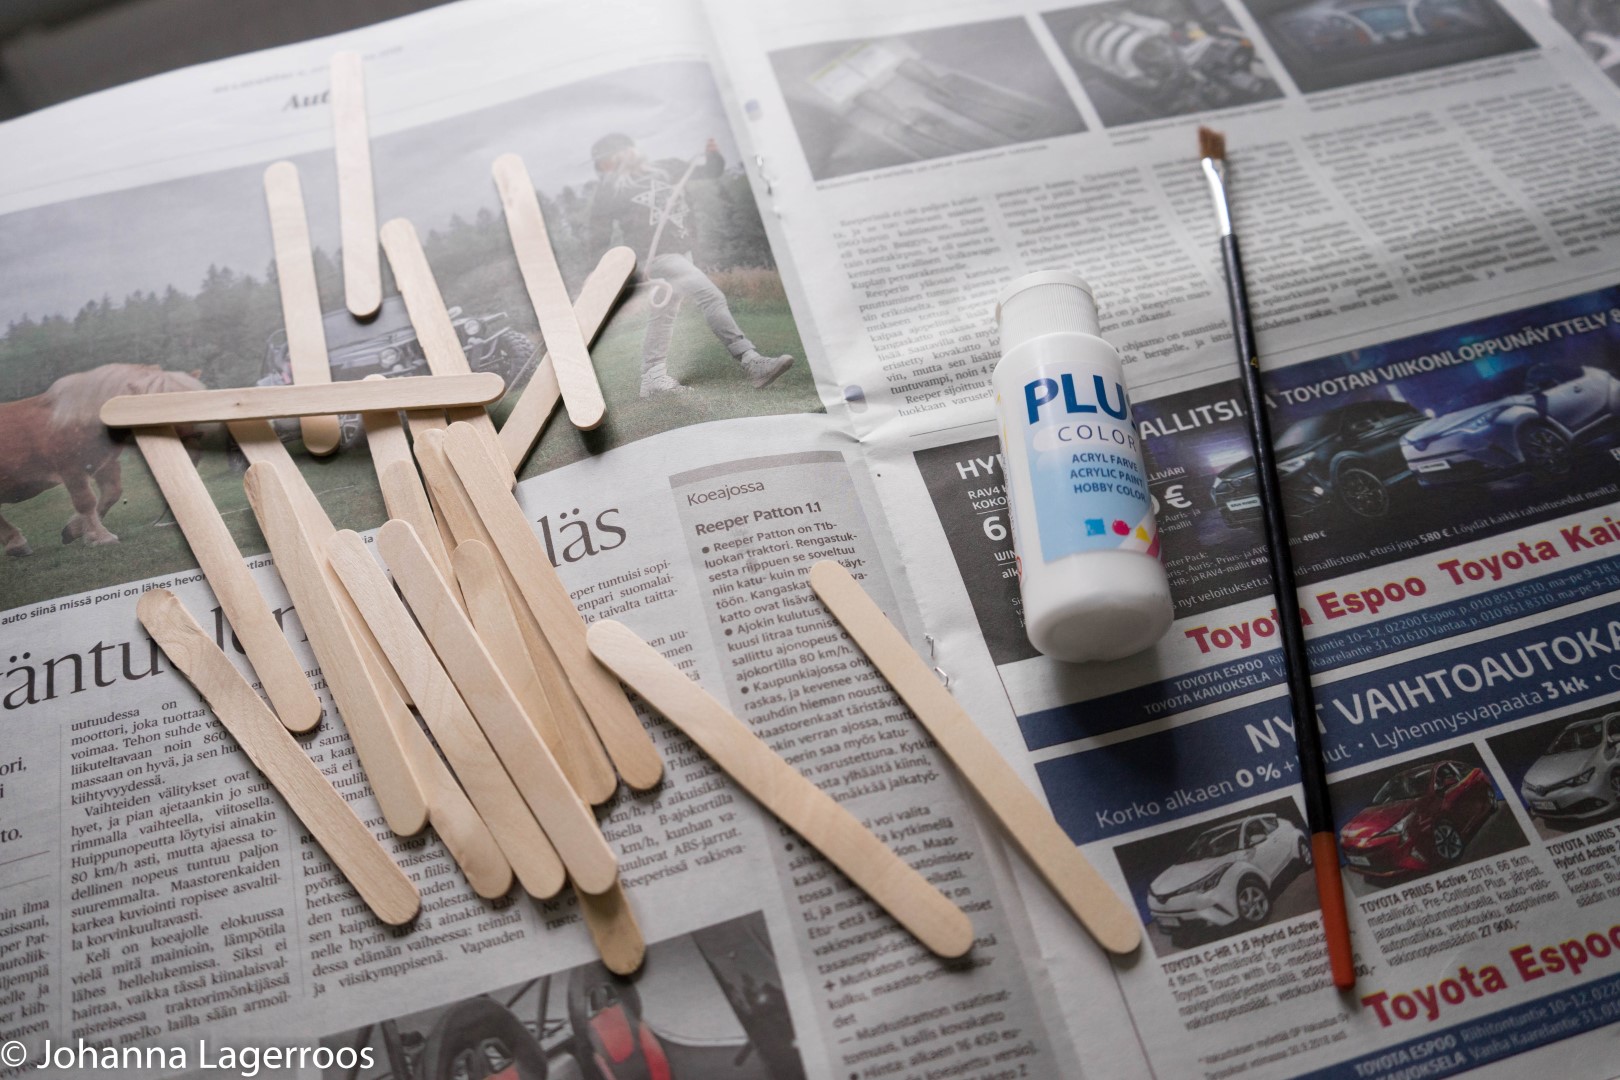
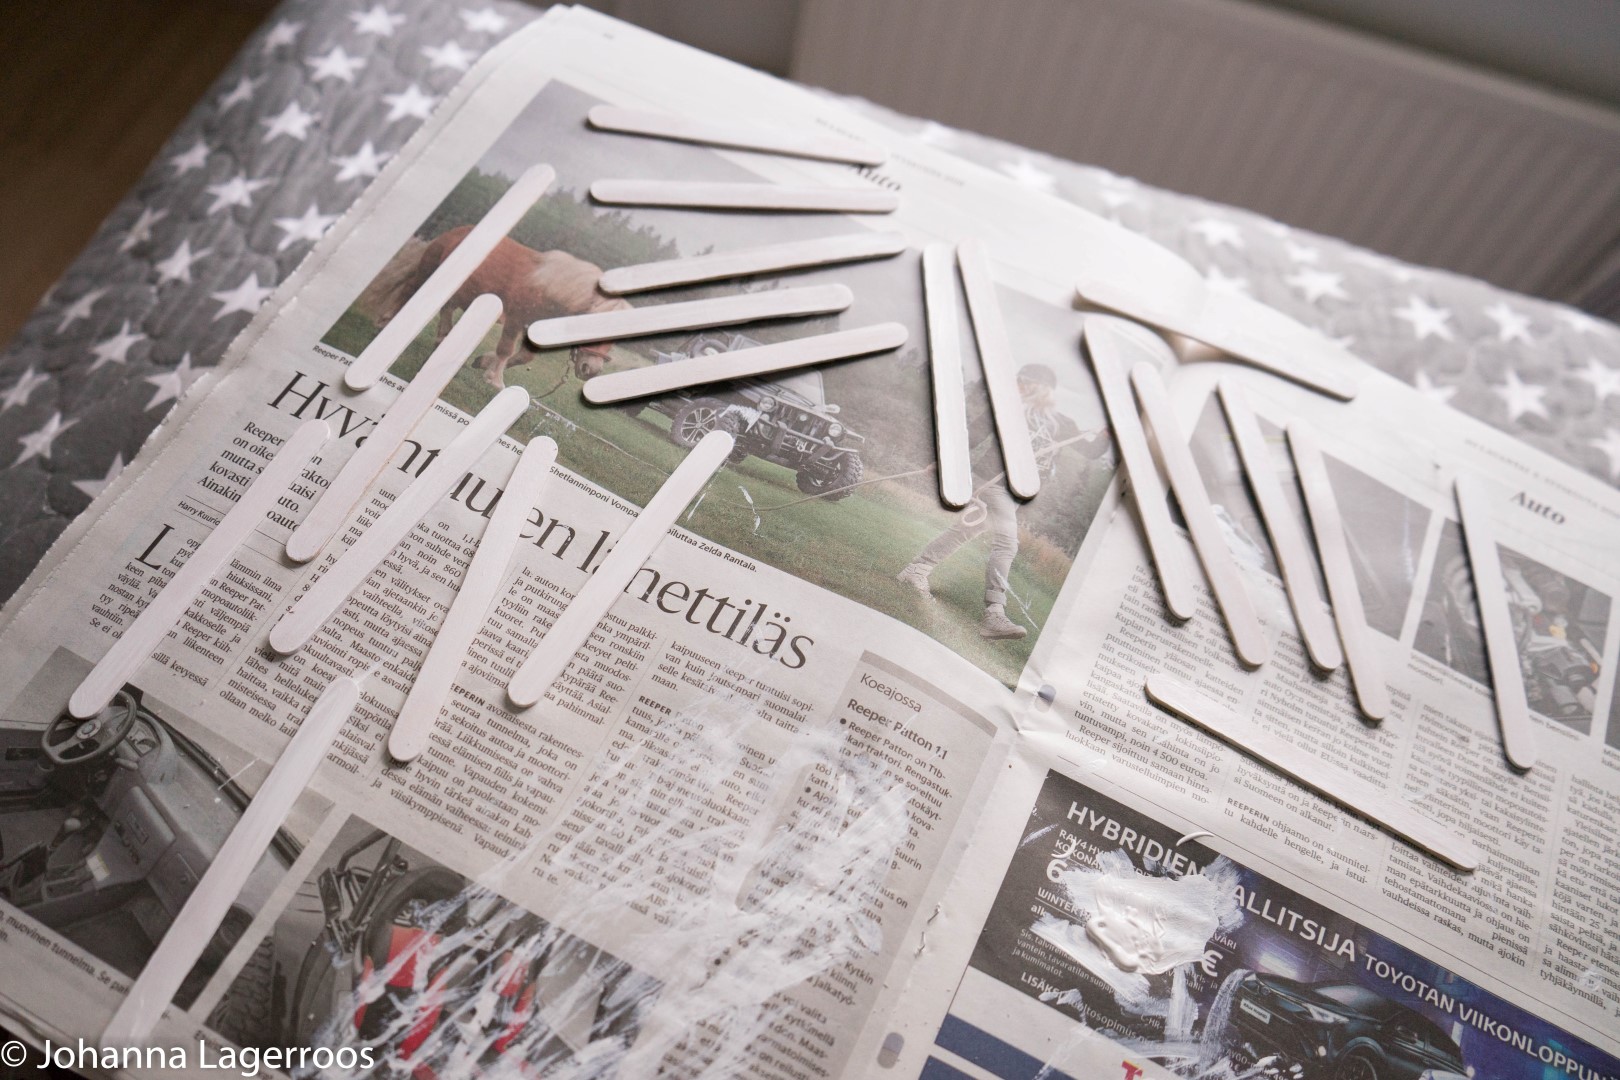
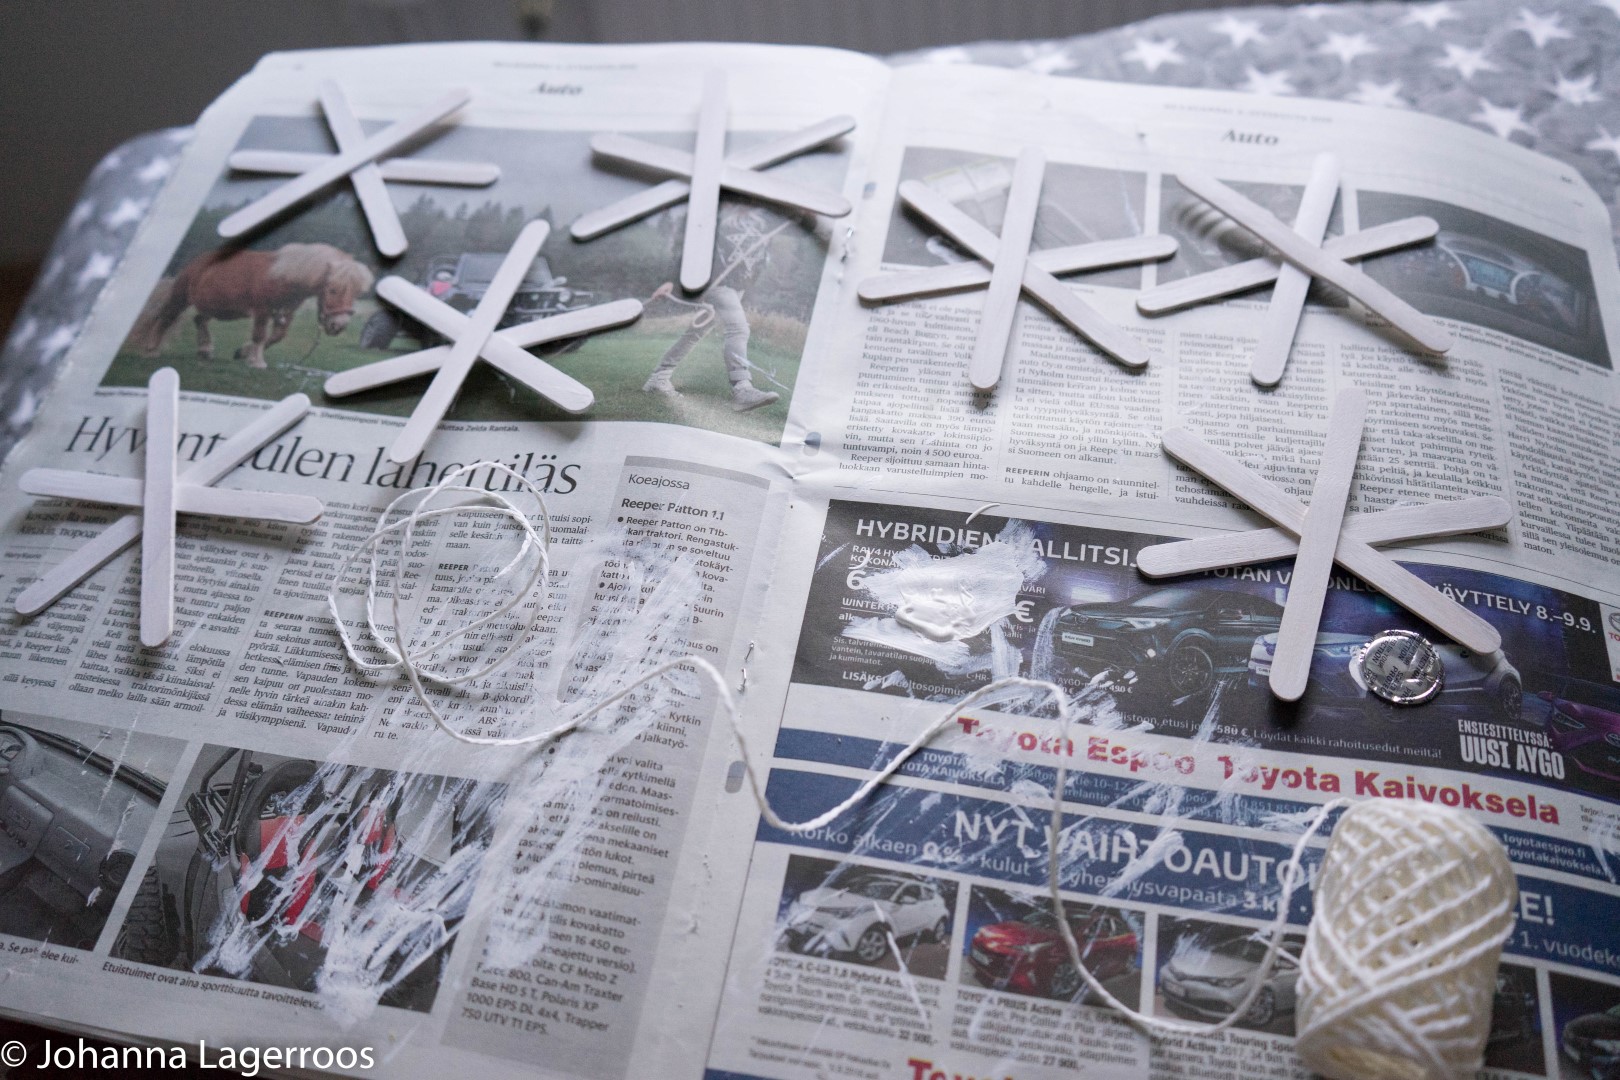
I started off by painting the ice cream sticks white with acrylic paint, and let the paint dry.
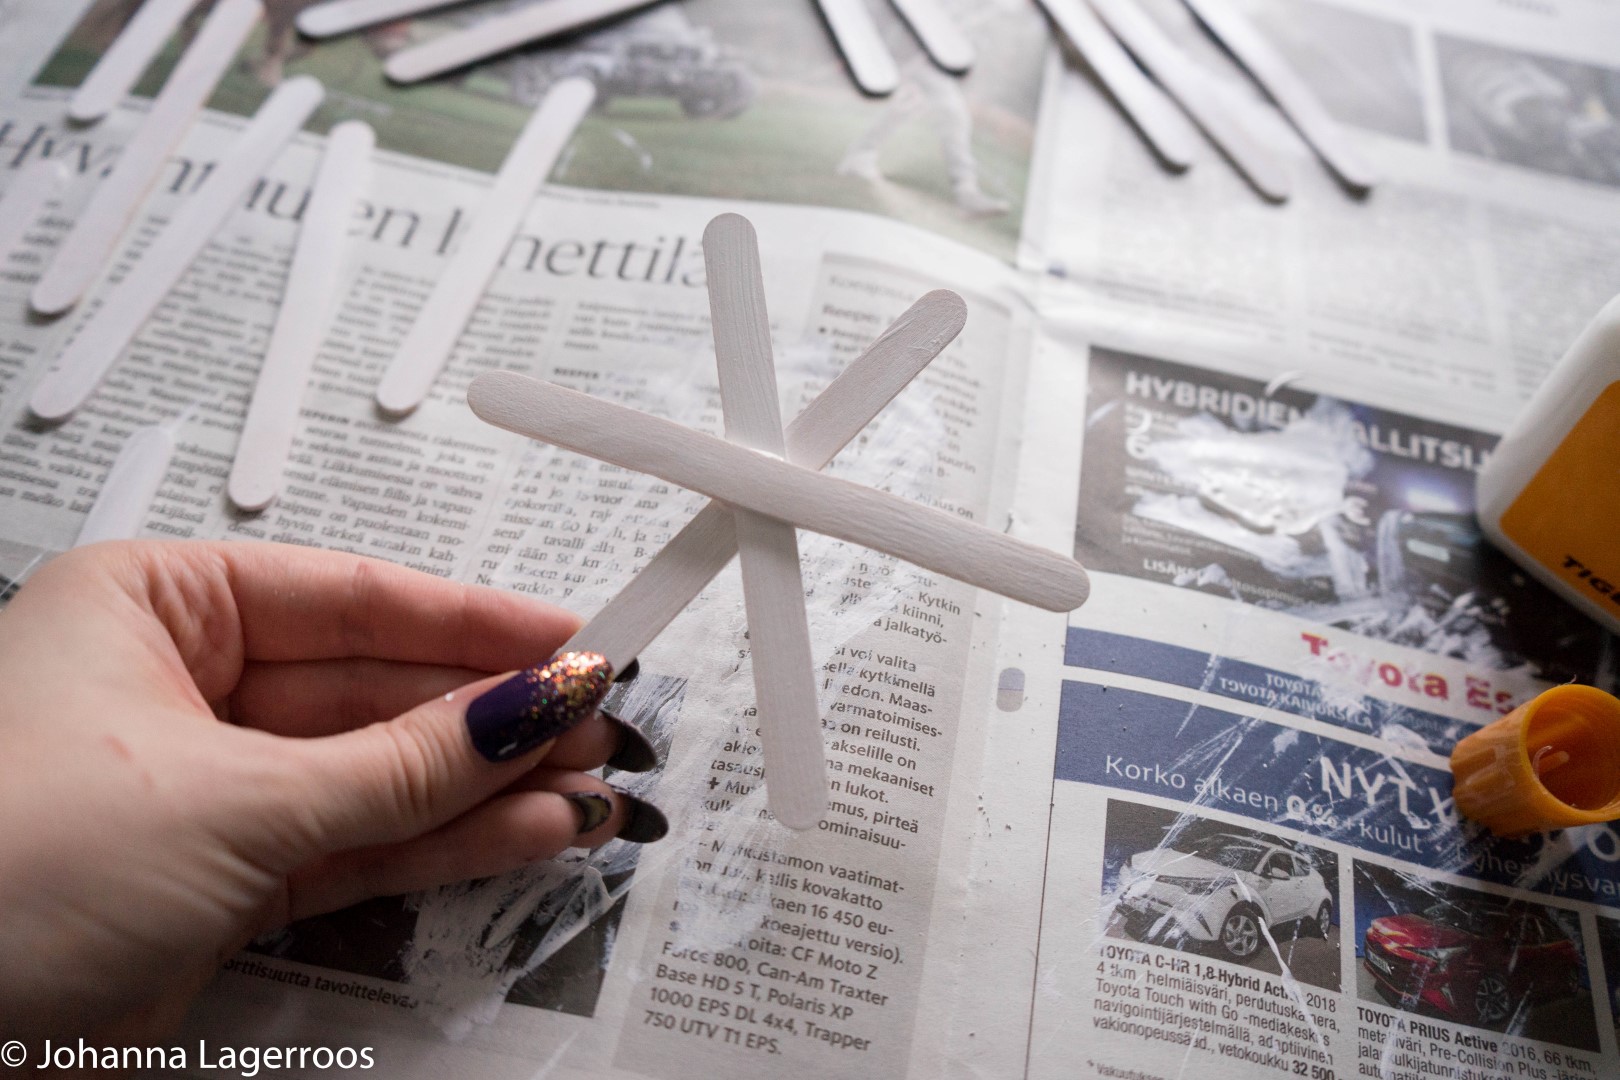
Then, I started gluing the sticks together to create the bases for the webs. At this point, they look like snowflakes. Which makes me think that maybe this craft could also be adjusted into a Christmas one. I'm sure someone out there has done it.
When the glue had dried, I took the yarn and started wrapping it around the sticks. Now, for proper instructions on how to wrap the yarn, I ask you to refer the original blog post as it was explained so well I rather give the credit to them. I noticed this would be tons easier with knitting yarn than with paper one, but the paper one gave me the aesthetic I wanted. If you use knitting yarn, you can space the yarn closer to itself with every layer which gives more authentic look. But I was going for cute and papery.
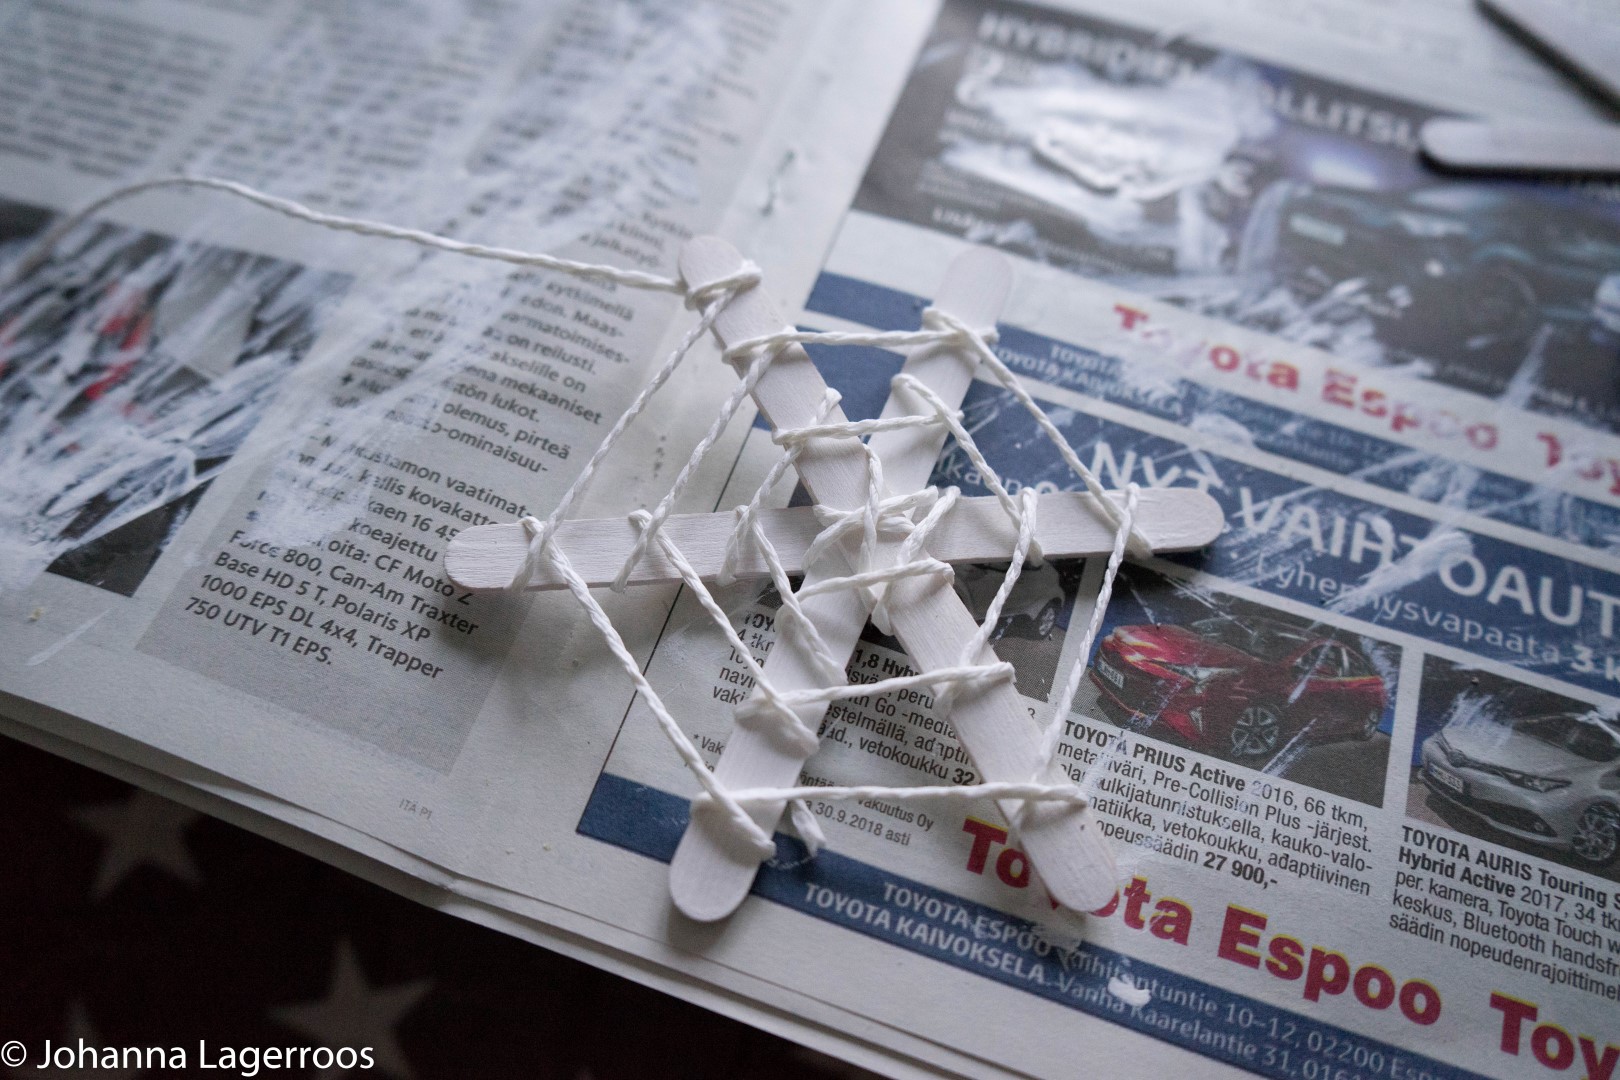
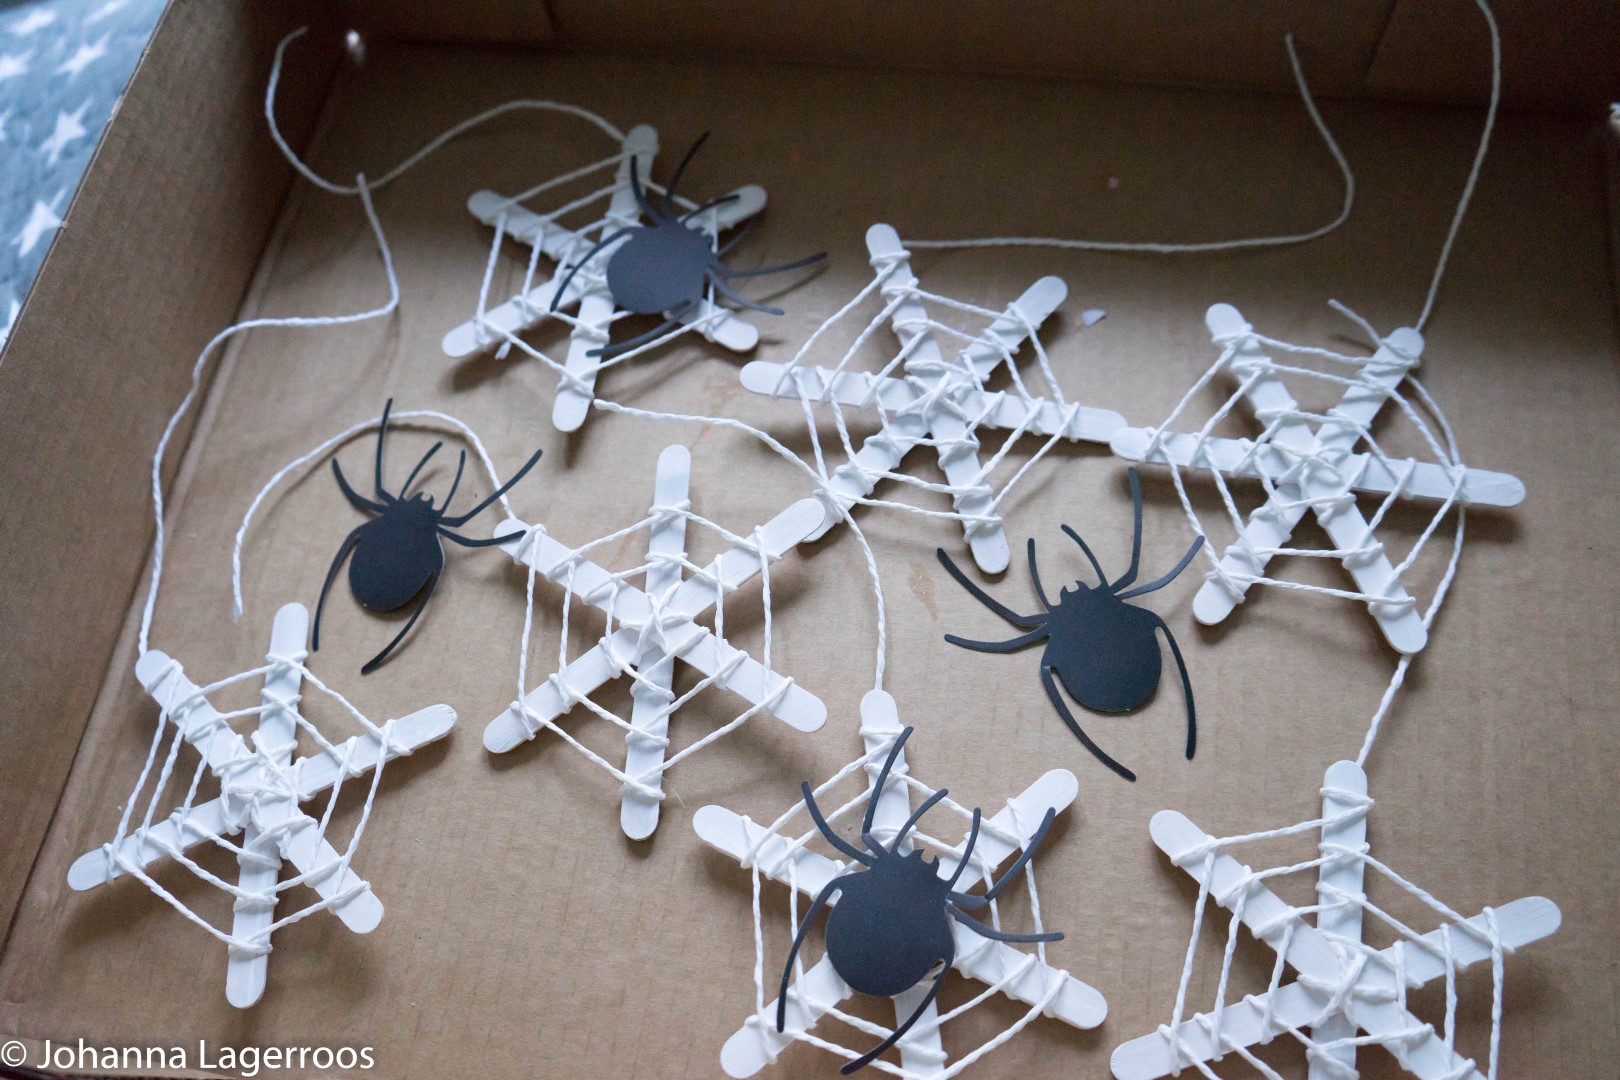
Tie up the end of the string when you're happy with your wrapping and voilá, you're done. Add spiders for a complete look. (I happen to have paper ones I can add to these when hanging them up in the house.)
Have you planned on doing any Halloween DIYs? Let me know in the comments!
That's it for today, but don't forget to check back tomorrow for another Blogoween post! Also, you can follow me on Instagram to get notified when I post - I'll be telling when the new posts are up on my stories as well as on my profile/feed! (I'm @silvertigo, in case you don't already follow me) And for extra Halloween cuteness, follow our cat @blackkittymiro for daily black cat pics! I'll see you tomorrow in my next post.
Have a lovely day ♥


No comments
Thank you for taking the time to leave a comment for me. I always read every single one of them, and they truly make my day! Please remember to be nice while commenting, thank you! ♥
You can comment in following languages (as these are the ones I understand):
English, Swedish, Finnish, Spanish, German
xoxo ♥