Showing posts with label crafting. Show all posts

Blogoween: DIY Paper Bats

So, as you may have noticed yesterday there was no Blogoween post yesterday. That's because my PC couldn't connect to the Internet and this is the only appliance I can actually post from (it has my editing software and all). Therefore, I figured we'd skip a day, and make it up on the weekend with three uploads instead of two. I think you're going to be okay with that. But now, let's get to today's craft:

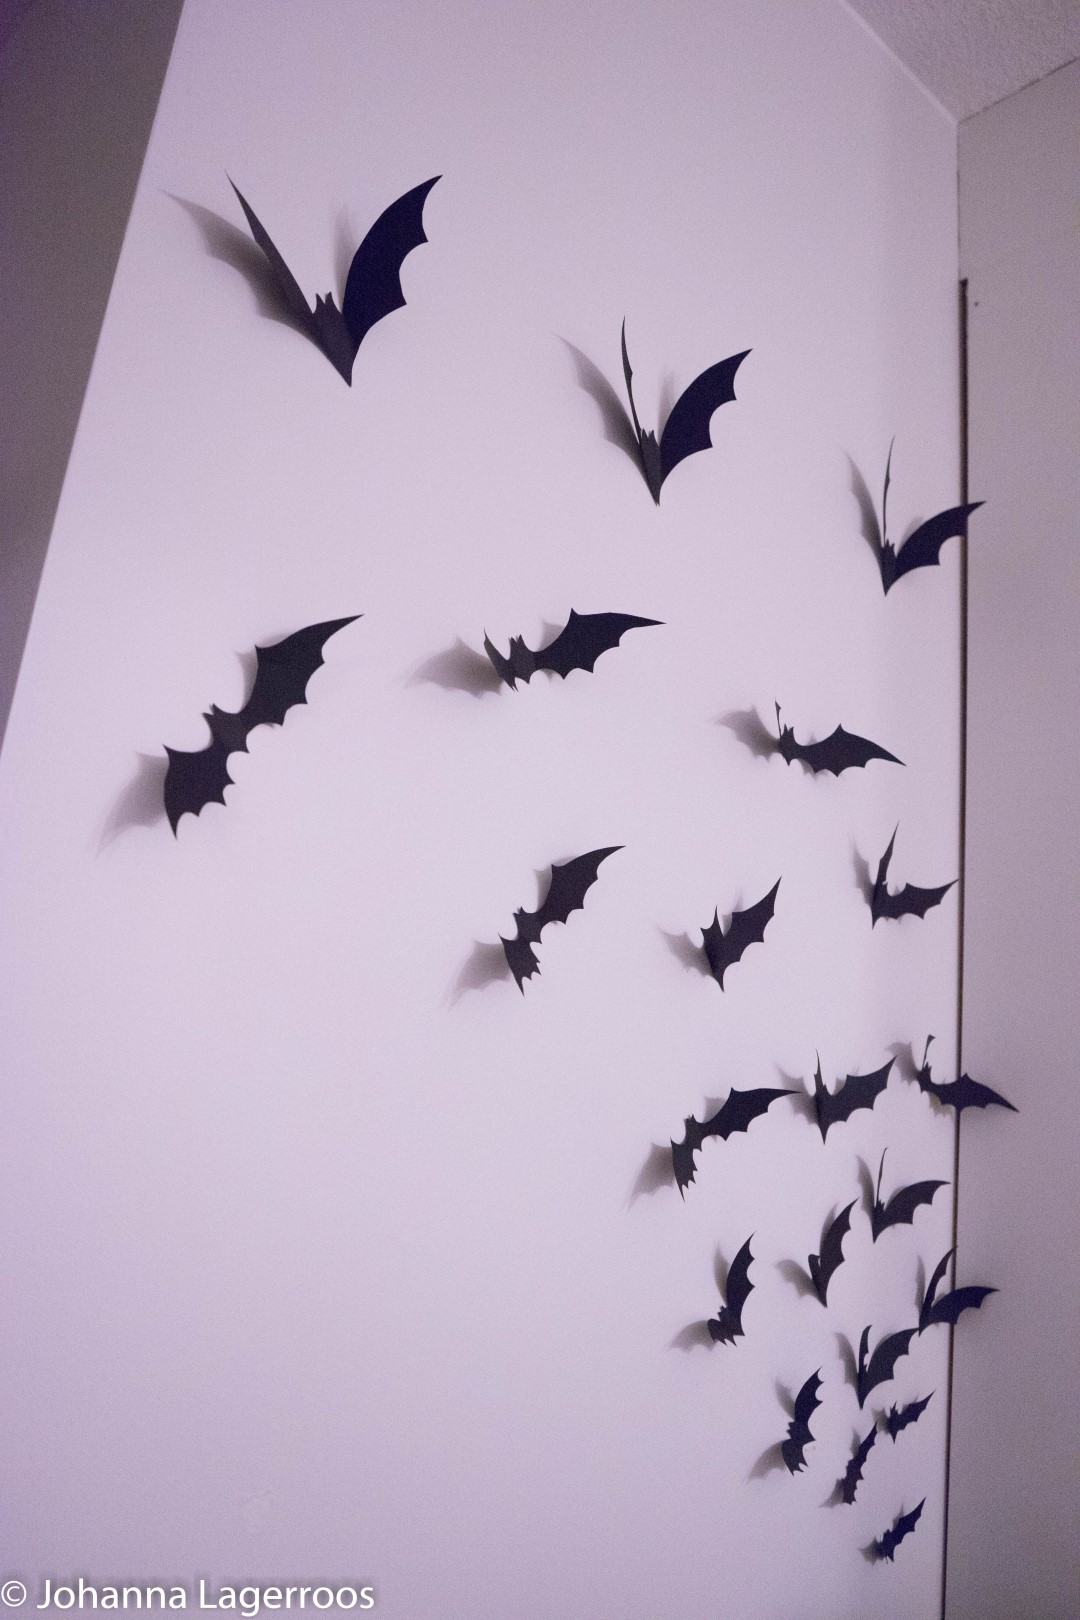
paper bats

Blogoween: Halloween Garland

Can you believe we're already halfway through Blogoween? Me neither! It seems like it was just July and I started planning for all of these and now we're halfway done with the posts. Time really flies.

Anyway, today I'm sharing another cute DIY that will bring some Halloween spirit in your home without being too overboard or spooky. And it will compliment minimalistic home decor if that's your style!

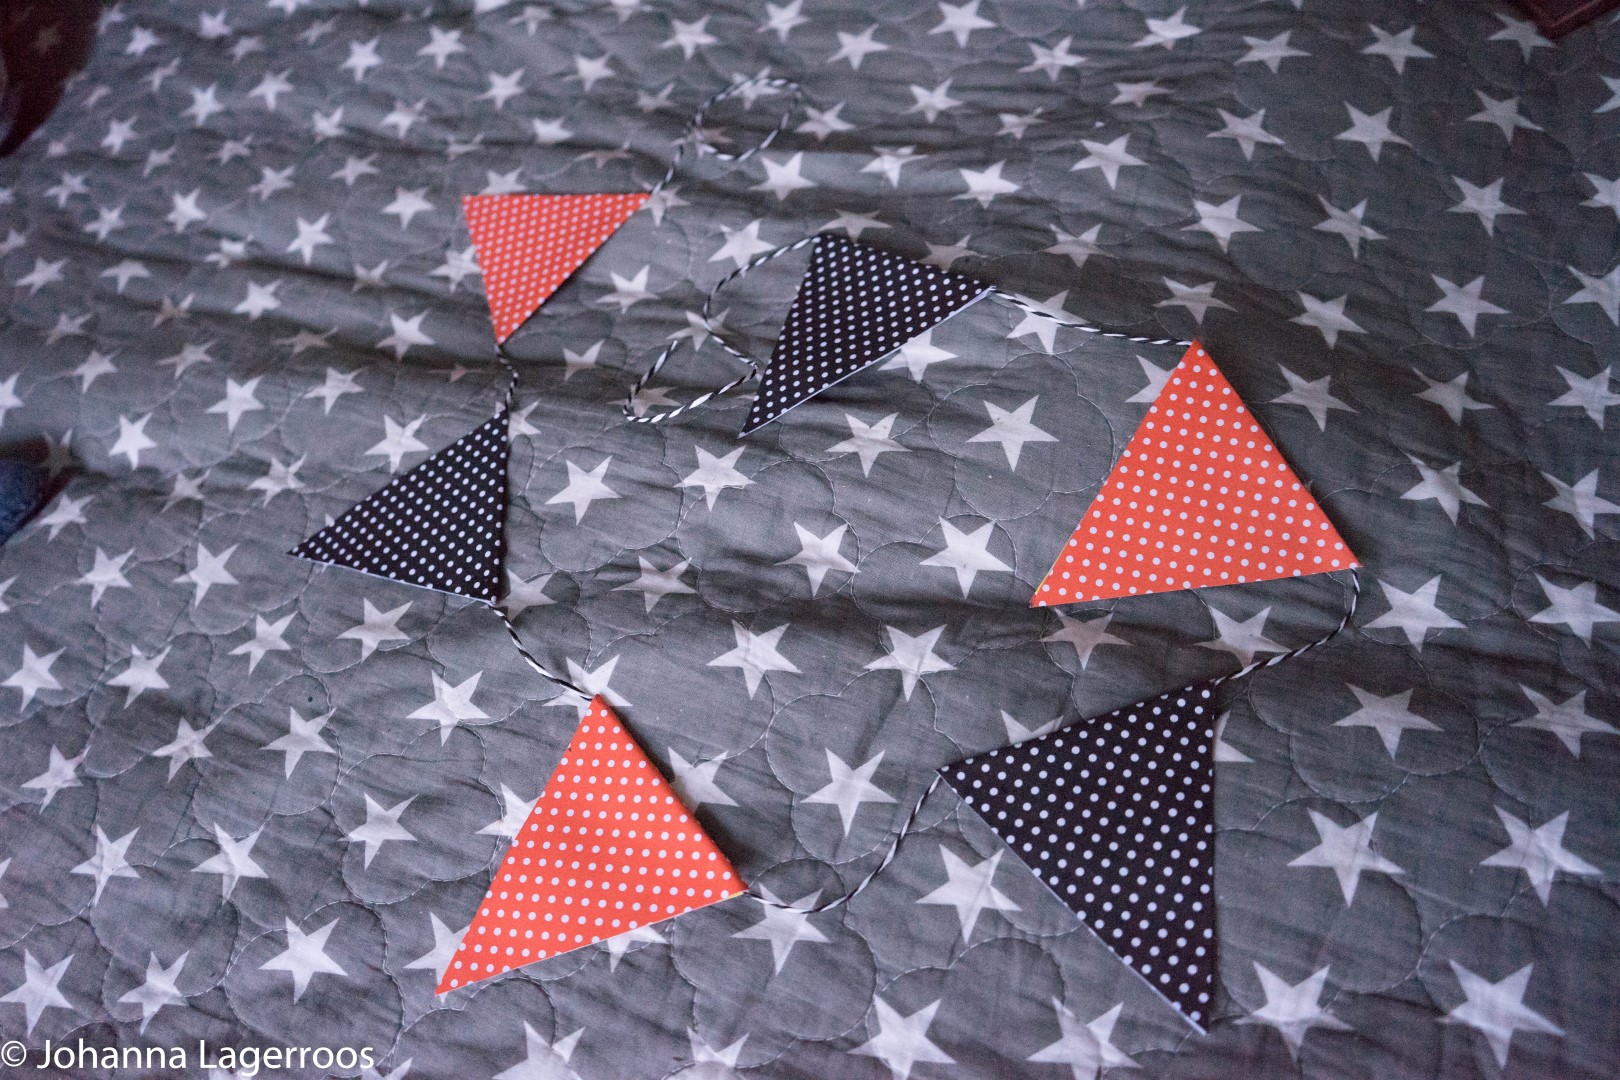
halloween garland

Blogoween: Easy DIY Spider Webs

Want to decorate for Halloween but don't like super spooky stuff? I have a DIY for you. And it's so easy even children can make it! Seriously, the blog I found it from (see the post here!) called it a craft for kids. See how I created mine below!

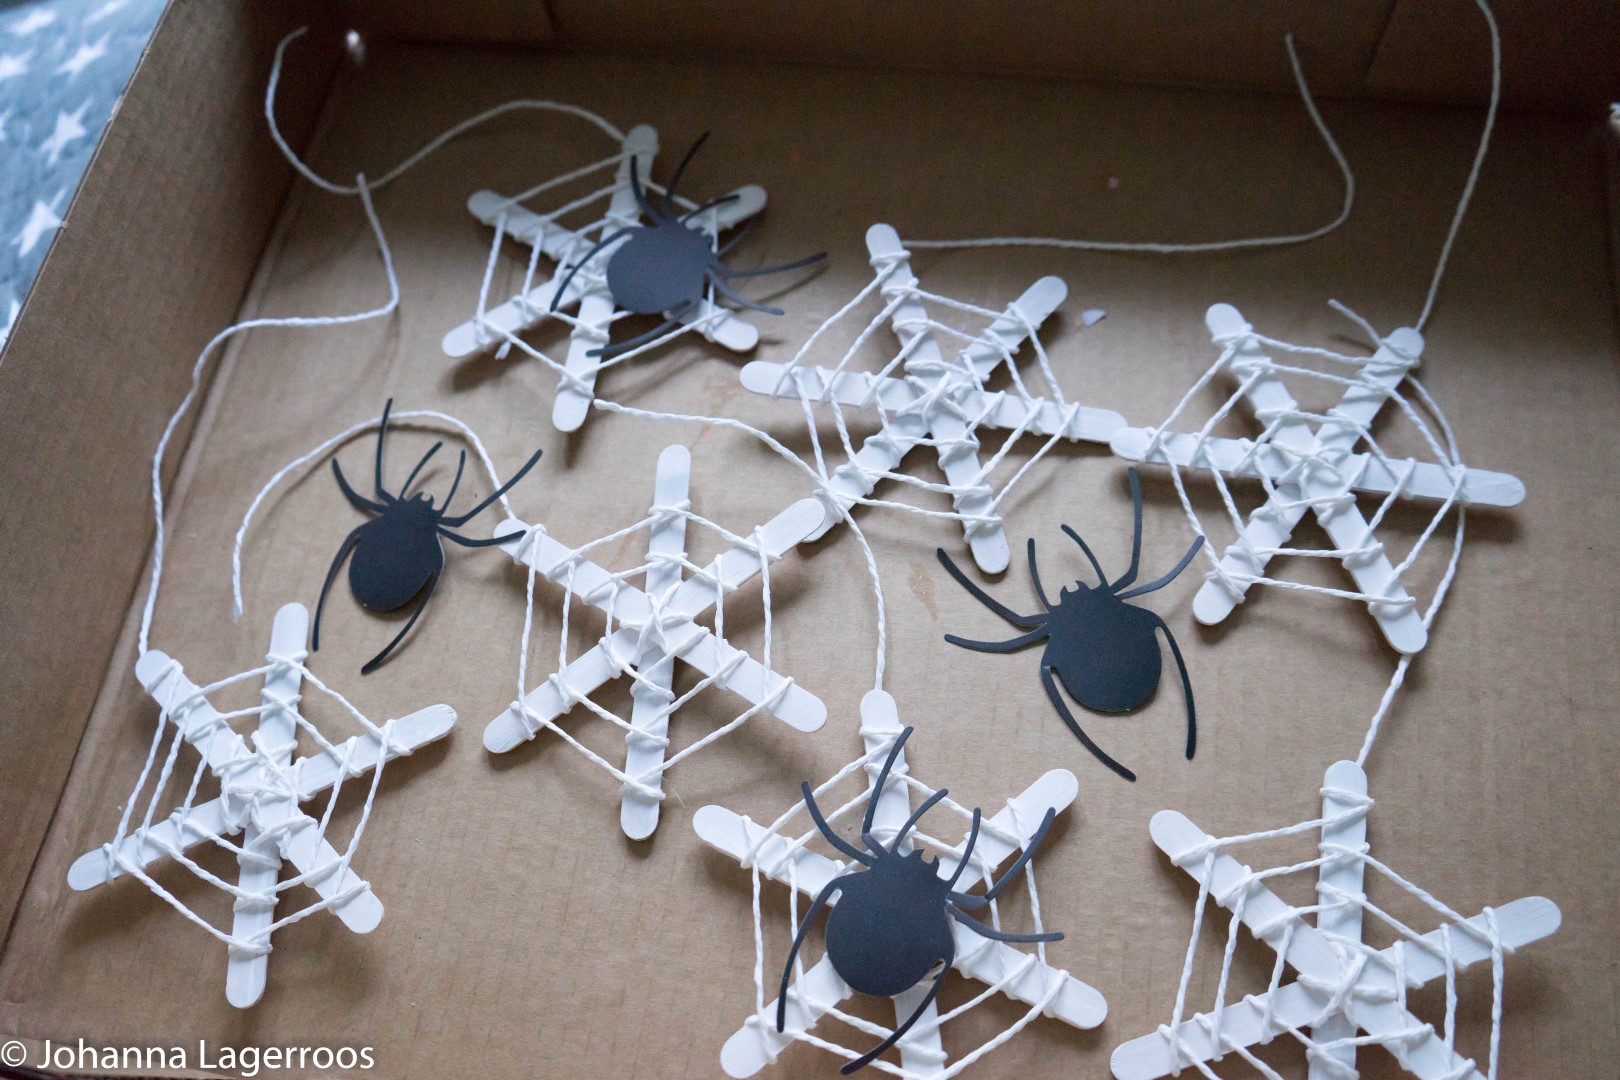
halloween diy spiderwebs

Candy Crafting ♥

Hello darlings!

How are you all today? ❤

Yesterday I finally got many things sorted with both of my laptops - which is why I didn't have the time to blog. Today, I've been very much stuck with my management essay,  which is due tomorrow  morning so I'm getting it sorted tonight. Luckily that doesn't have to be long, but rather all facts and useful information, so I can write something proper in few hours. And if that isn't enough, I have another one due next Friday. And here I was thinking we are learning to do things here rather than just reading a ton of books. Wrong.

Anyway, today I really wanted to share a little crafting post with you. I saw these through some blogs and YouTube and really wanted to try them out.

DSC04429 (Large)

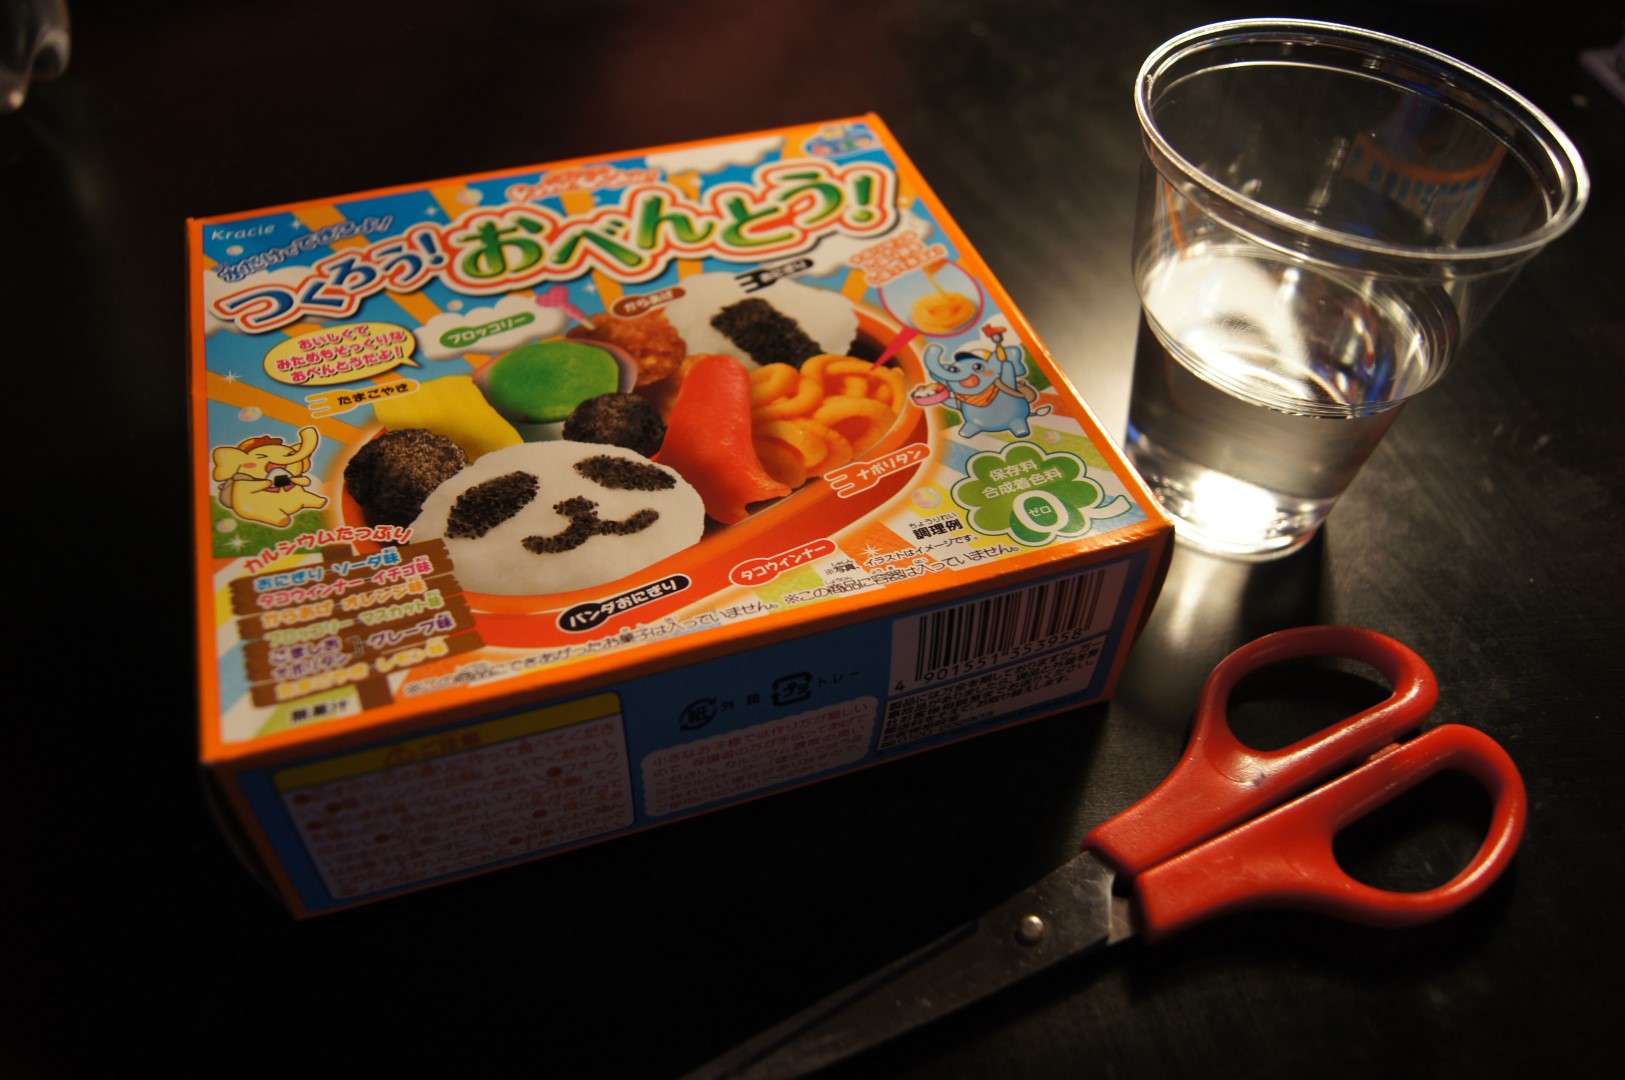
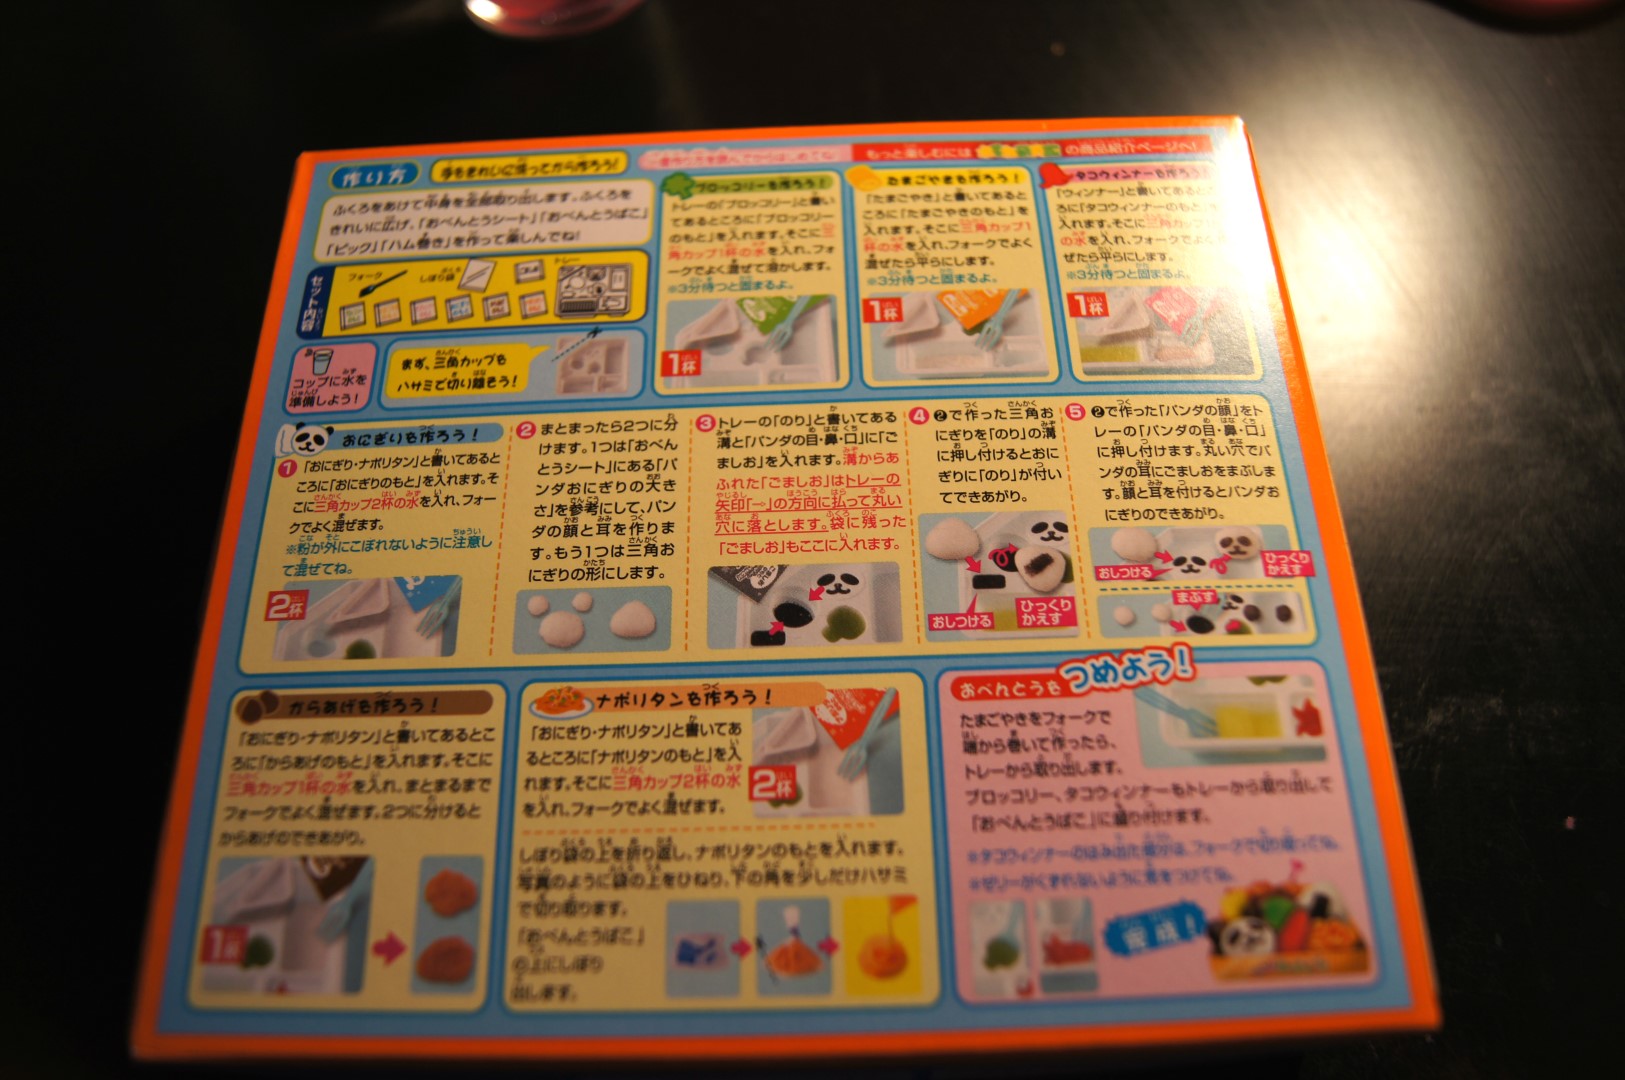
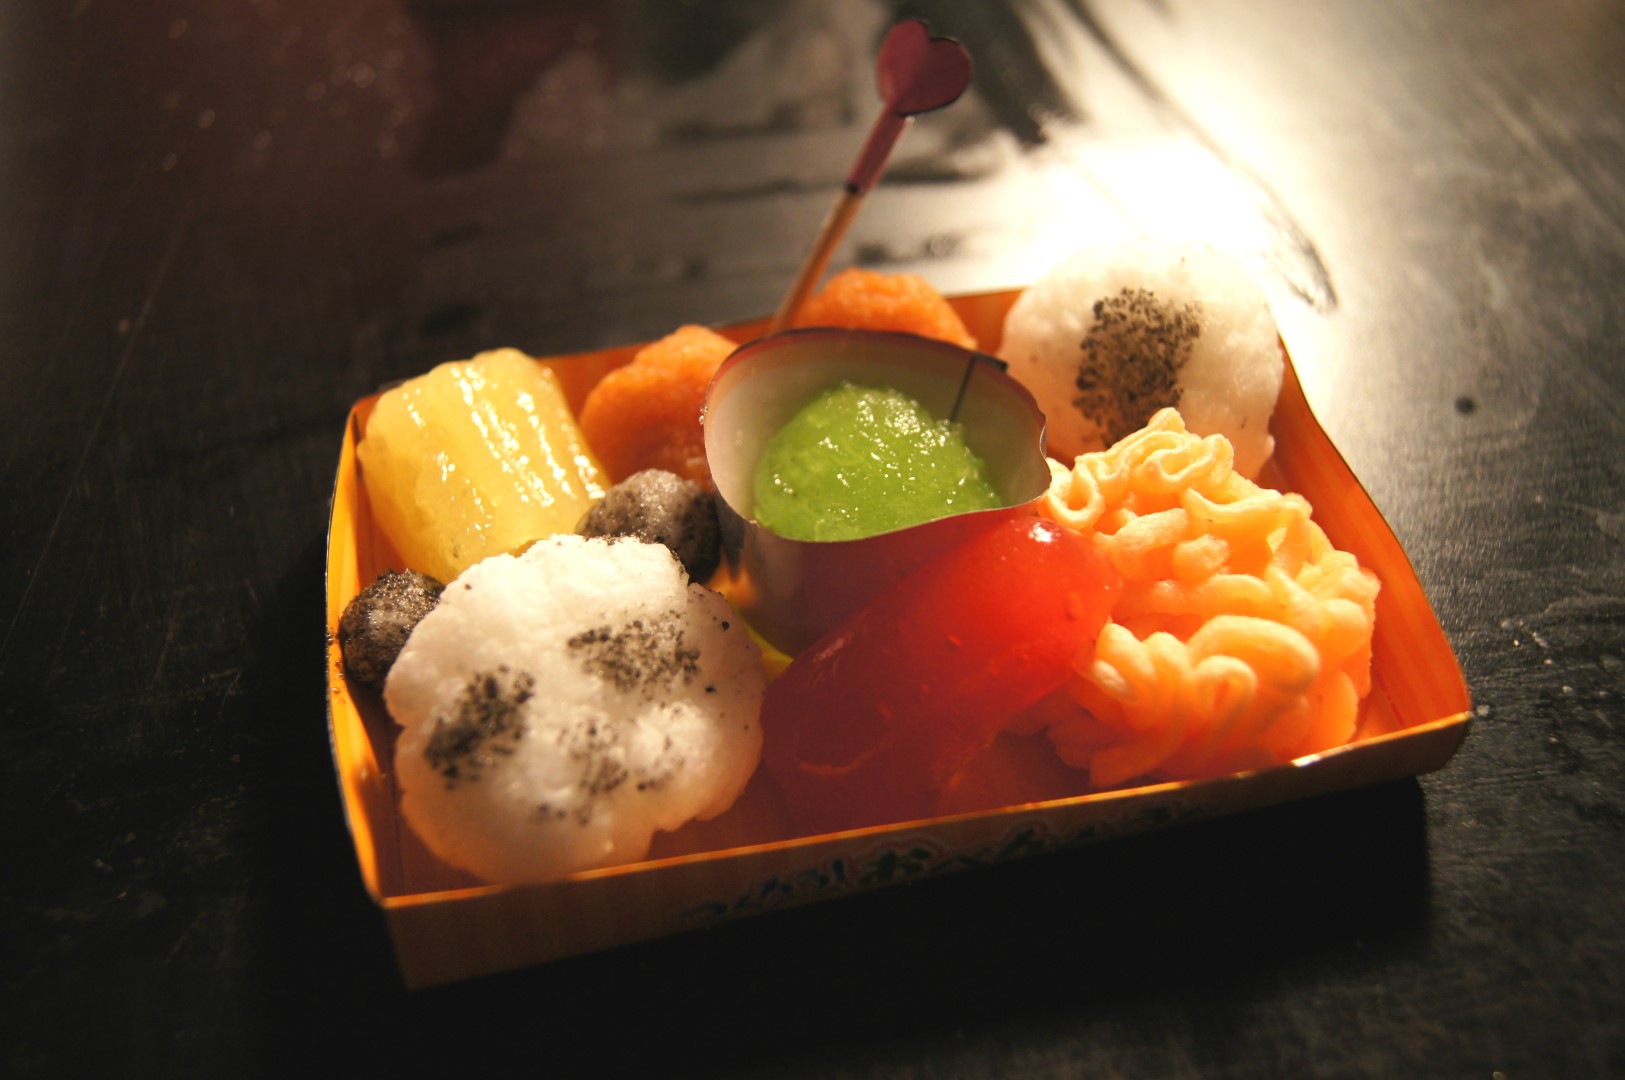
What am I talking about? Well, about these Japanese candy making sets. They're called Kracie Popin' Cookin', and there are many cute sets to choose from. I bought three of them, and in this post I'm telling you how the bento one worked for me. It sure looks cute and all!

DSC04430 (Large)

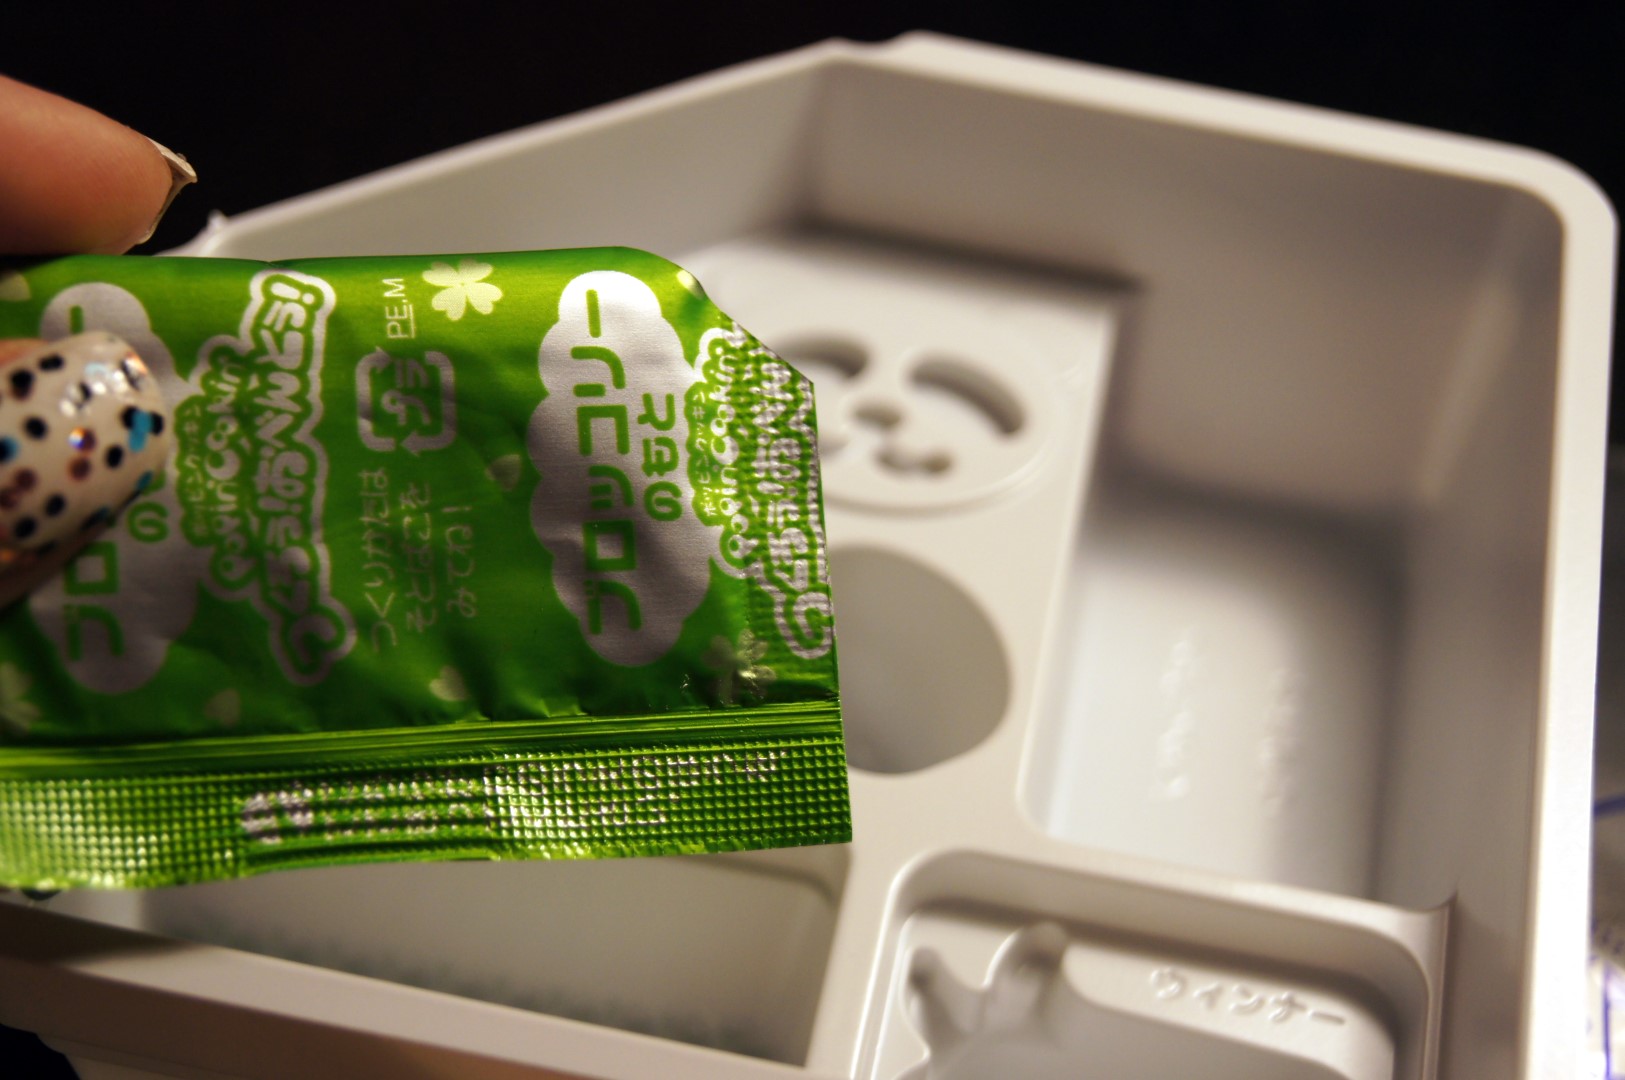
My first concern was seeing the instructions - which were all in Japanese. As I don't know the language, it was kinda hard to tell what they said. Luckily I had seen this been made in a video, so I had at least a tiniest idea of what I needed to do. But, for the sake of experimenting, I didn't watch it again for making this.

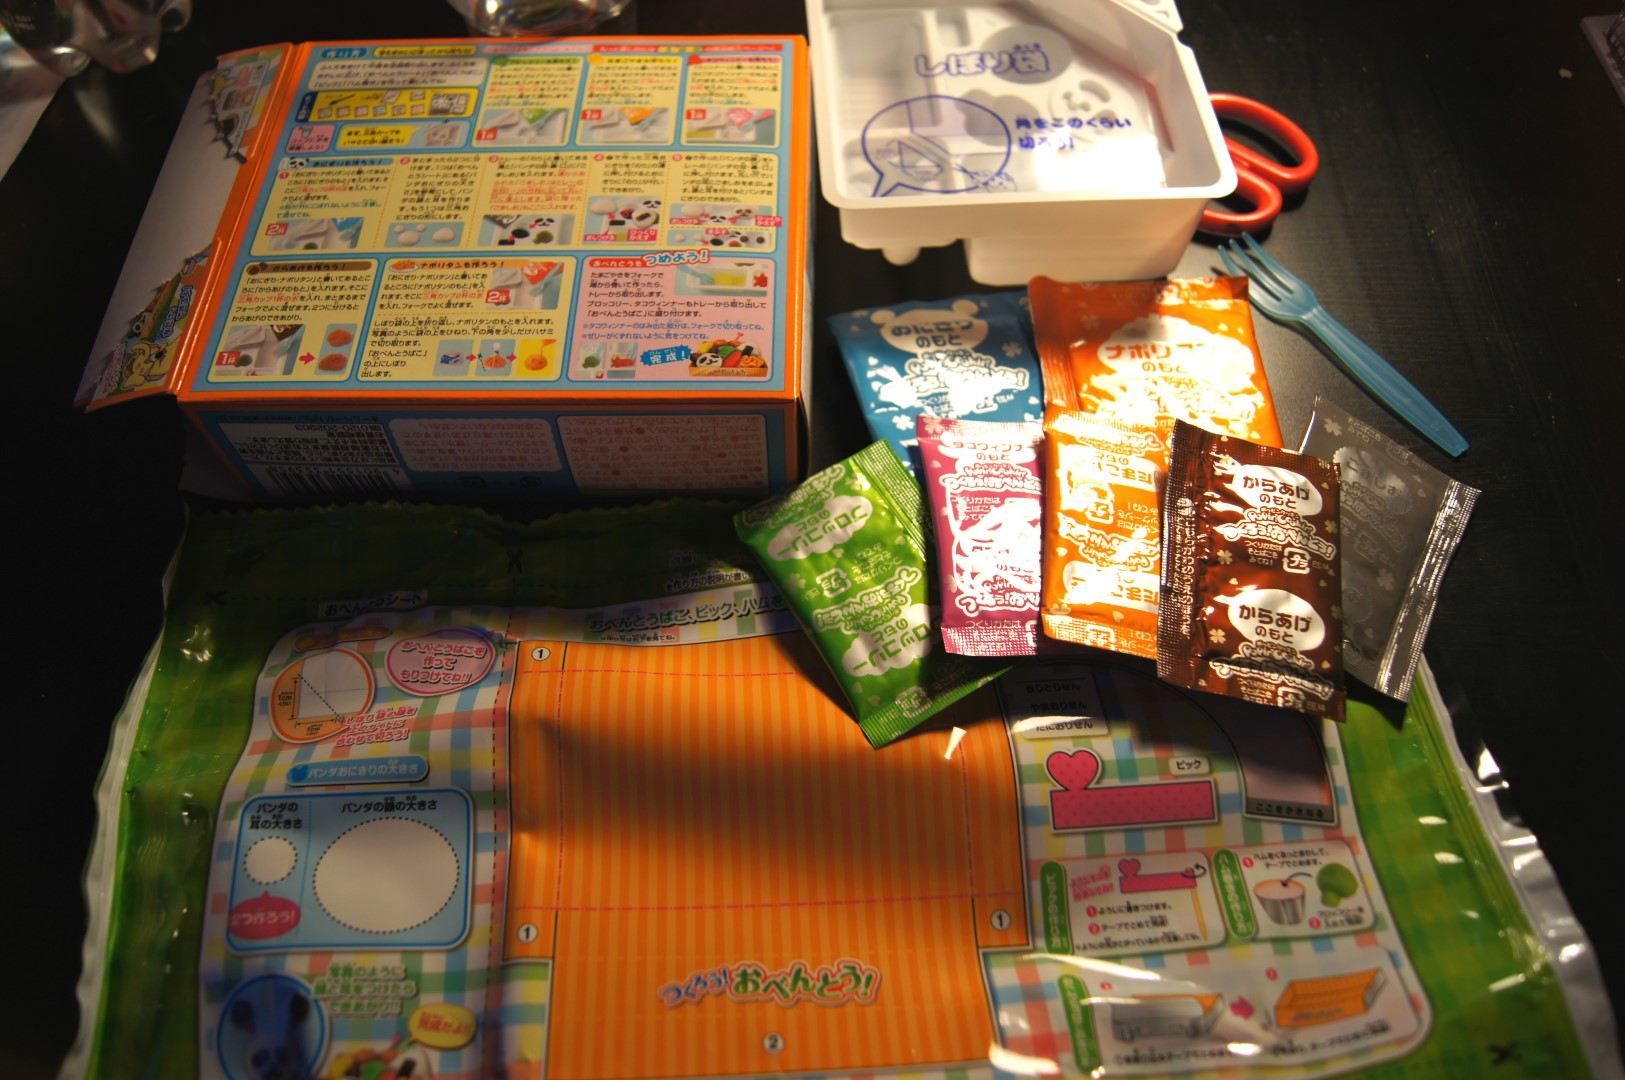
DSC04432 (Large)DSC04433 (Large)

So I got the decorations fixed, but then...

DSC04434 (Large)

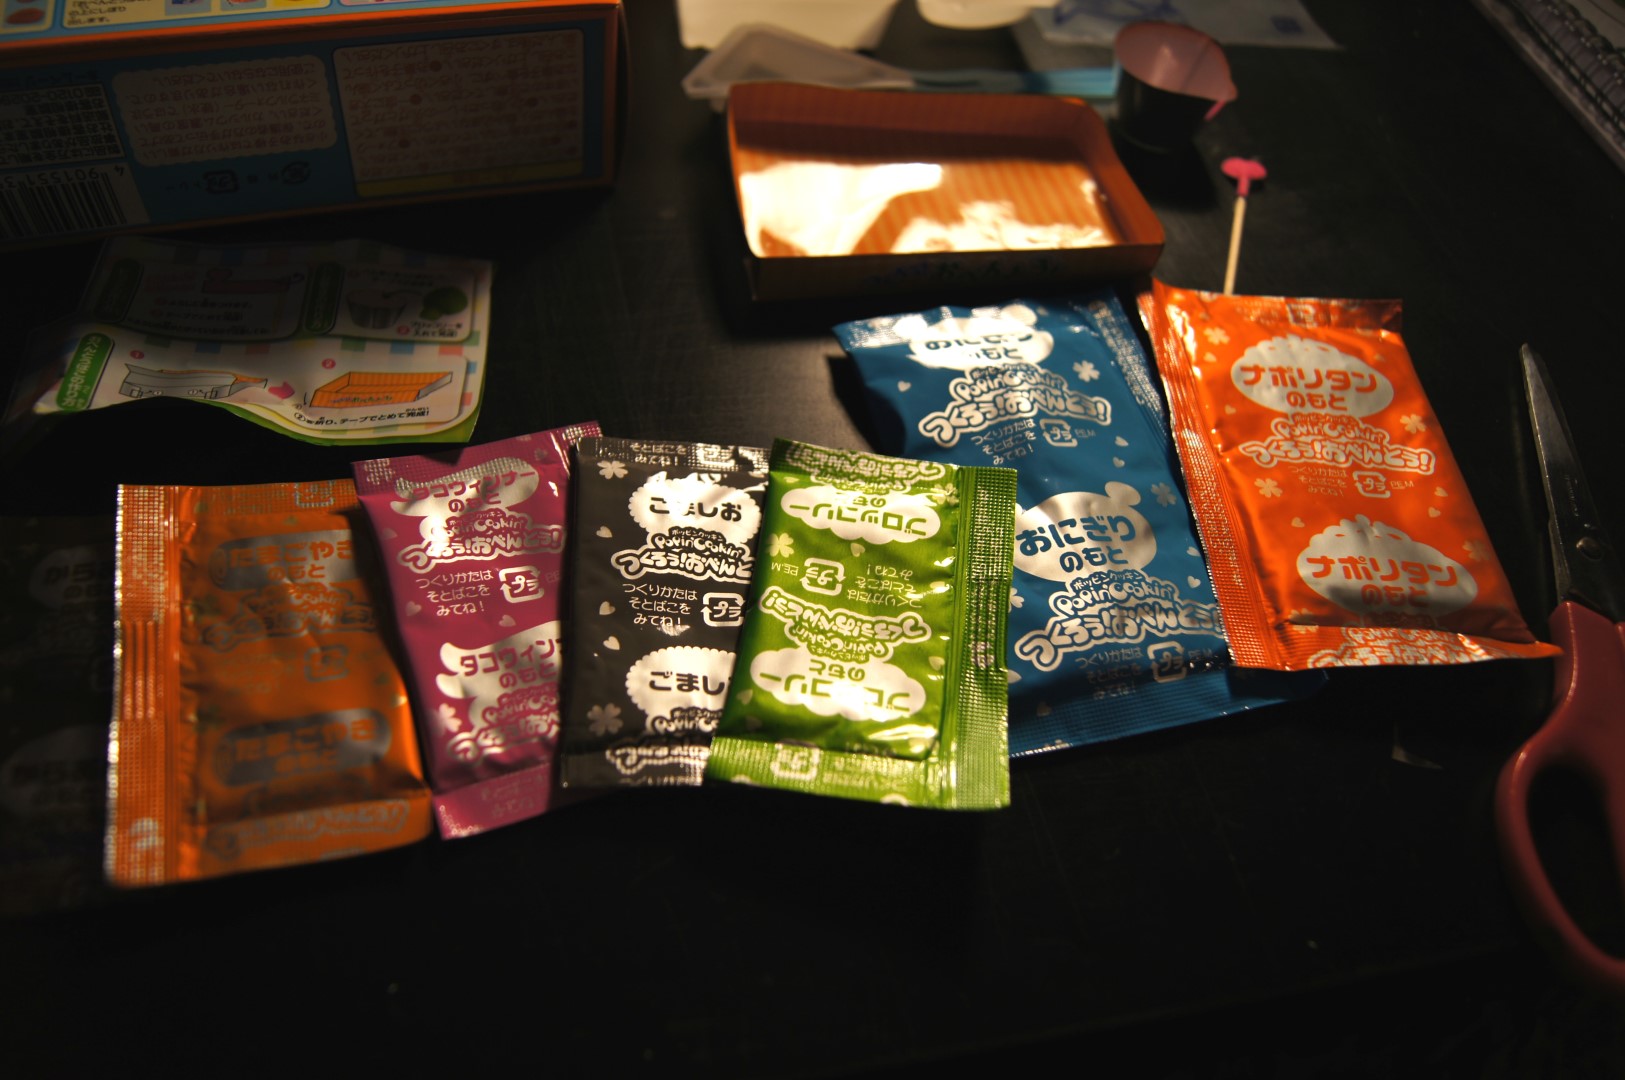
There were a big pile of different colored packs. Again, absolutely no idea which is which, but at least they were kinda clearly color-coded. So off we go.

DSC04435 (Large)

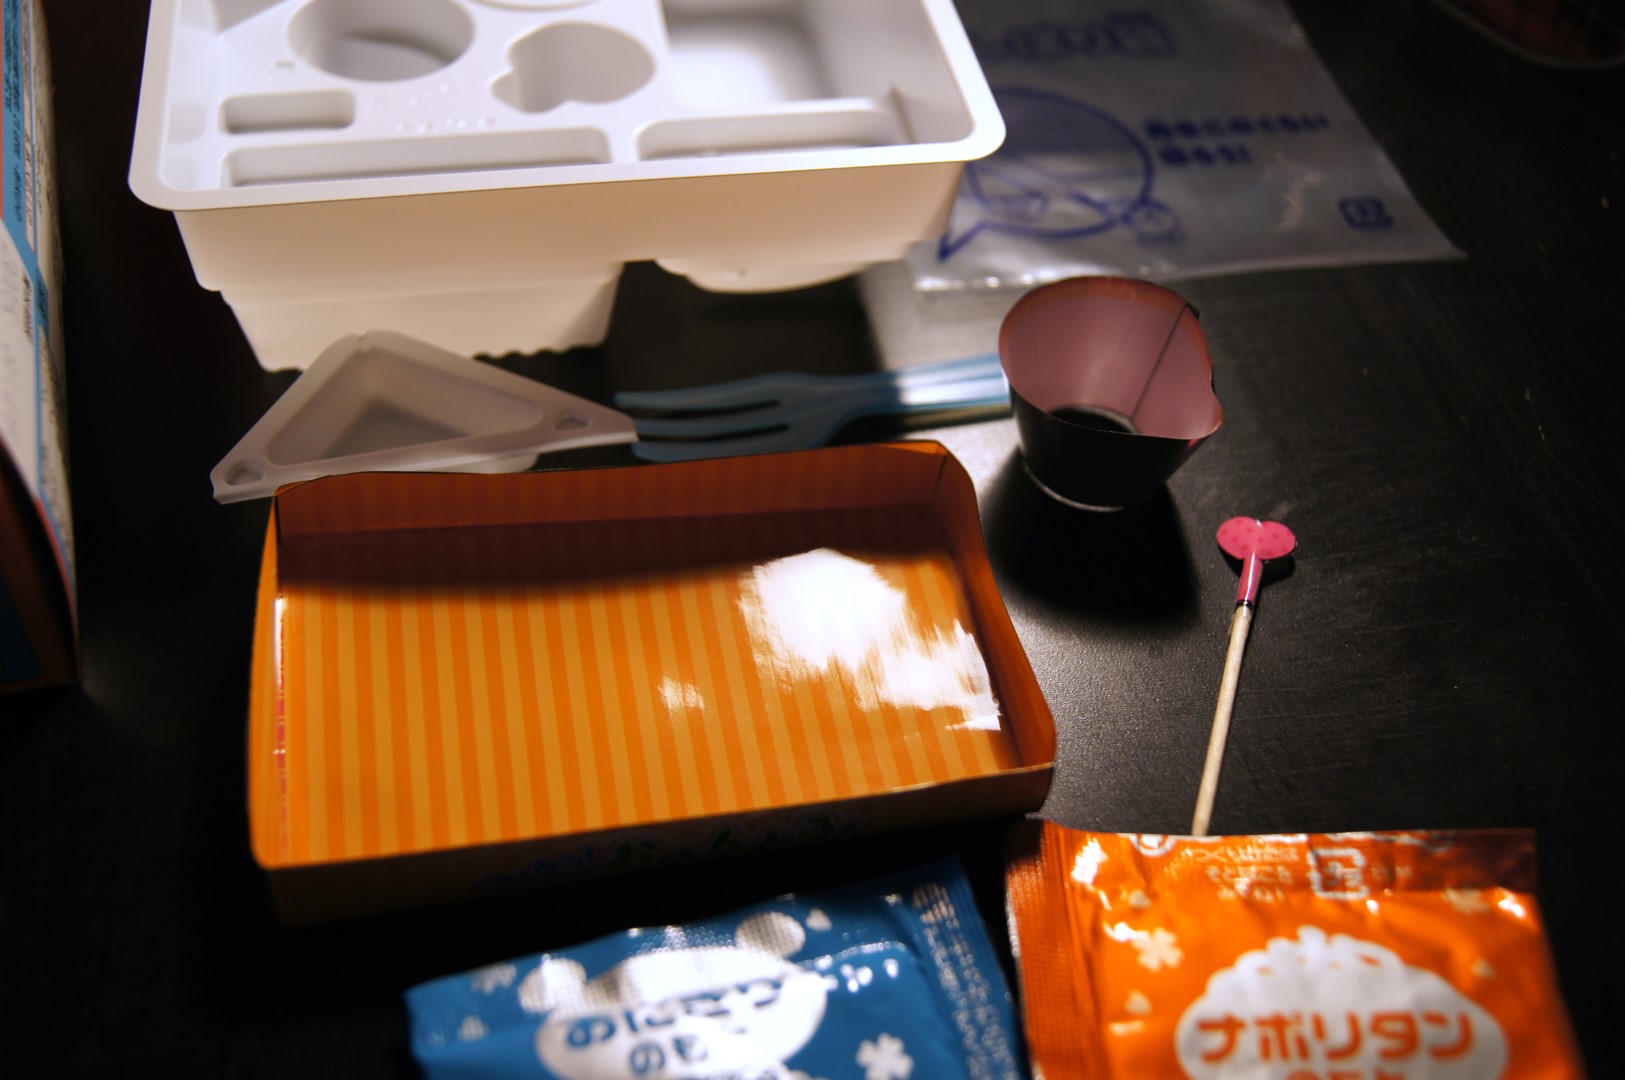
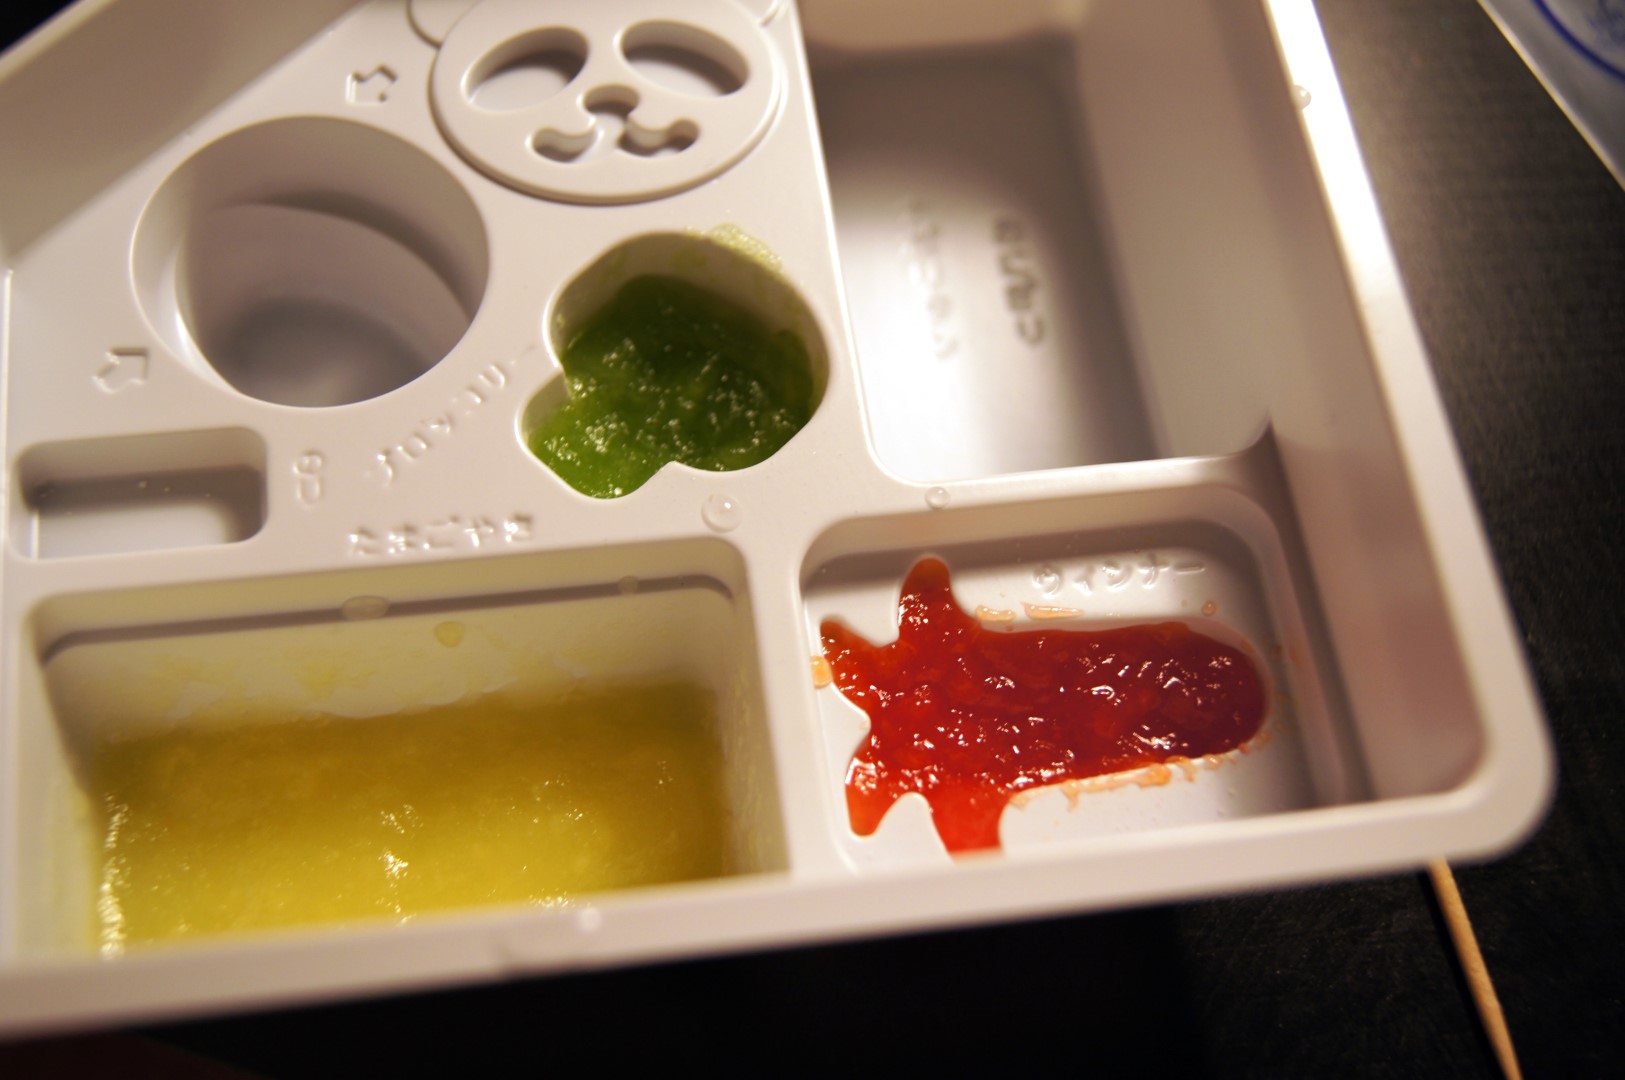
Then began the mixing. The insides of the bags needed to be mixed with some water so that they would turn into candies.

DSC04438 (Large)

...and yes, these are candies. Little different looking than I'm used to. But surely they will taste good.

DSC04439 (Large)
DSC04440 (Large)

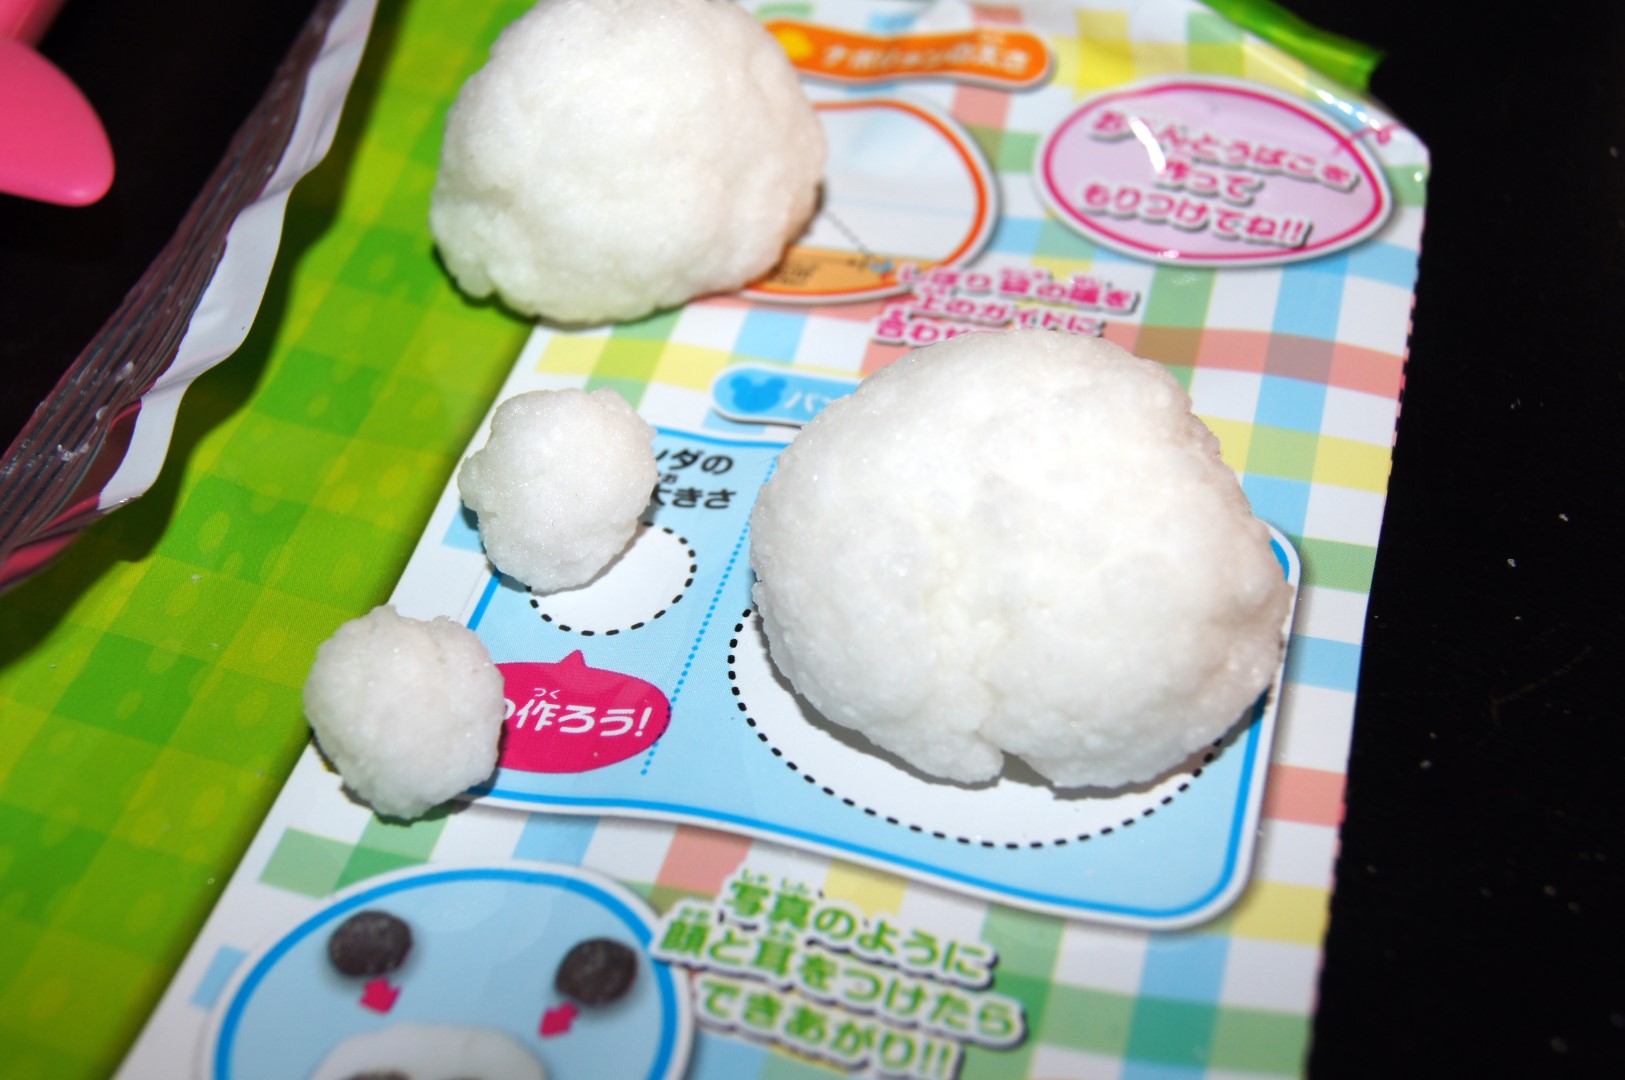
The rice candies had very different texture to them, which was pretty interesting.

DSC04444 (Large)

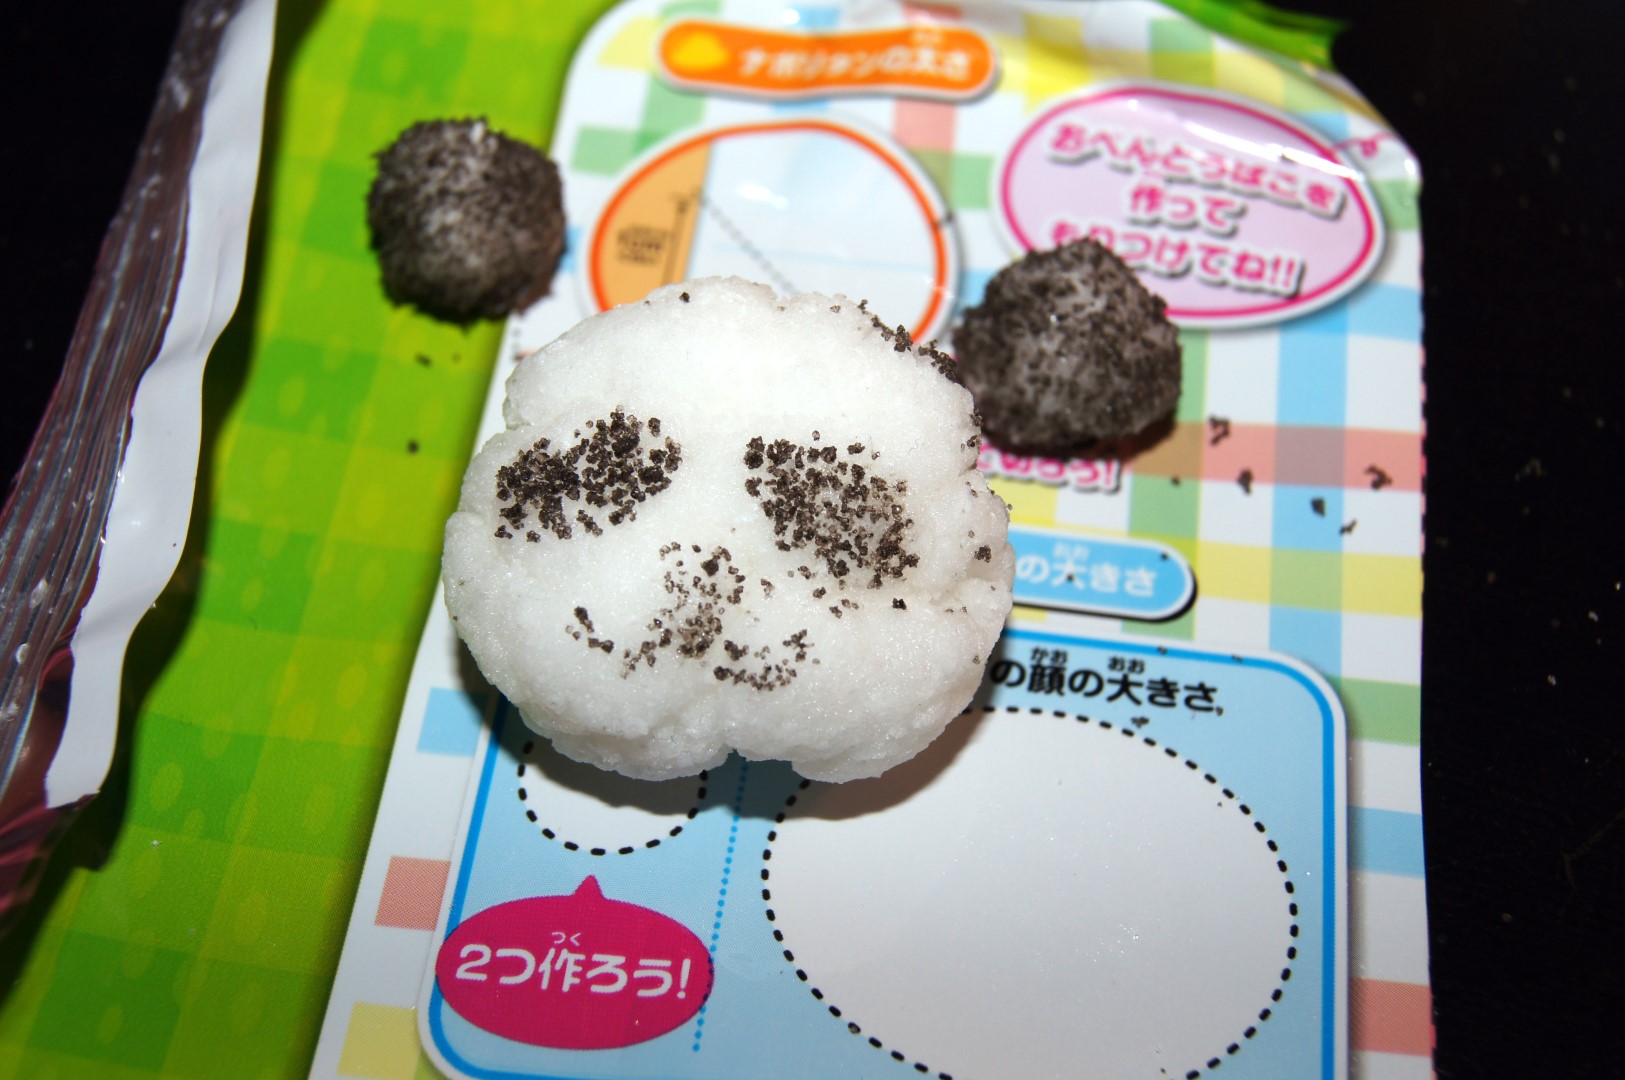
And the finished product looks like this. I'm pretty proud of it, even though it's not half as pretty as the one in front of the box. Was it tasty? Well, the tastes were different than what I'm used to, but eatable. The black "frosting" was the best part of the whole thing, sour and tasty. All in all I think it's worth of the few euros it costs, especially if you would either do one with a friend or a child, or if you would make it into a friendly contest of who can make a prettier one. I would totally recommend this!

Have you guys ever tried these? What did you think? Let me know down below ♥

Now, I'm gonna go get the essay finished, and then some quality time with my man before bed. Tomorrow is another fun project day, and I can't wait to see what we'll do there. Tomorrow, I will finally be posting some outfit pics, so I hope that will be something for you to wait for.

Have a fantastic day, you all! 

DIY: Studded Shoes ♥

Hey everyone!

How are you all today? ♥

I was spending the weekend doing stuff offline, not being on the laptop that much, but today I realized is better to get back with blogging at last. I don't know about you guys, but I really hate the fact it's so dark outside every day. I have outfits to be photographed, but as there's good light for only 1-2 hours per day, it's hard to get pictures outside. And because of the lack of snow, the outside feels pretty uninspiring with all the grey and wet. Oh well, it'll probably get better soon. I hope.

Anyways, what I've been doing lately, is some reorganizing in my blogging/sewing space. Couple of days ago I went through my fabric boxes and made a sample book, so I would know which fabrics I have in there the time inspiration strikes. I also dug up all my pathetically undone projects, and decided to dedicate this month for finishing them one by one. The first one I'll be showing you today.

 photo DSC01580Large.jpg

As some of you might remember, I have two pairs of these kinda sorta Jeffrey Campbell clones of shoes. One pair is leather, one is suede. I don't really care that much for suede, as I'm clumsy and all, and I get it all messed up in use. But as the pair is so cute, I figured I should make them more "me" some way. And, as I love crafting things and I just don't do them enough as it is...

 photo DSC01581Large.jpg

...I took out these awesome studs, a piercing tool (a.k.a. a thin kitchen knife) and a screwdriver, and started putting some studs on the shoes.

 photo DSC01583Large-1.jpg

And on they go. If you decide to do this too, it might take a lot of patience, depending a lot how thick the material of your shoes is. Suede itself is reasonably easy to pierce, but the heel parts (as in the back of your foot part) was tough as it has this supporting, tough material there that helps the shoe keep its shape. I don't know if one should actually go and pierce that part or if it will eventually ruin the shoes, but I had to try, because otherwise I couldn't have made the kind of shoes I wanted.

 photo DSC06628Large.jpg

And here you have the finished shoes, not as amazing as real studded Litas would be, but a nice low budget option before I can actually afford a pair.

 photo DSC06630Large.jpg

So that's the first project I finished this year, these had been hanging on my table for months now (shameful, I do know) but finally they are done and I can clean them and put them in their box to wait for the spring days so I can finally use them again. ;)

I think I just might post more of these little craft projects this year, but before that I want you know:

Would you like to see more of these crafty posts? And, moreover, would you like to see the kind of craft posts that are also step-by-step instructions, so you can try the projects yourself? Let me know in the comments! ♥

Now, this girl needs to head to the kitchen and get cooking with our dinner so that I can go to work without being hungry, and so that I can have some time alone with my man before work. I'll be back as soon as possible, though!

Have a fabulous day, lovelies!

Blog ya later,

xoxo

Johanna

Let's be friends in IG!