Showing posts with label mix and match. Show all posts

Skittle vs. Gradient Fail

Hello darlings!

How are you all today? ♥
I've been hanging out without a computer for over 24 hours, so now I was finally ready to sit down and type a post. I have been planning out posts for next week and also prepping my #julybeautychallenge pics for Instagram and so on, so I've still been busy with blog stuff even though I have been offline. 

Today, I have another nail art post for you. I hope you enjoy the design, so let's check them out!

DSC07540 (Large)

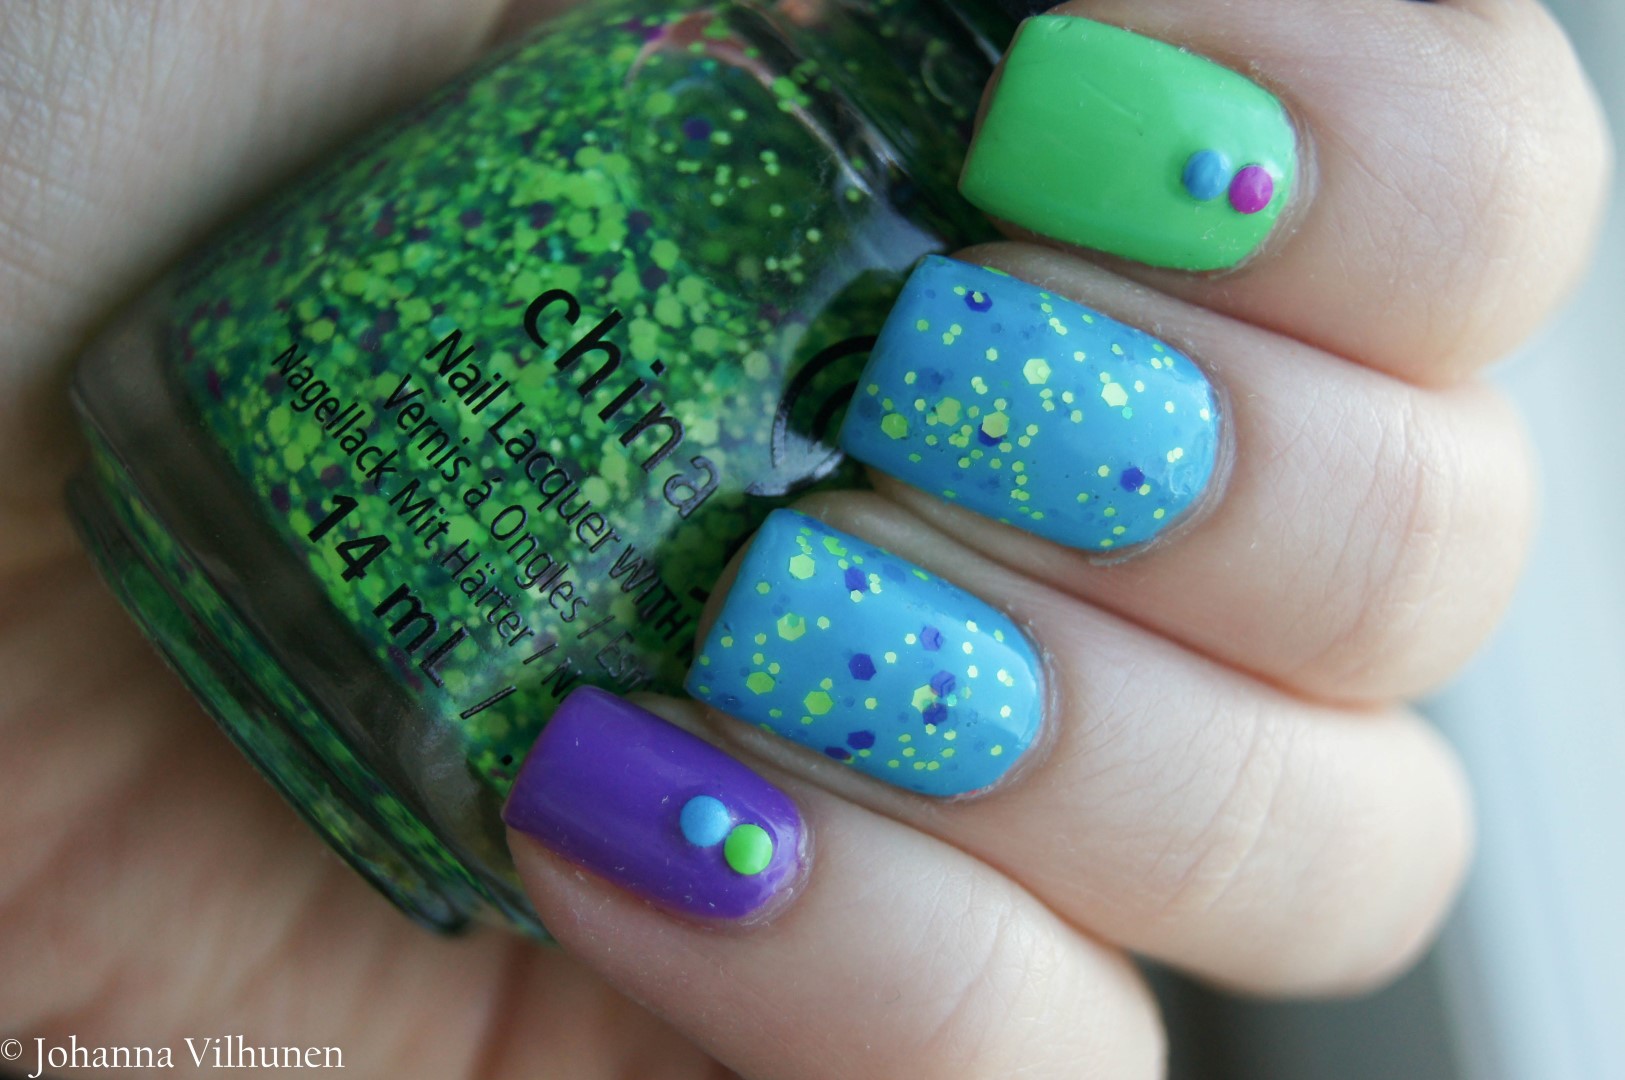
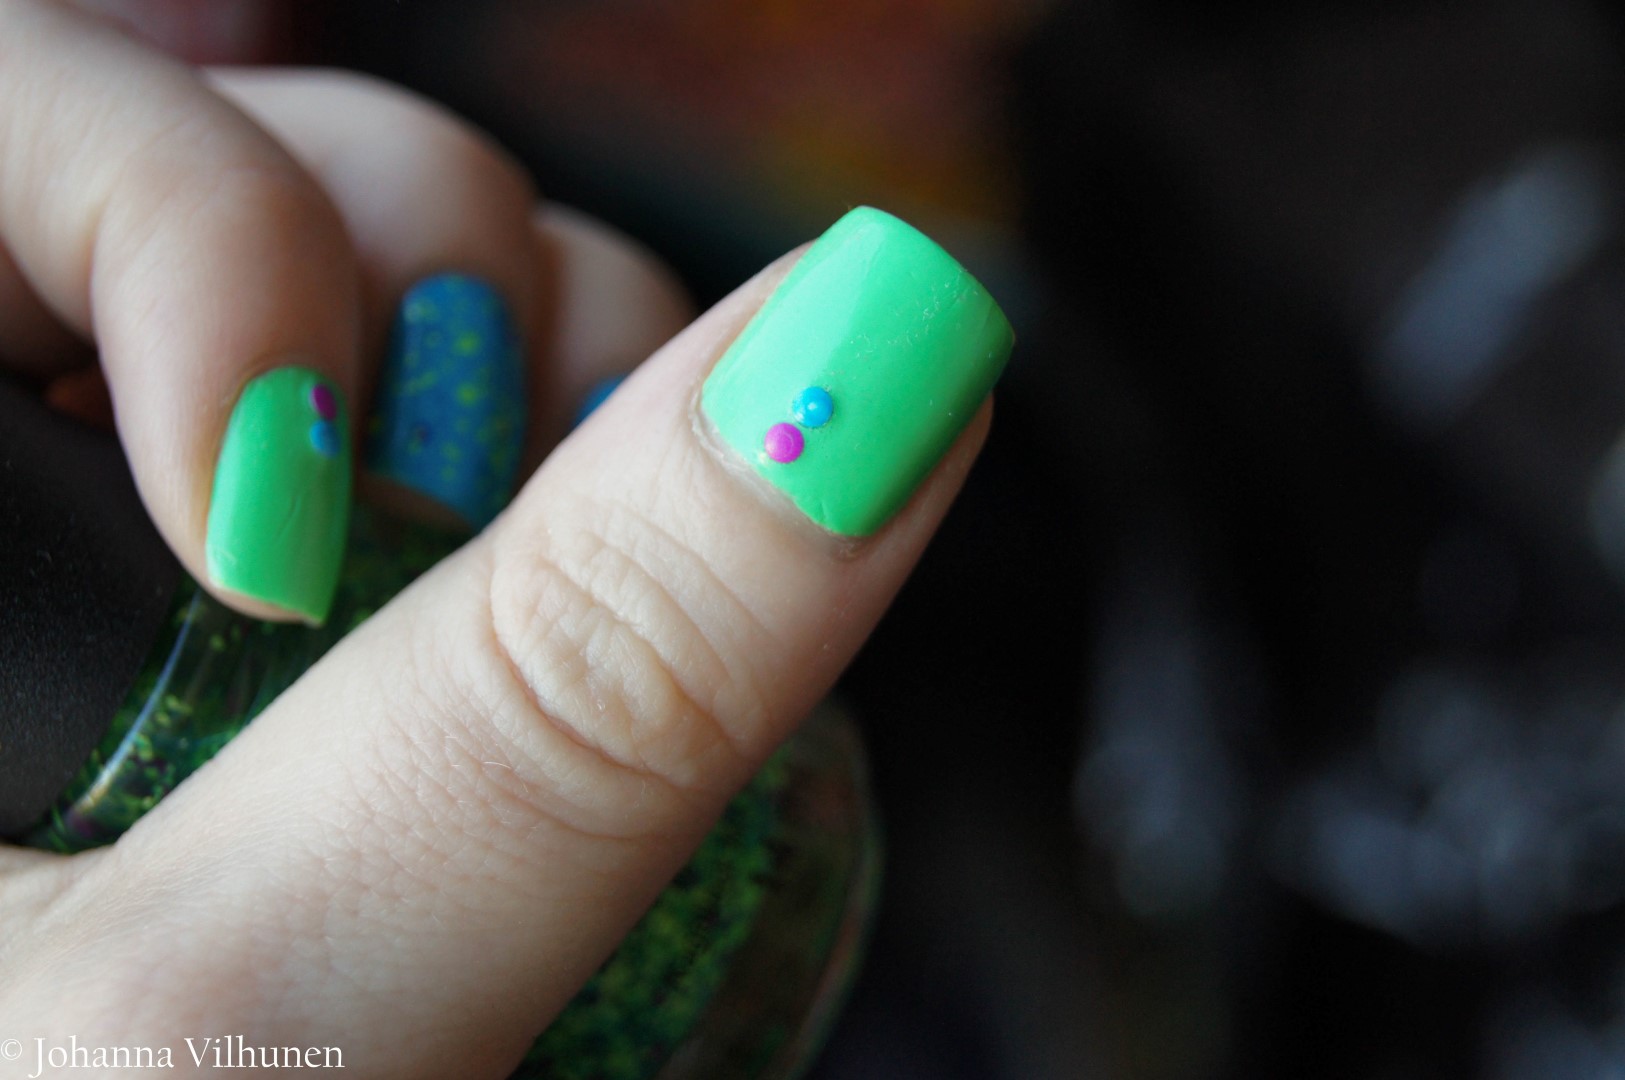
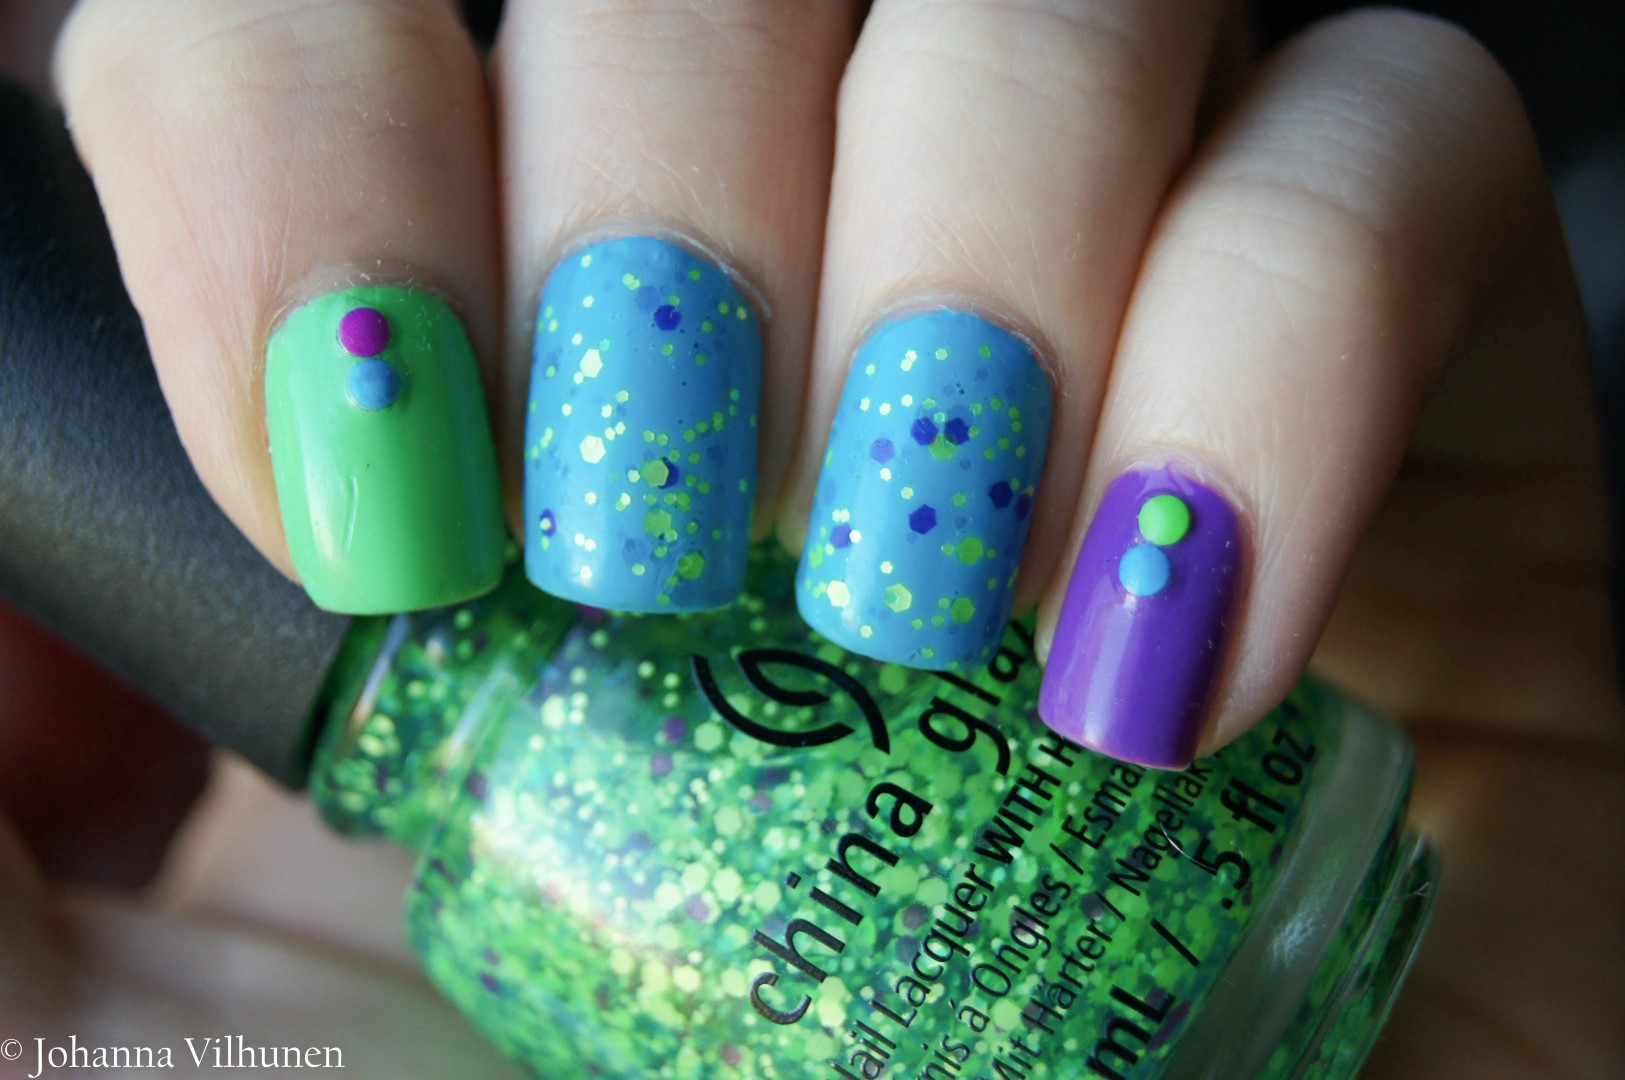
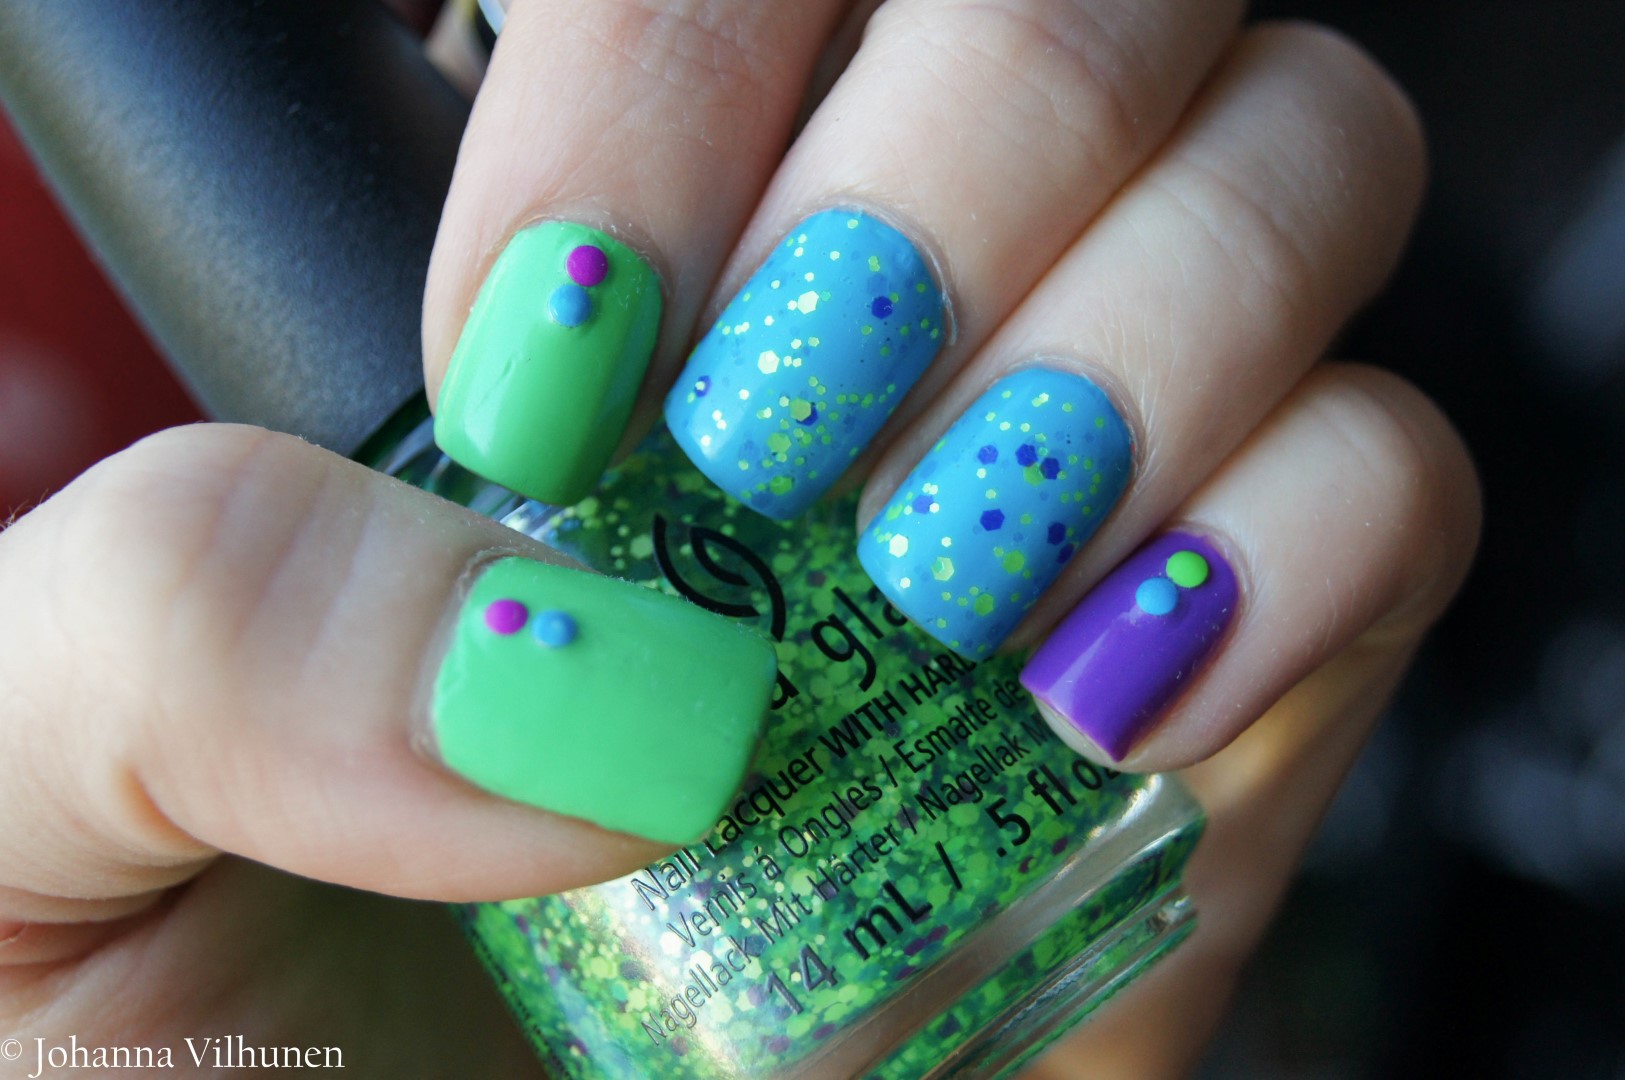
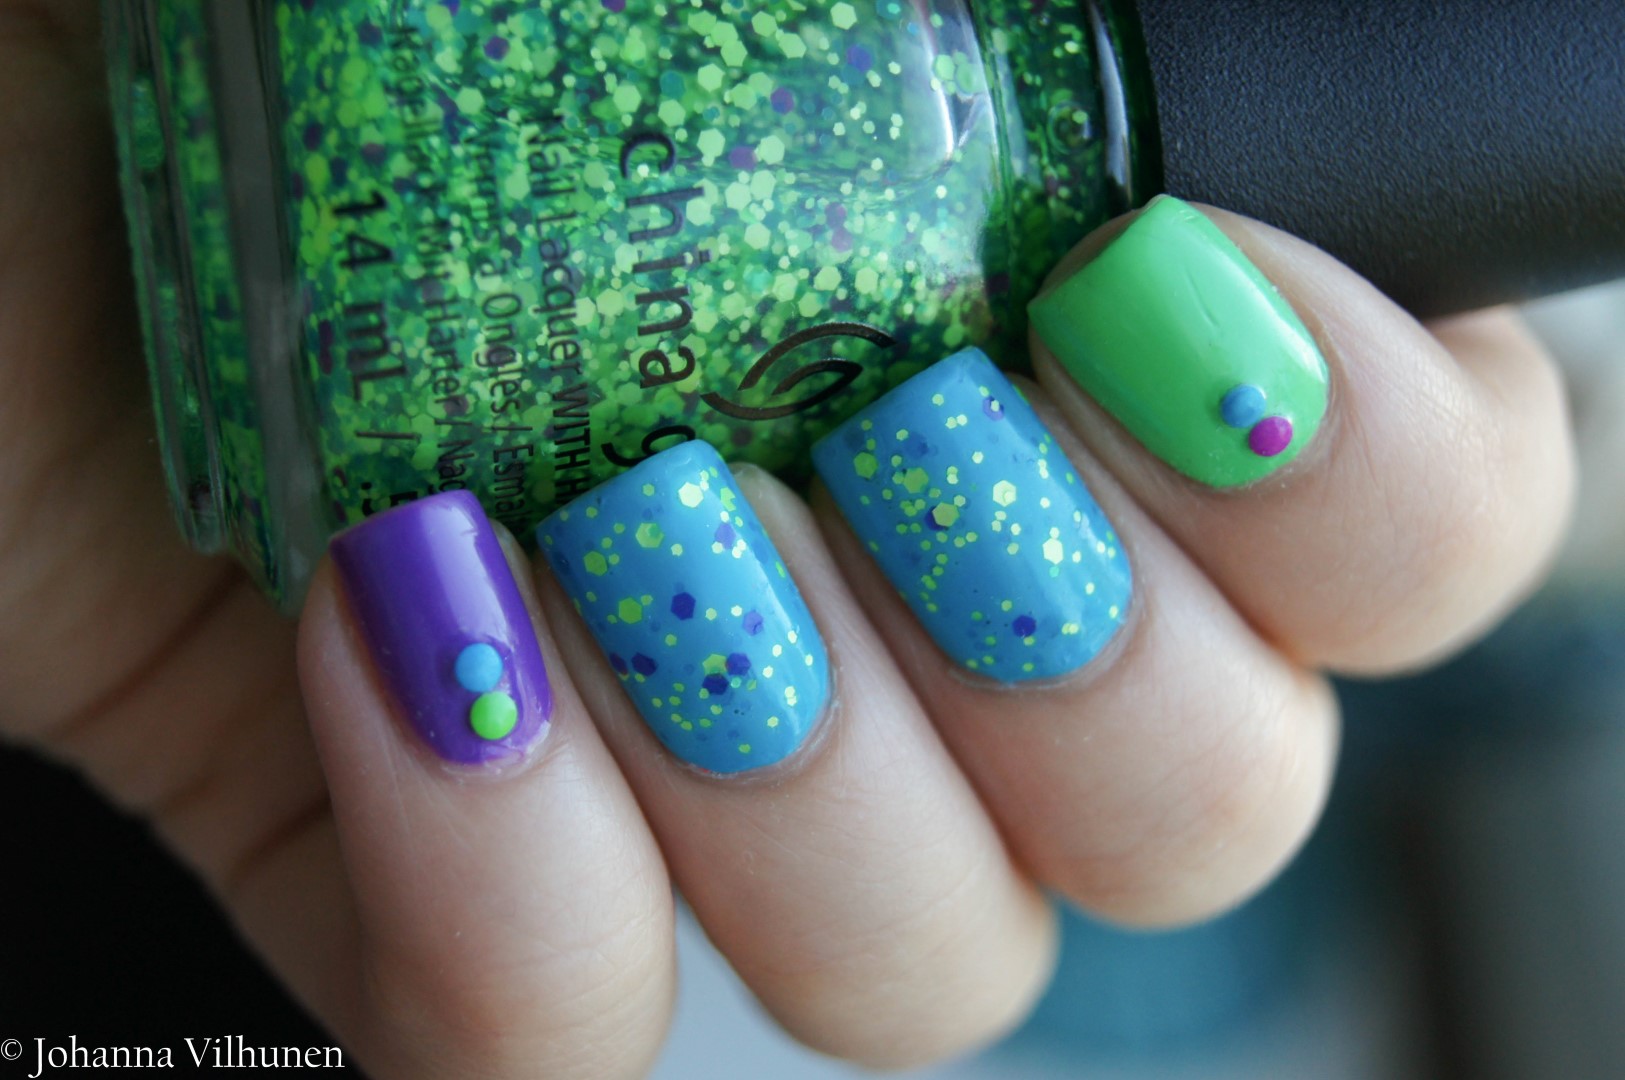
First is this little skittle number I did with the China Glaze Electric Nights polishes I bought for the summer. I was inspired by the glitter polish I use as a prop in the pictures, it has such a lovely color combo in it. 

DSC07554 (Large)DSC07543 (Large)

I mimicked the glitter polish with the base colors and the studs, and also used the glitter polish as a topper on the blue nails. I liked this design surprisingly lot, and it was super easy to do.

DSC07534 (Large)

The polishes I used were DJ Blue My Mind, Plur-Ple, Treble Maker and the glitter topper that is called Can I Get A Untz Untz. The studs are from Born Pretty Store

DSC07548 (Large)DSC07561 (Large)

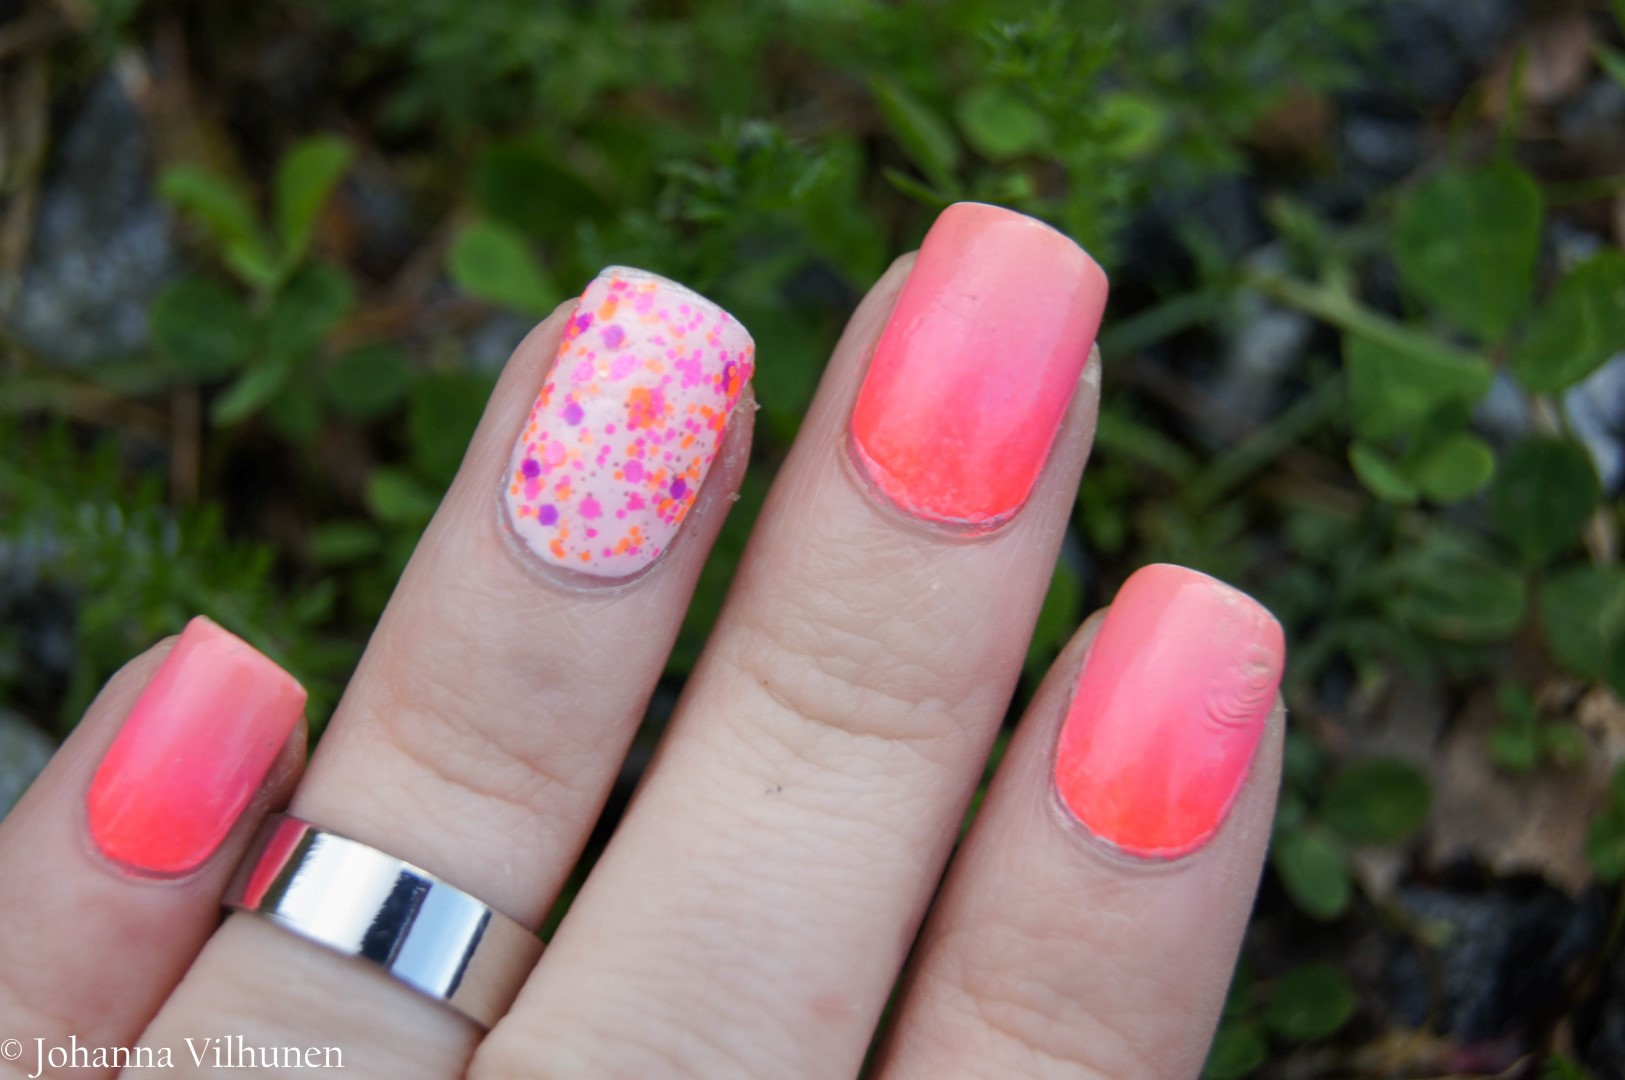
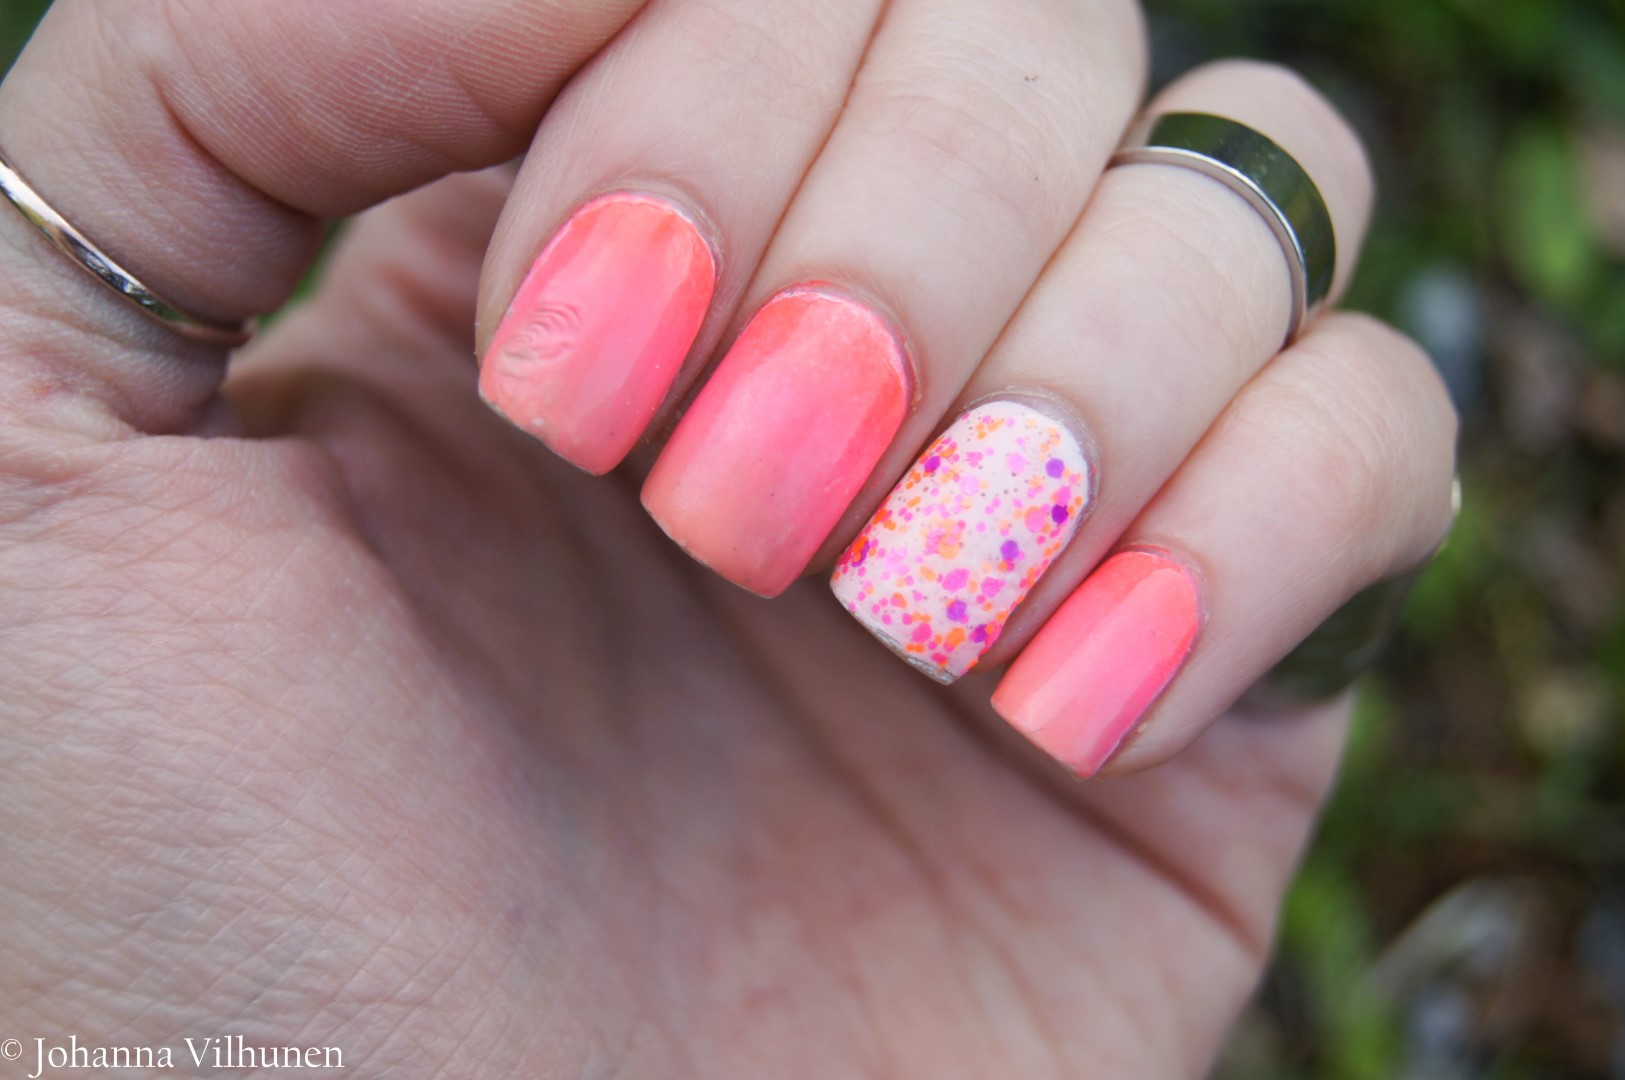
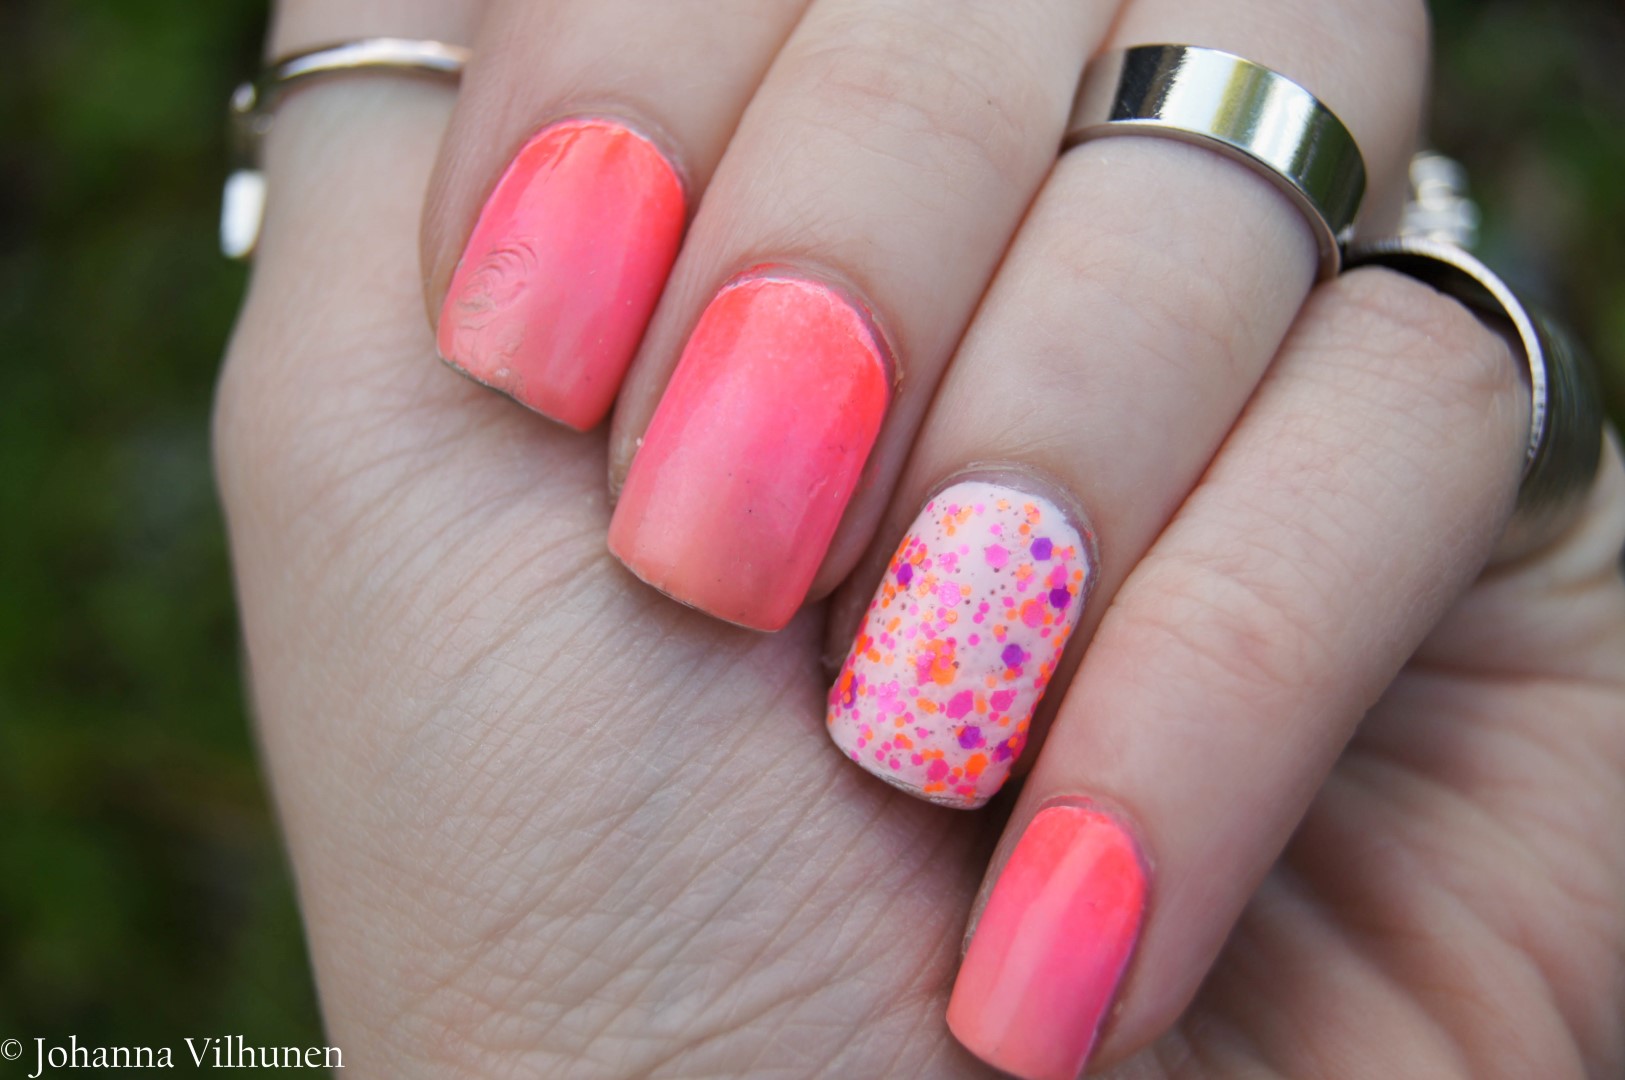
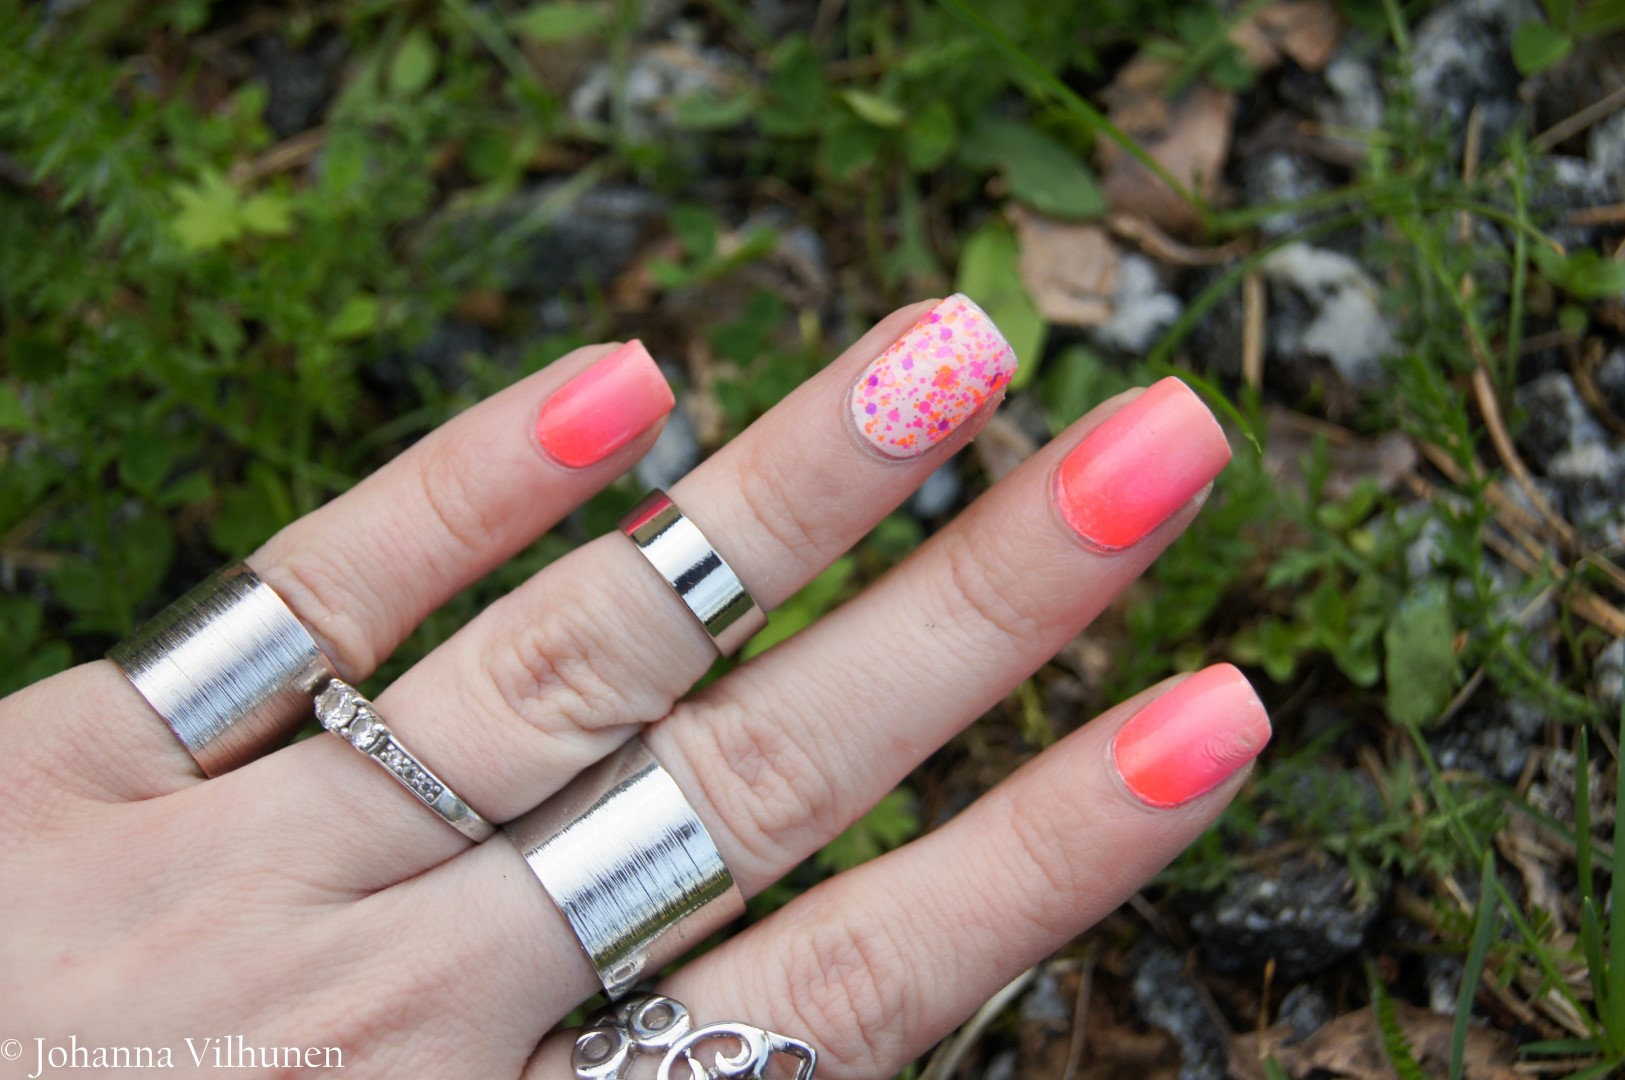
The next one was lovely even though it took some damage before I got to take the picture (meaning it got hurt right when I finished painting!), but I loved the colors so much I wanted to share it anyway. Don't hate!

DSC07576 (Large)DSC07565 (Large)

I really don't have a lot to say about the design, but it was a simple little gradient with cute accent nail and I wish I had taken better pics of it. We were going to friends and family the weekend I painted these so I didn't have a proper chance to change the nails or fix them. So sad.

Anyway, the polishes I used were China Glaze Sun Of A Peach, Glow With The Flow, Red-Y To RaveWhite On White and the glitter topper is Let The Beat Drop. The gradient was done with the sponge, and I hope to do a tutorial later on (for gradients altogether).

DSC07580 (Large)

So that kind of manis this time, the designs weren't too crazy mainly because I felt more like trying out the colors and such. I'm sorry the second one is a bit messed up, but I hope it can be a color inspo nevertheless. And for those who are afraid to do their nails or think they can't, I can tell that we all mess up with nails sometimes, it just shows you what more you can learn.

What you guys think about these manicures? Let me know in the comments!

I'm going now to have a late night movie time with my man, and tomorrow I'll be sharing bits and pieces of my bachelorette night with you. So stay tuned and I will see you tomorrow with a better post!

Have a lovely weekend ♥

Stripes vs. Chevron

Hello lovelies!

How are you all today? ♥

We're headed to a trip today again, which is kinda exciting - although a quiet weekend home would be soon very much needed. But in the summer, it's nice to travel around and see places and people. At least most of the time, anyway. After a week, it's time for my bachelorette party which I'm both excited and terrified about, because I'm absolutely clueless about things. Luckily girls promised to tell me what kind of clothes to bring along - at least. I promise to get some pics here and there for you to see from that night. 

Also, if you'd like to see a sneak peek of my wedding dress, please let me know in the comments. If you follow me on social media, you might have seen something already. ;)

Today, however, I'd like to talk to you about nails. I have two designs that I actually really liked, even though the techniques might need some perfecting. But you can be the judge of that.

DSC07126 (Large)

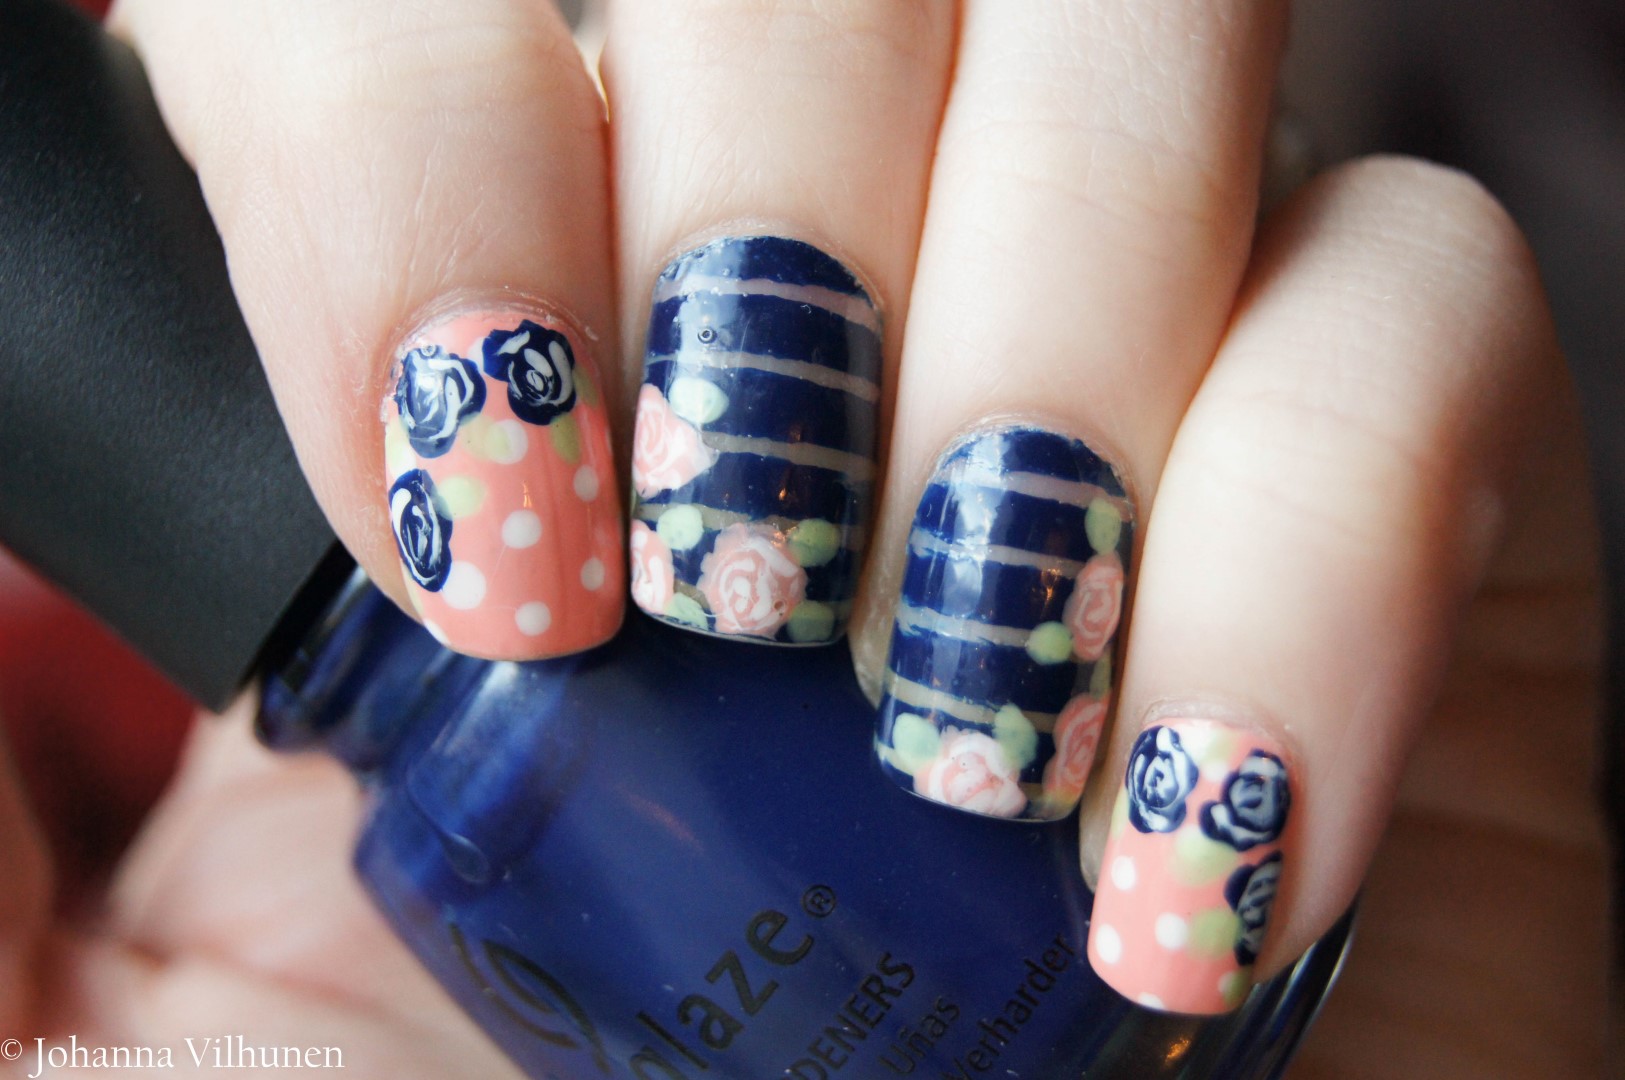
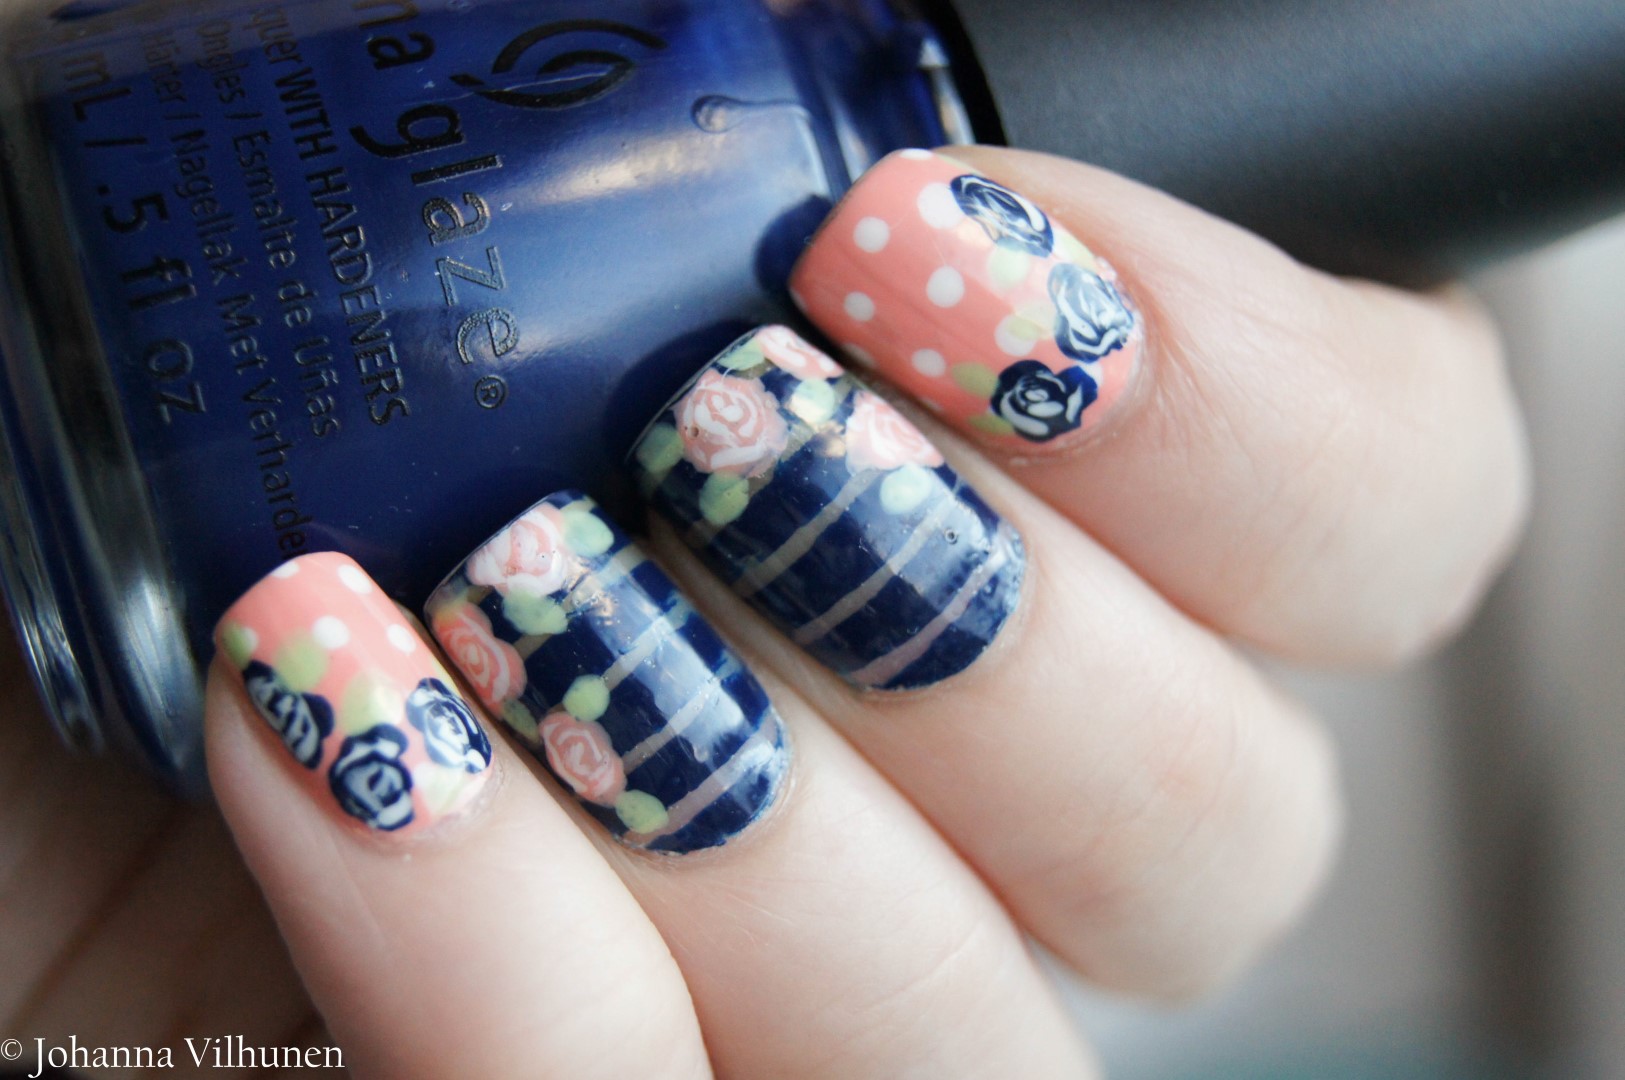
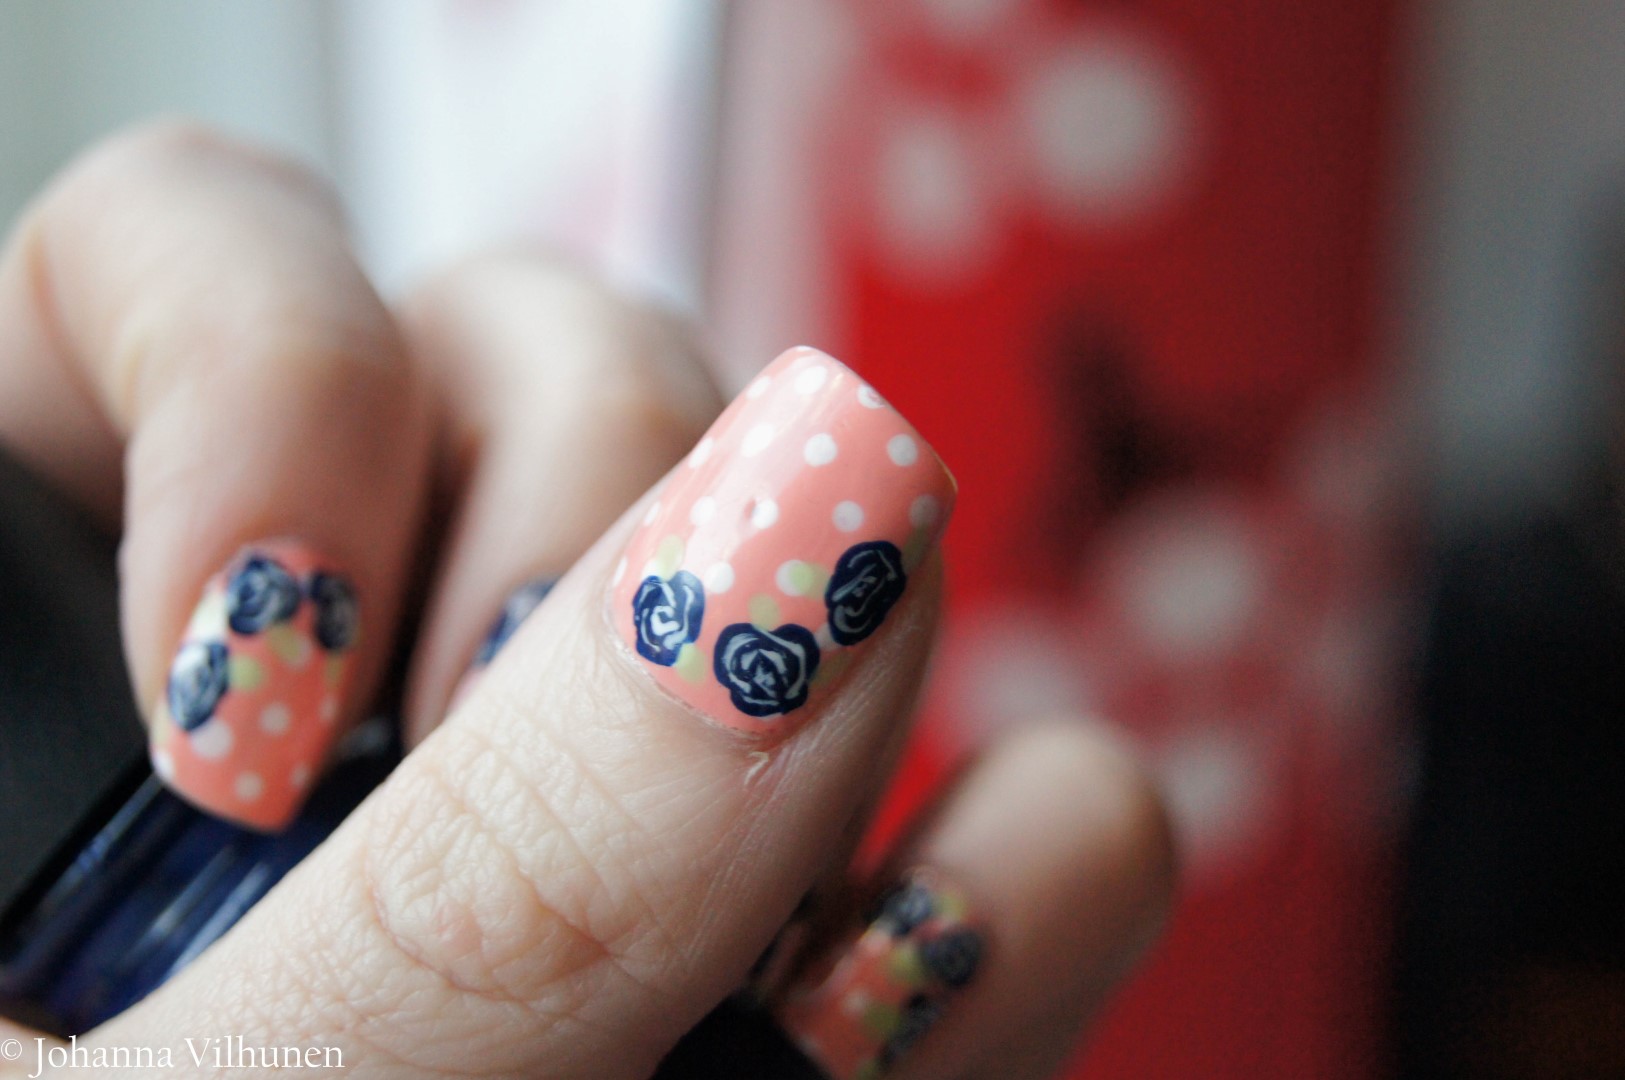
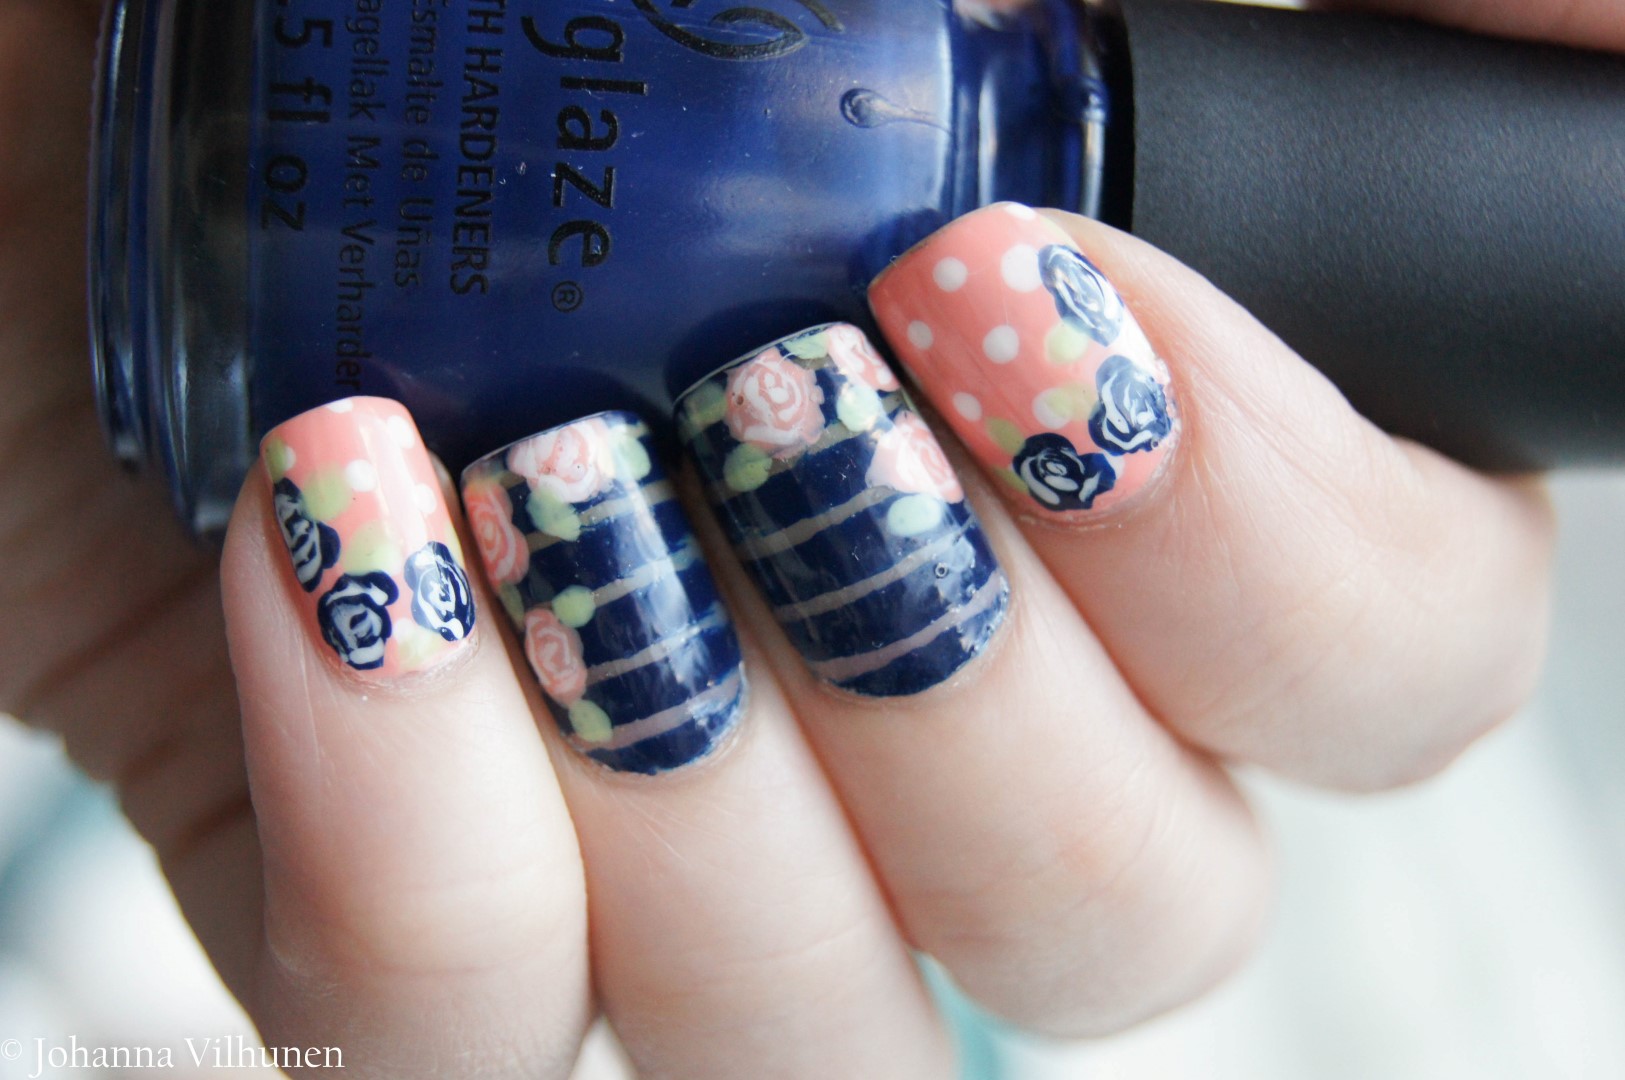
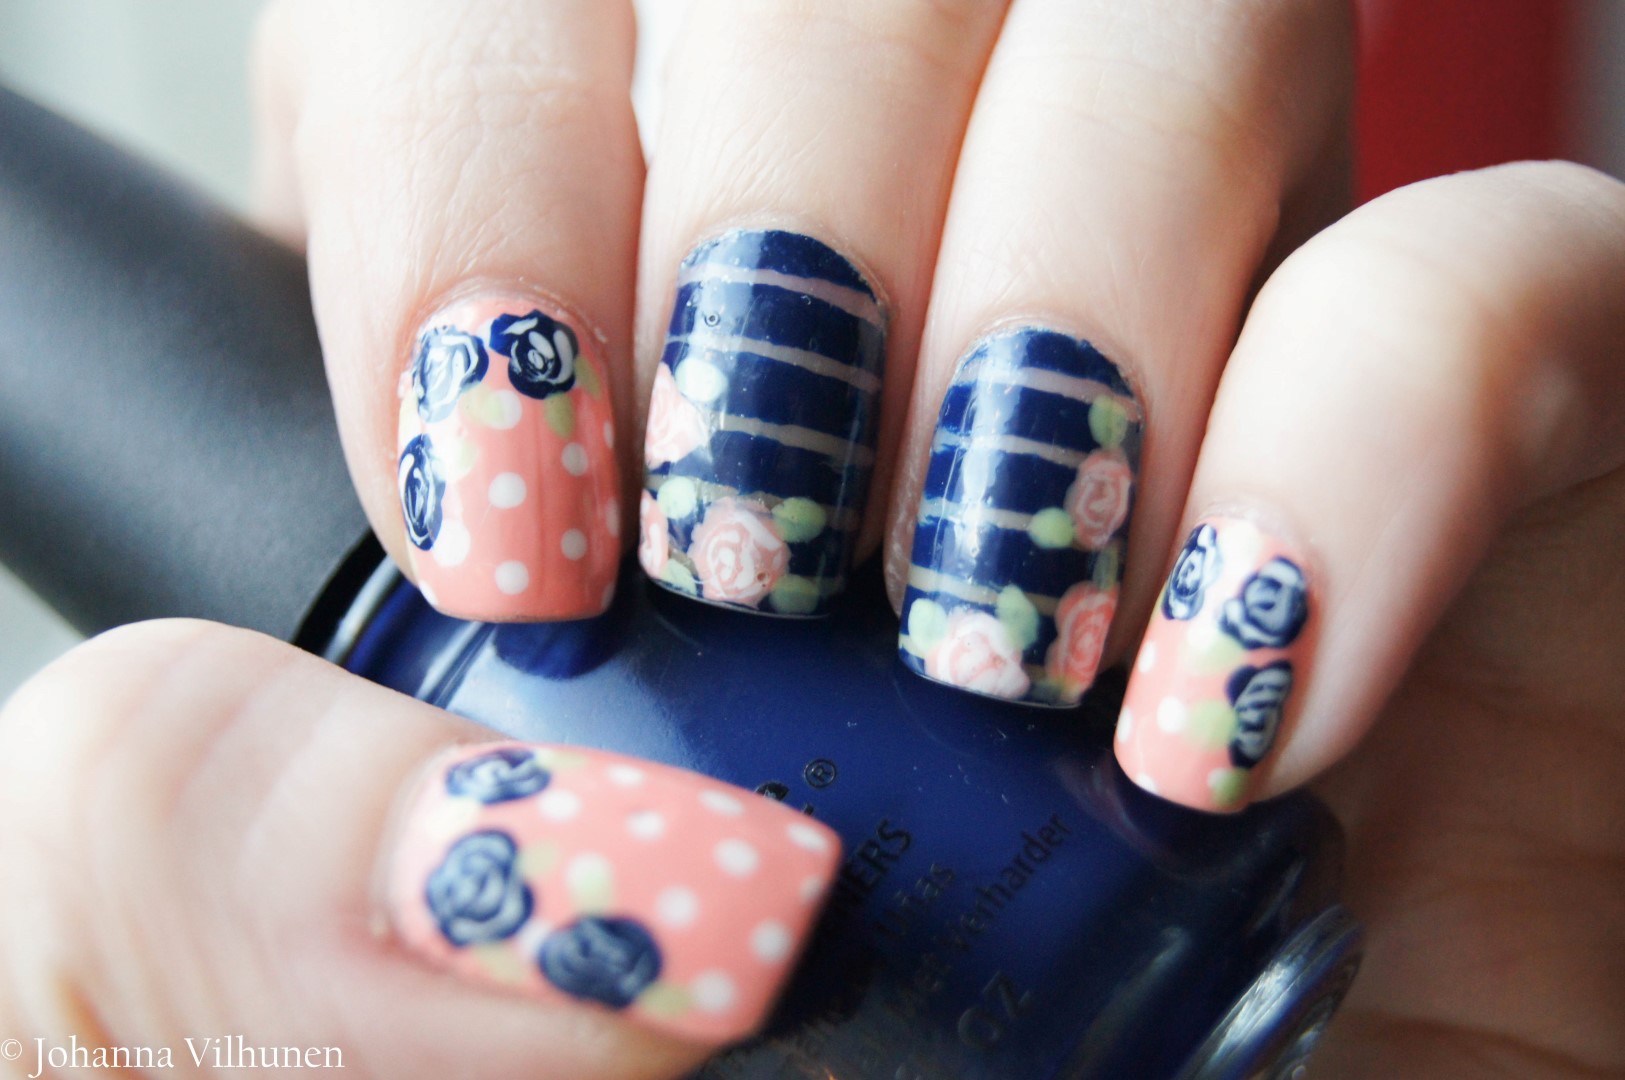
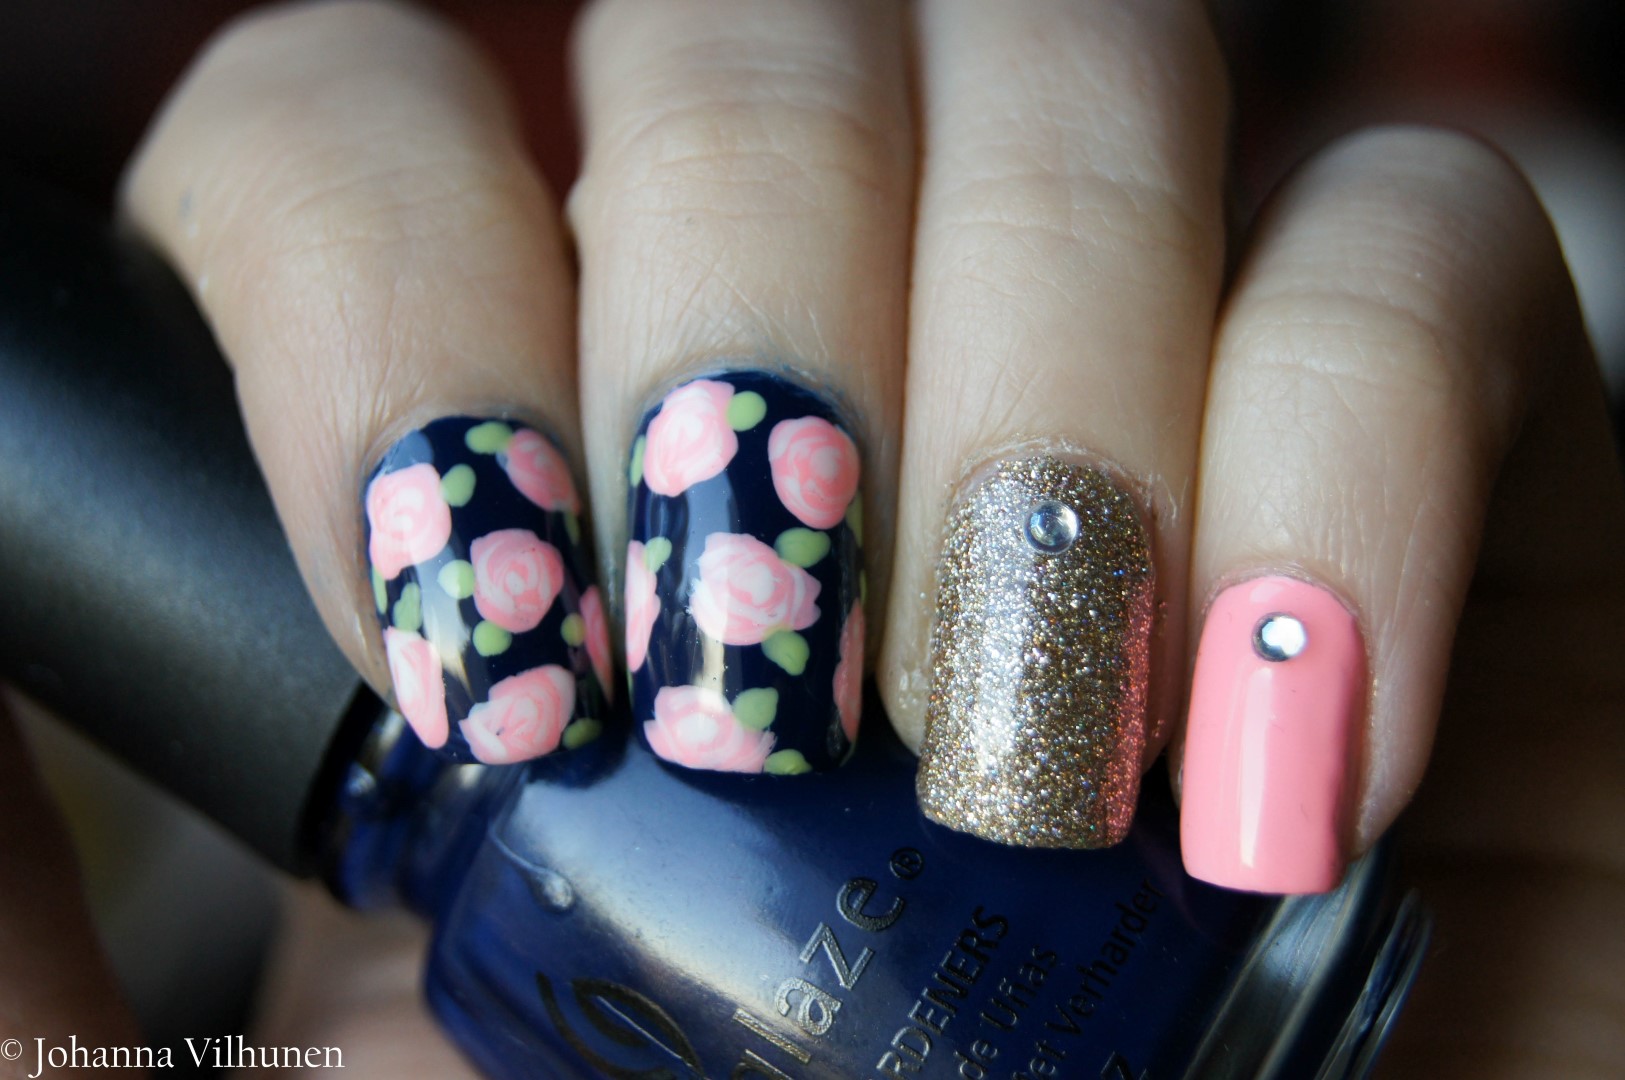
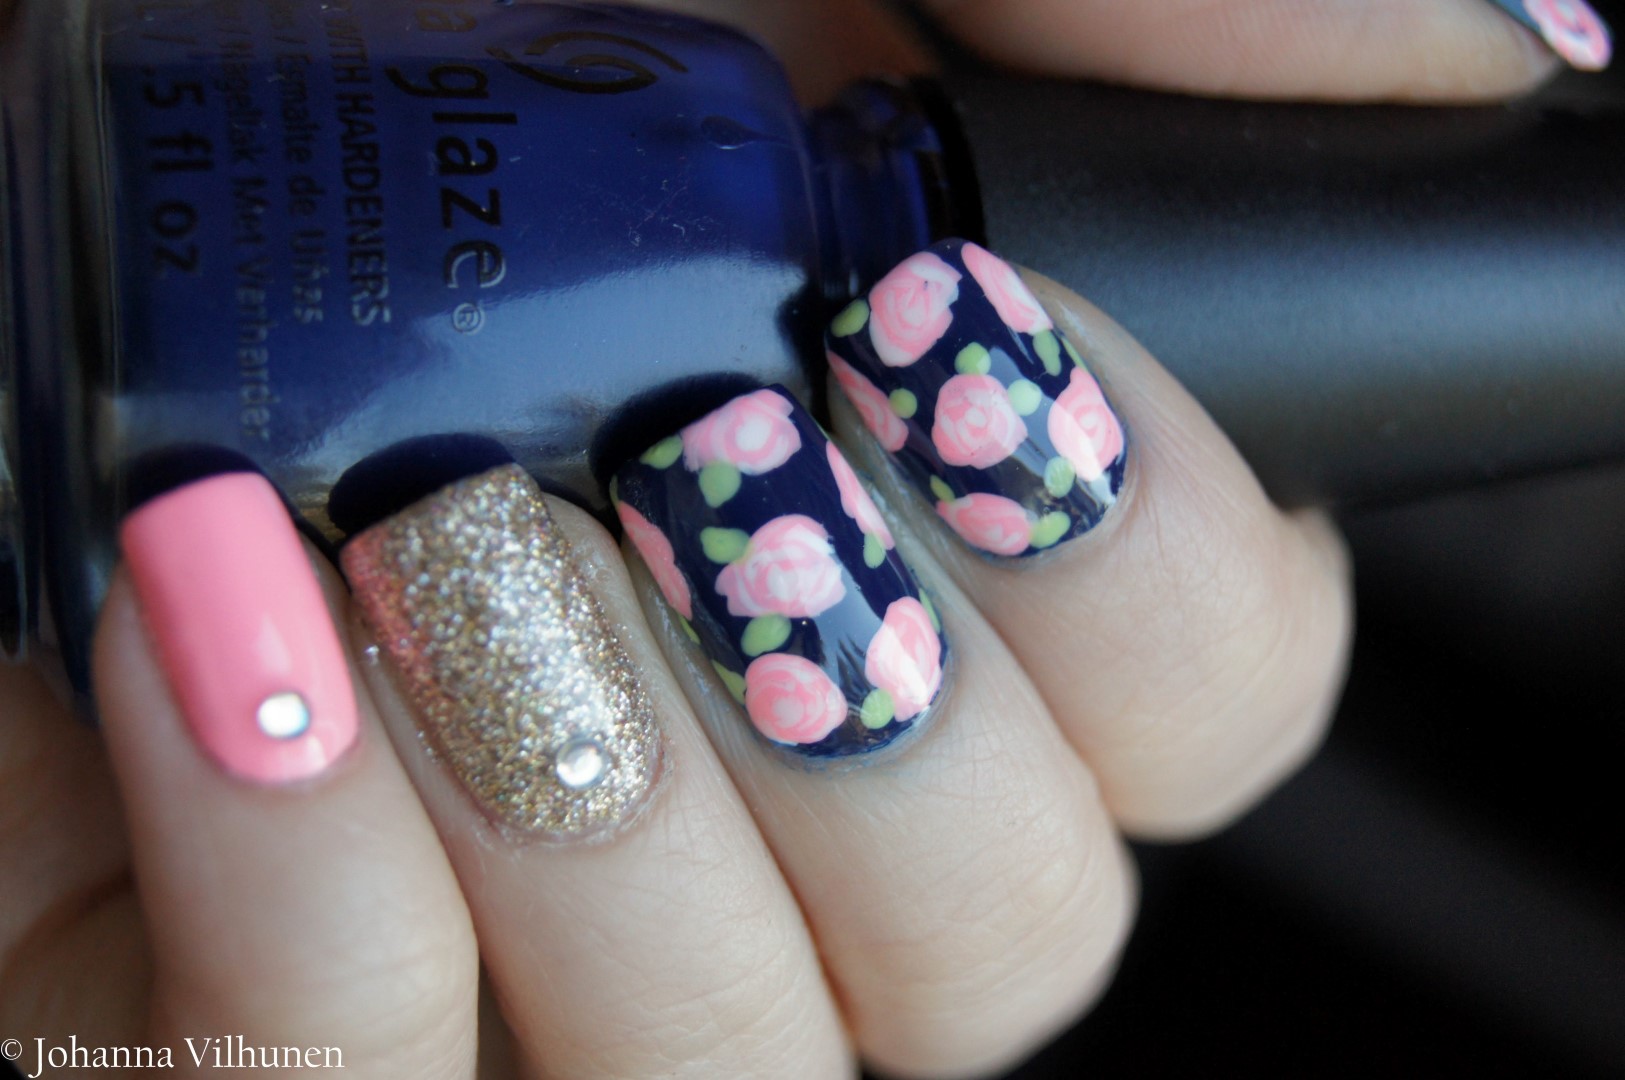
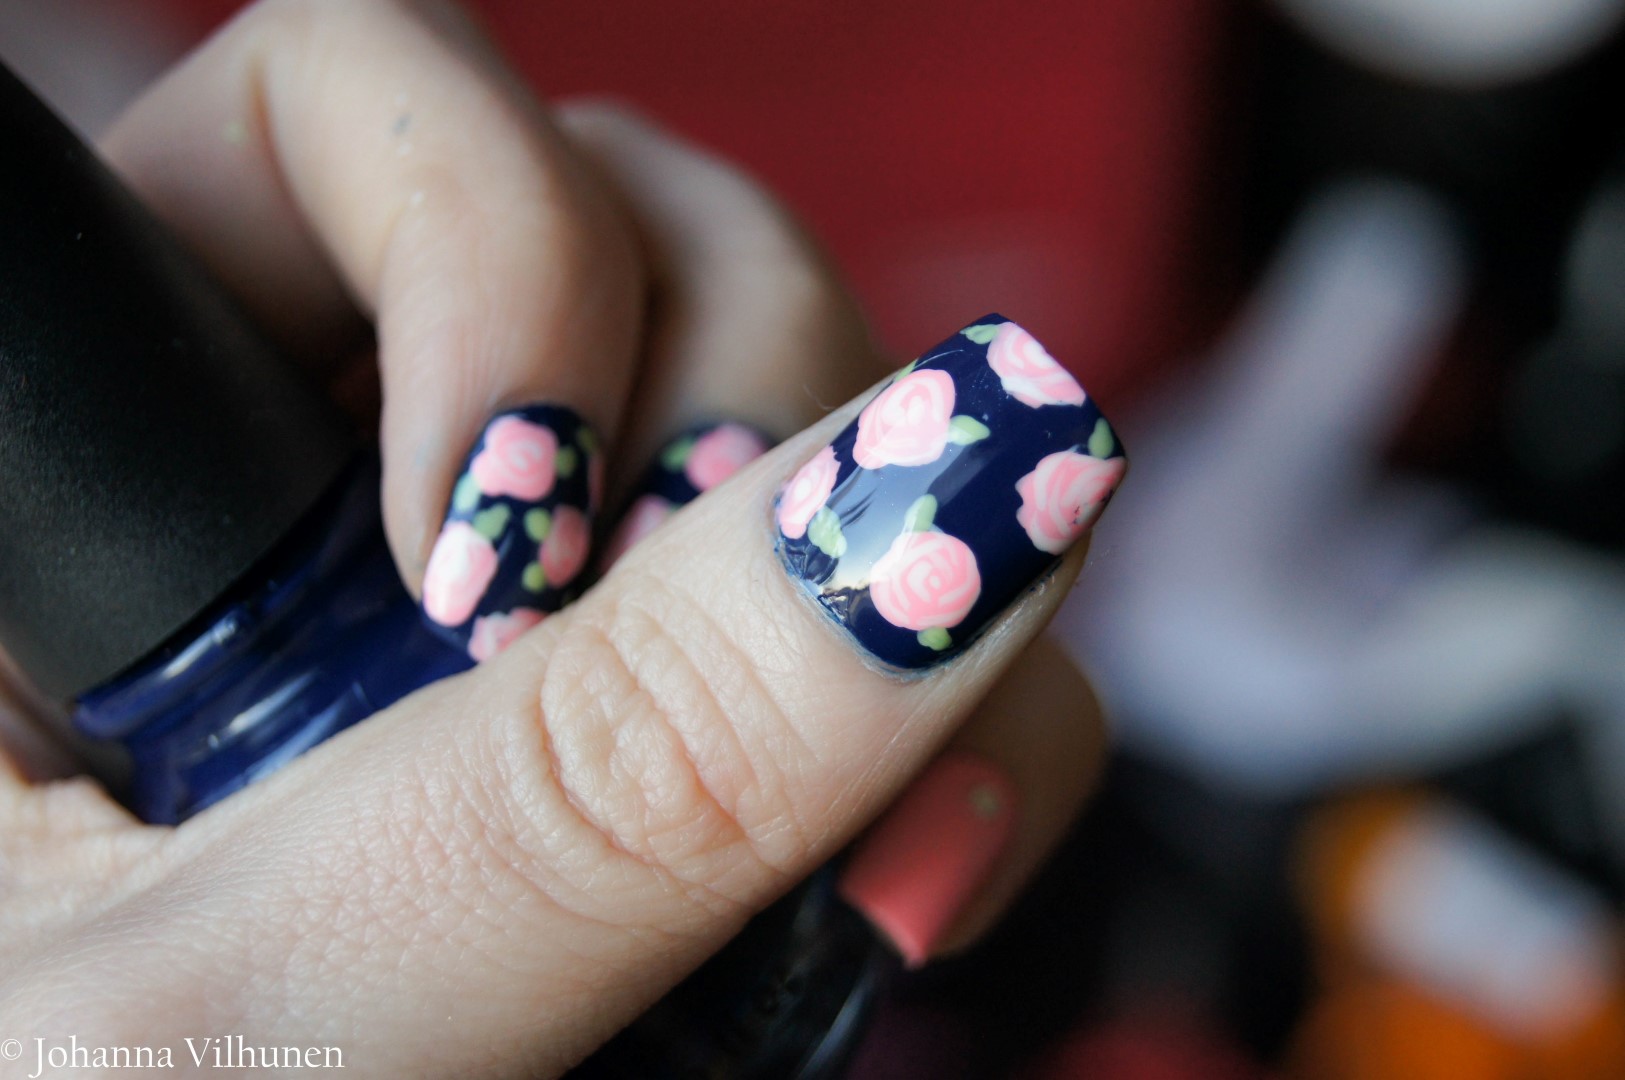
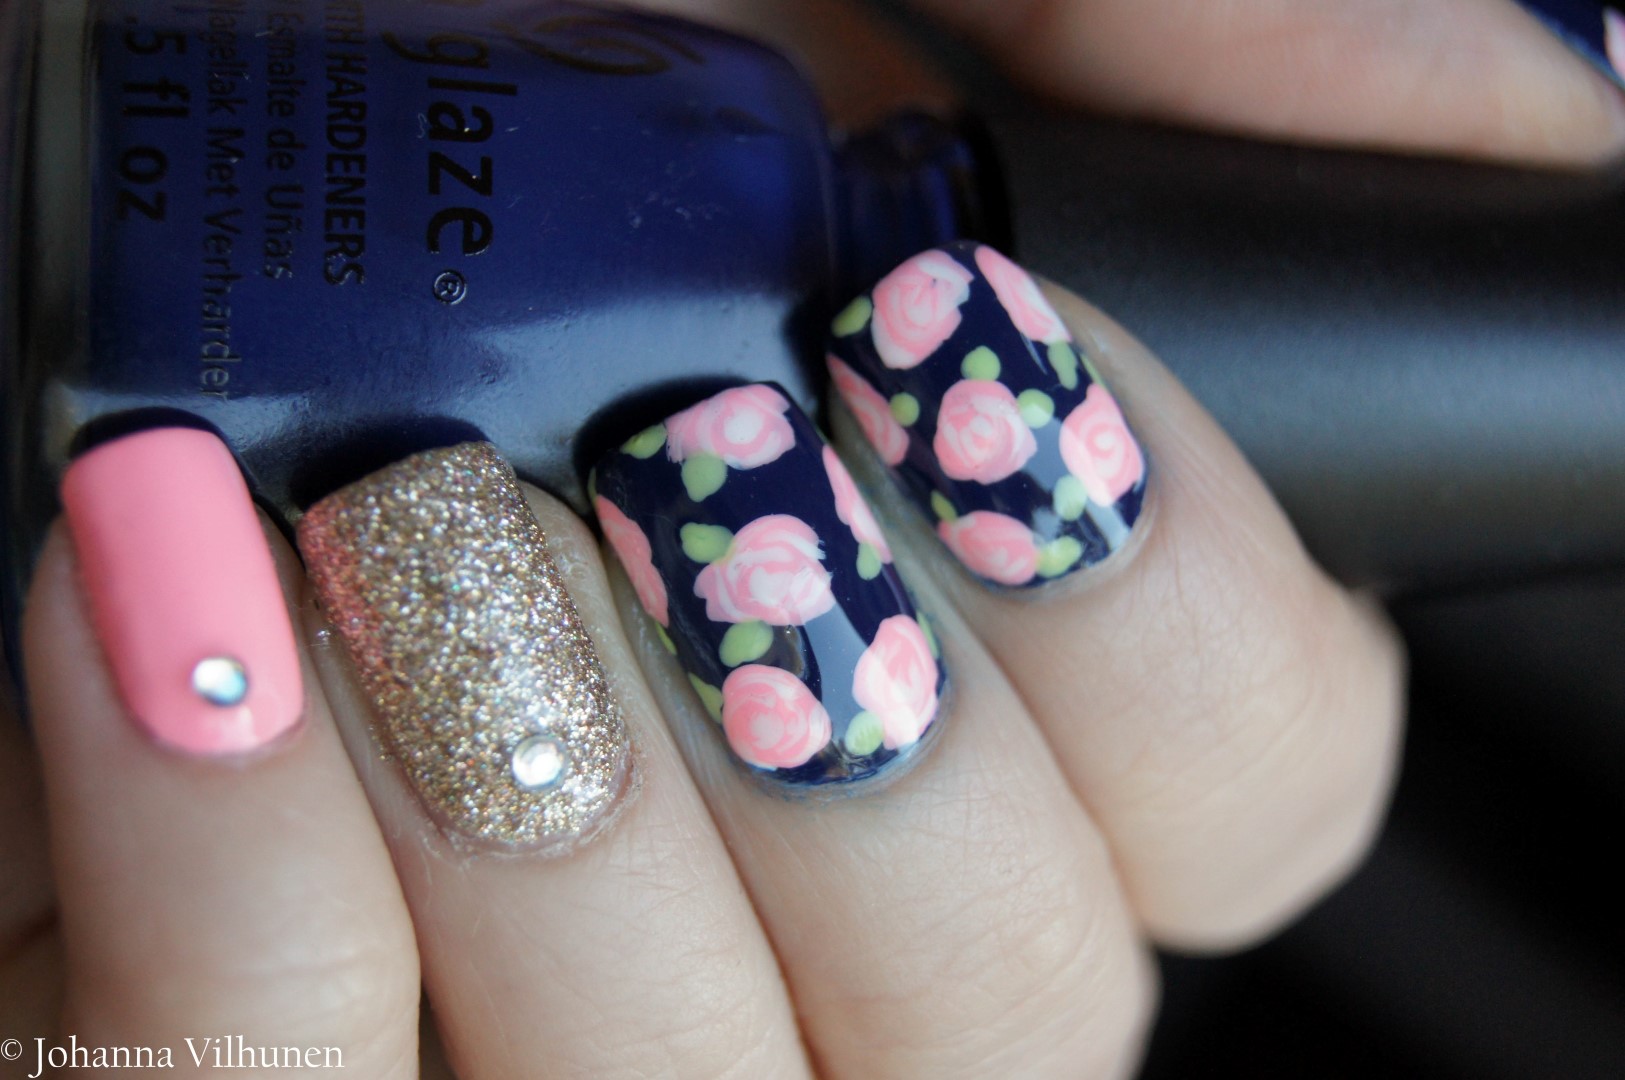
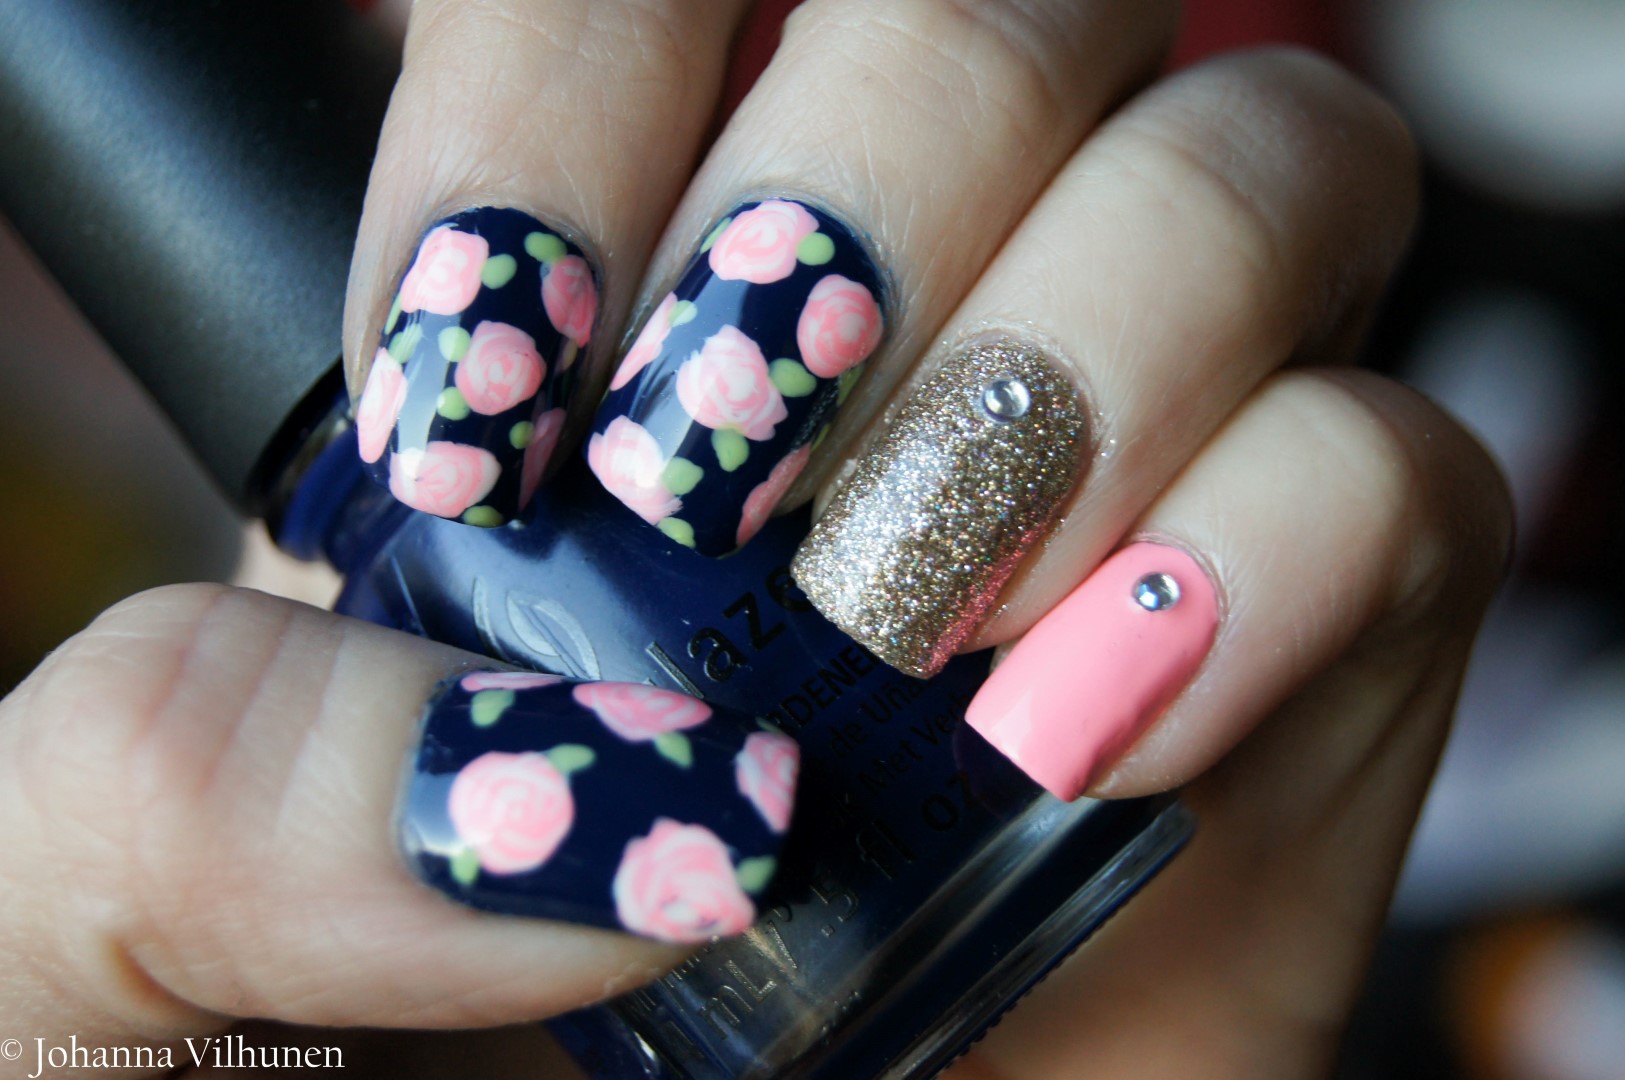
The first designs has stripes and roses in it, and I tried to use colors I normally wouldn't use or pair together. I think the combo of peach and navy is actually pretty nice, and I guess I could definitely do another one with them later this year.

DSC07146 (Large)

I really like painting rose prints, and pairing them the classic way with stripes and polka dots felt right. I tried to do sneak peek stripes with my natural nails showing through, but I feel the result was a bit messy. I liked the idea though - and maybe could create a lovely one with more practice.

DSC07136 (Large)DSC07140 (Large)

 The polishes I used were  China Glaze White On White, One Track Mind and Be More Pacific, and Rimmel London Peachella. With the stripes I used striping tape as a guide, dots are made with dotting tool and for the details of the roses I used a thin nail art brush. All my tools are from Born Pretty Store.

DSC07130 (Large)DSC07312 (Large)

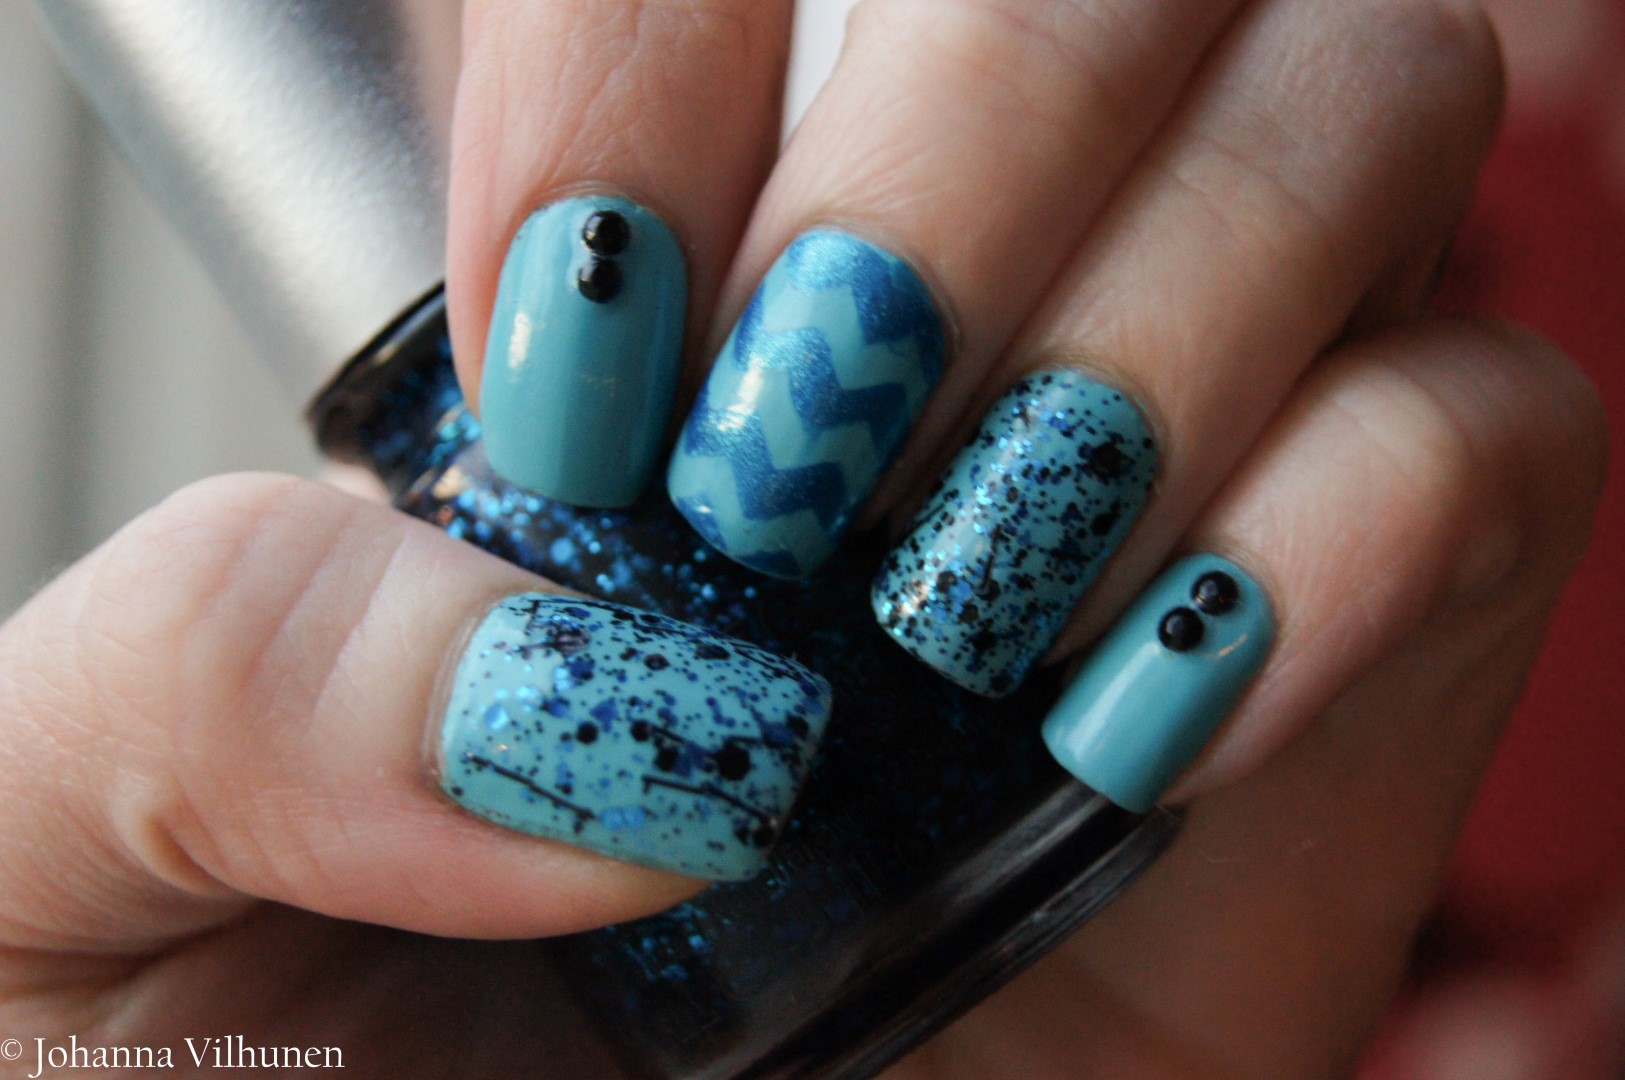
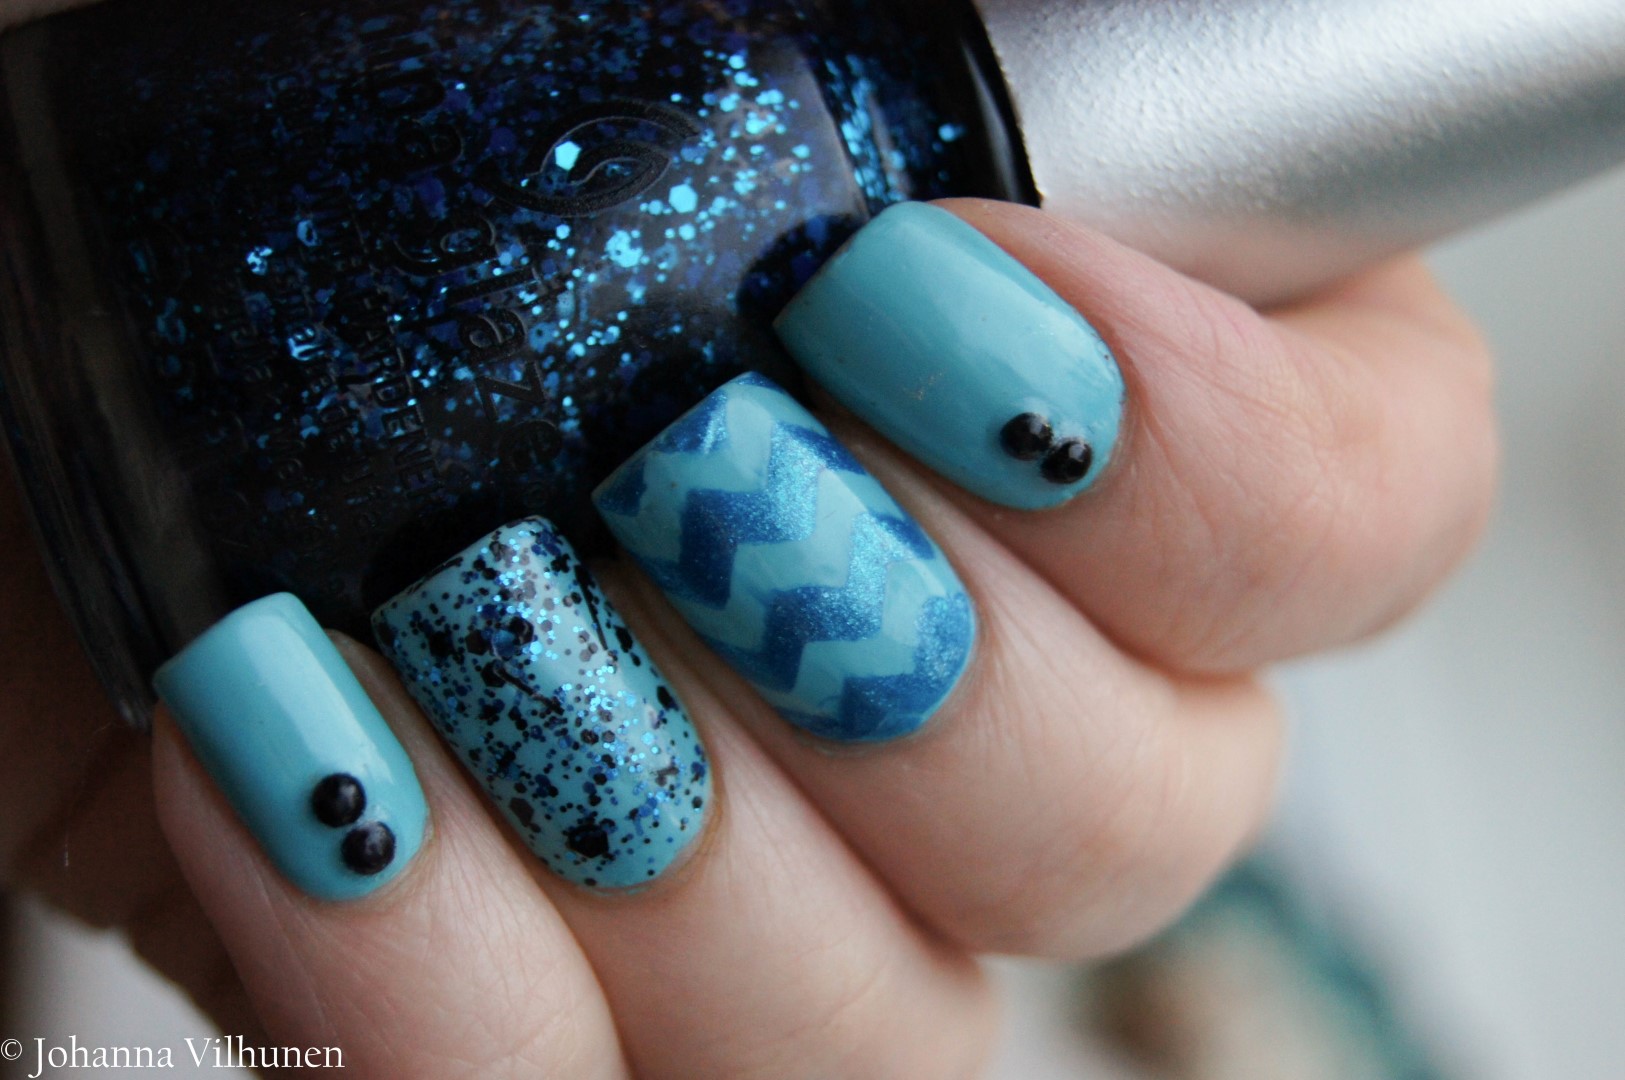
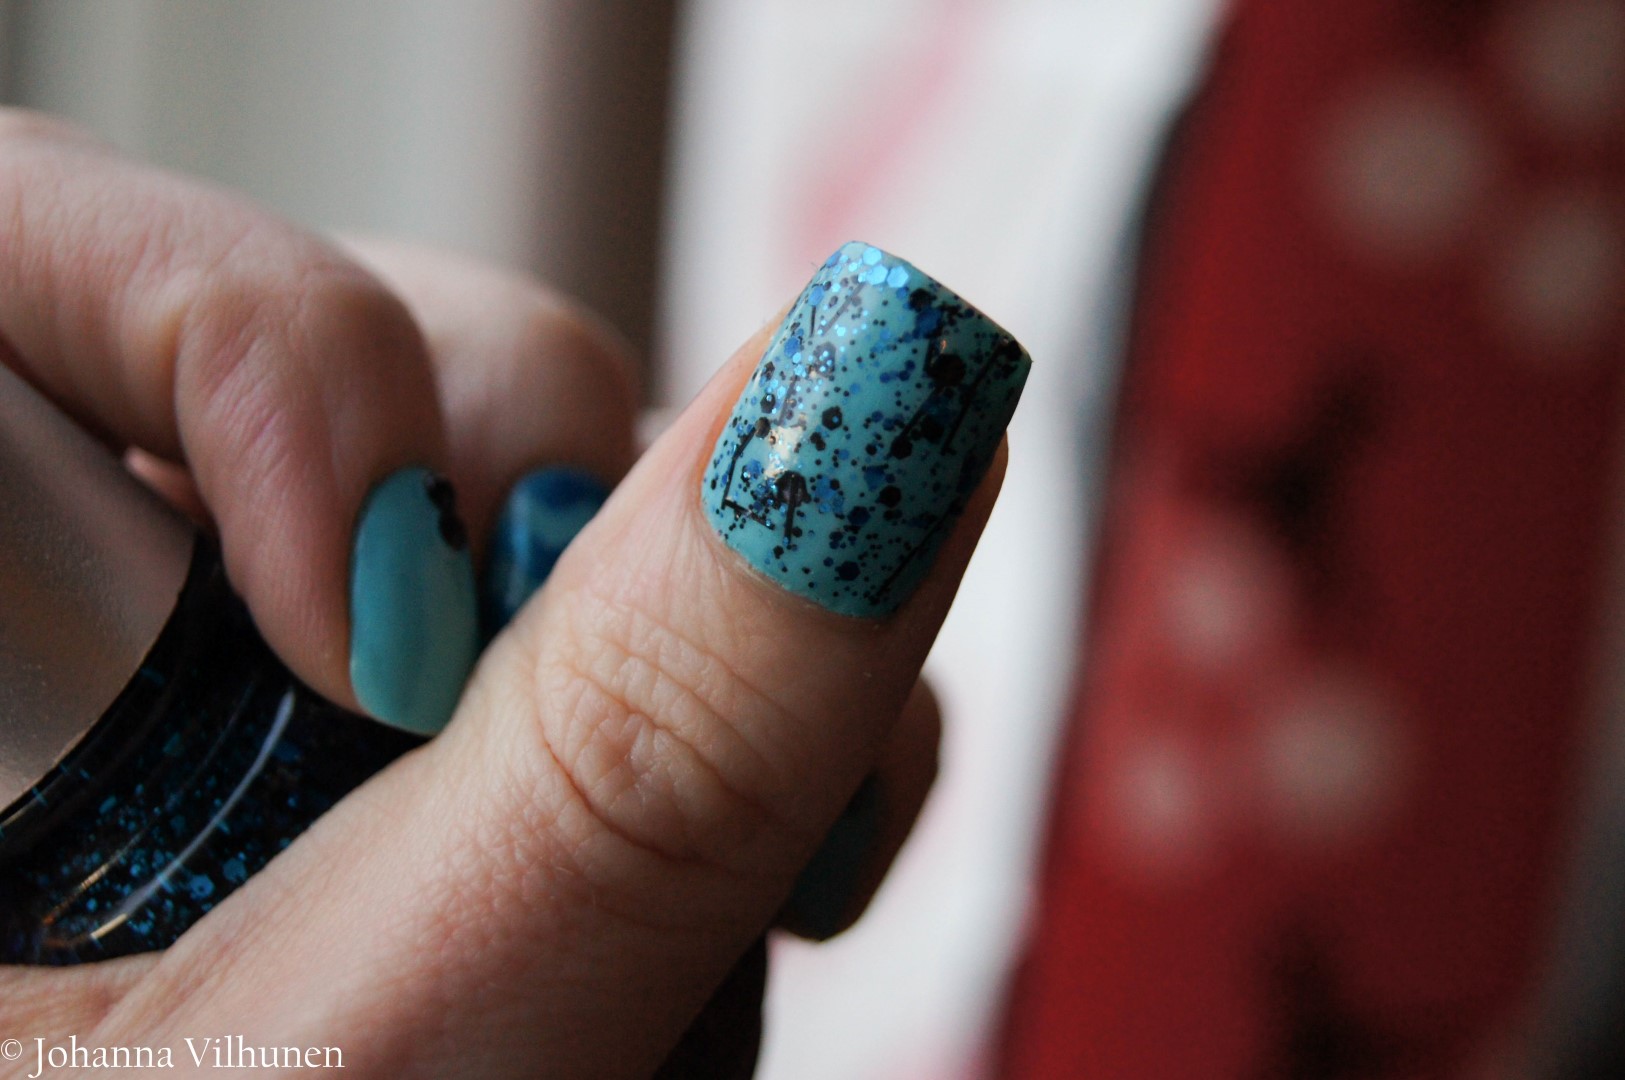
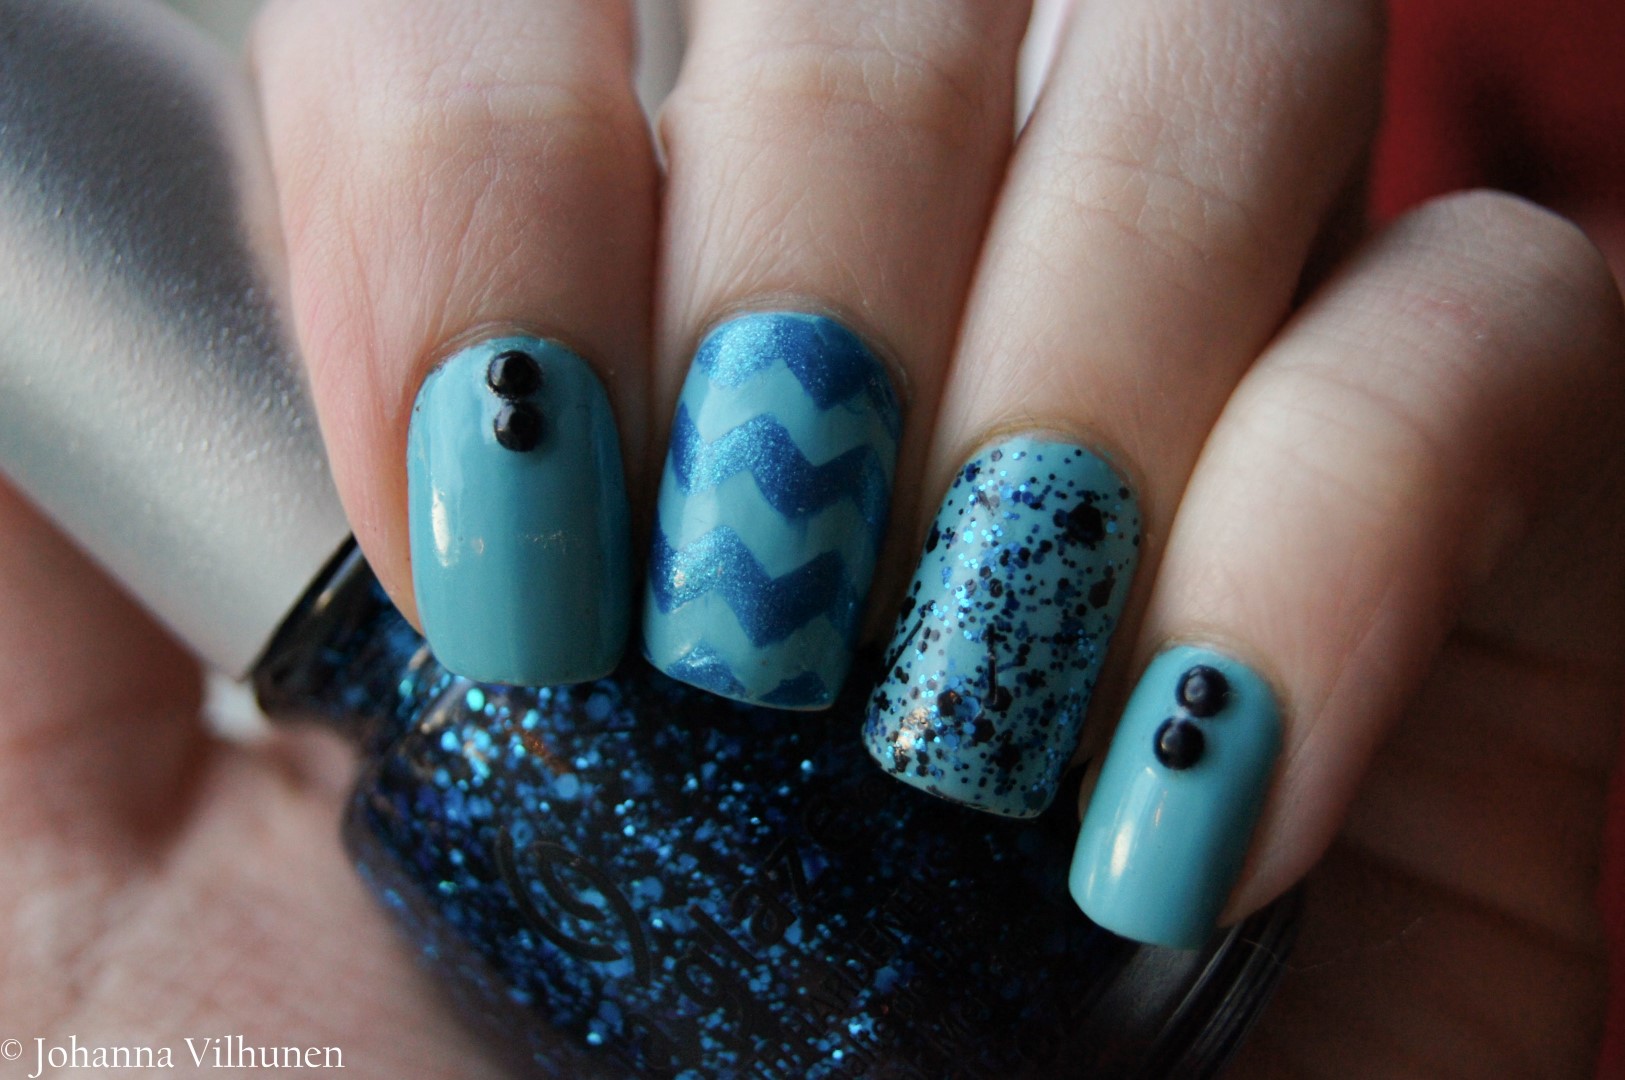
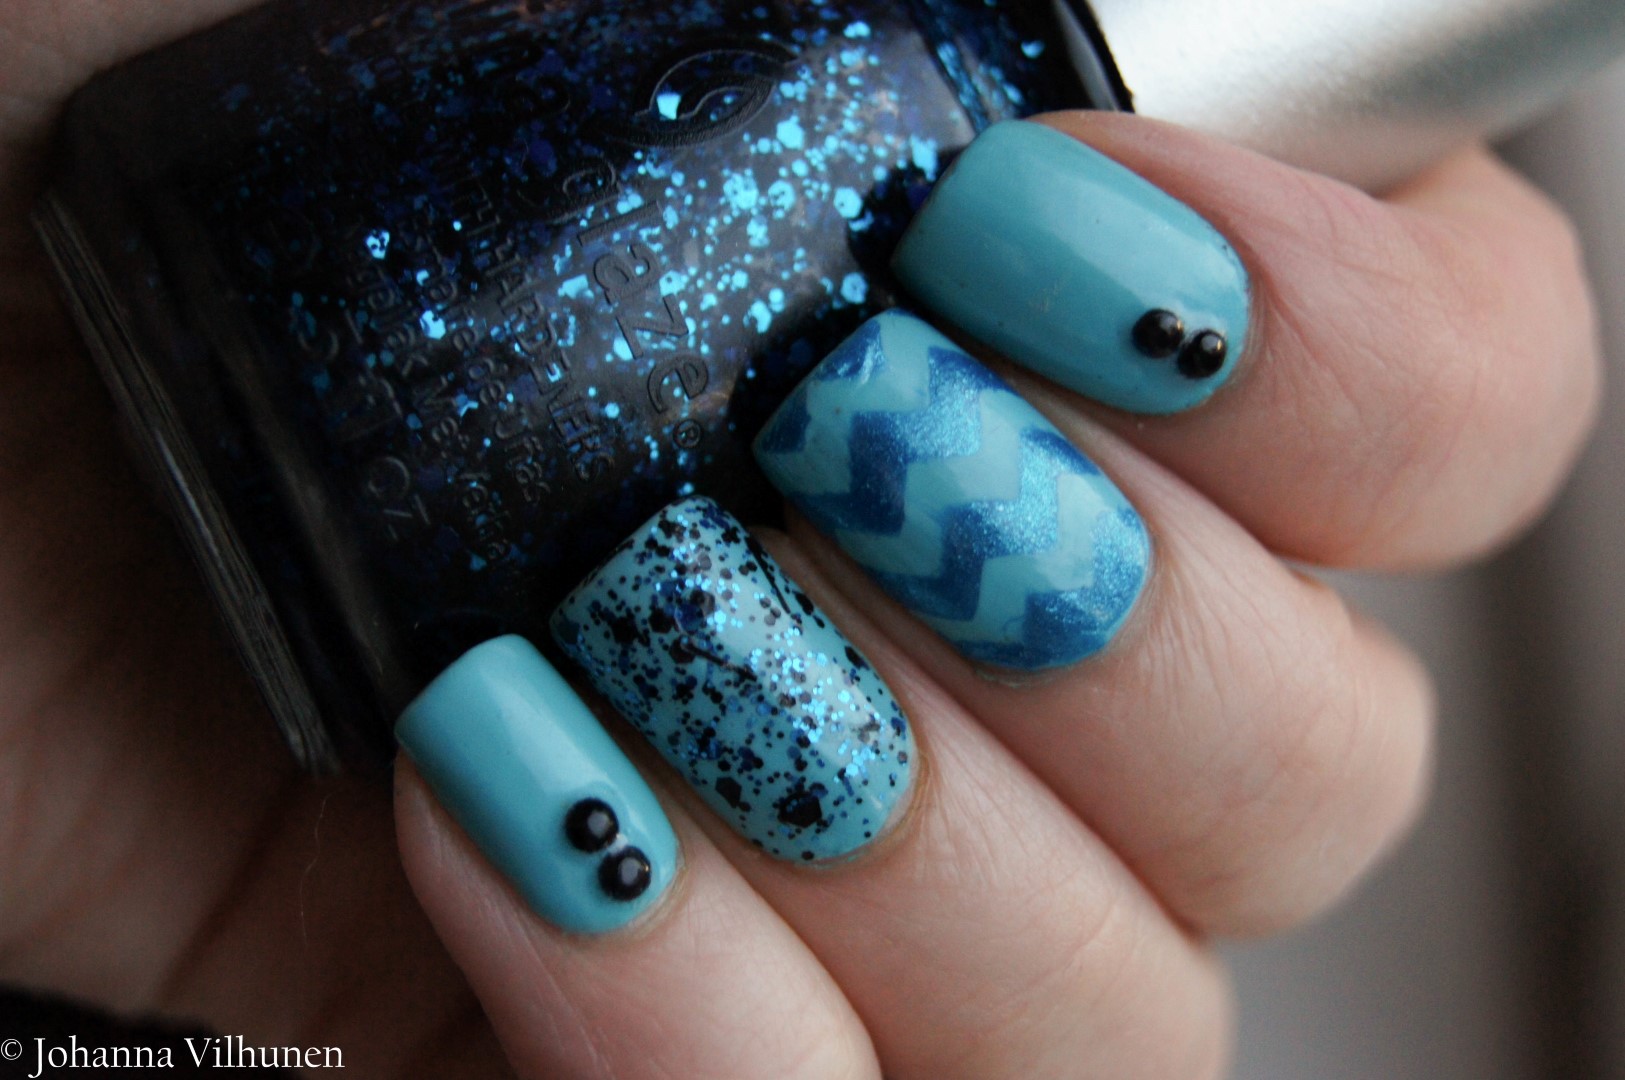
Next is a teal/light blue design I happened to make just before attending to a fair to represent the company I have my internship in. I used kind of perfect colours for the fair stand, which was cool because I didn't consiously plan that at all.

DSC07320 (Large)

I liked this skittle design kinda lot, and I really think I shoud do these more often. And I definitely should use chevron more (mental note: order more chevron nail vinyls), because it looks so cute on accent nails.

DSC07317 (Large)DSC07306 (Large)

The polishes I used were China Glaze Capacity To See Beyond and Mosaic Madness. The blue shimmer on the chevron is from Gina Tricot. The black rhinestones are from Born Pretty Store and for the chevron print I used Nail Vinyls.

DSC07329 (Large)
I think both of these manis were pretty nice, but once again I'd like to hear from you:

What do you think about these nails? Let me know in the comments below!

That's all I have for you today, but we will see again tomorrow in another post. Also, you can follow me on social media (Facebook, Instagram, Twitter and Snapchat) where I share stuff that doesn't show on the blog. And also, you will be updated every time there's a new blog post out. So see you there as well! You can leave likes and comments everywhere so I can check out your accounts as well, I always look for more inspiring accounts to follow.

Have a fabulous weekend you guys ♥ 

Roses vs. Leopard ♥

Hello lovelies!

How are you all today? ♥

I'm currently in the middle of making some notes for tomorrow's exam, while also taking some time to read all my favorite blogs. Soon I can finally stop with the school things for a while and actually focus on more fun things, like our wedding preparations and my internship and so on. I'm so, so excited for this summer, as I have many fun things to come and to write about.

But today, I would love to talk to you guys about nails. I have couple of new designs to show, and I can say I love these both quite a lot, even though I say so myself.

DSC05328 (Large)

So first up is this floral mani with simple accent nails. I saw something like this on Instagram and of course had to make my own set for fun. This one was pretty easy to do with free hand, I just needed a thin nail art brush for the smallest details and that's it.

DSC05341 (Large)DSC05337 (Large)

This was pretty classic kind of mani (I think) with not that much going on, but that's kind of what I love about it. I'm guessing we might see many more this kind of things in the future, once I find colors that inspire me enough.

DSC05346 (Large)

Colours I used were China Glaze Grass Is Lime Greener, White On White, I'm Not Lion, One Track Mind and Feel The Breeze. The rhinestones are from Born Pretty Store.

DSC05335 (Large)DSC05501 (Large)

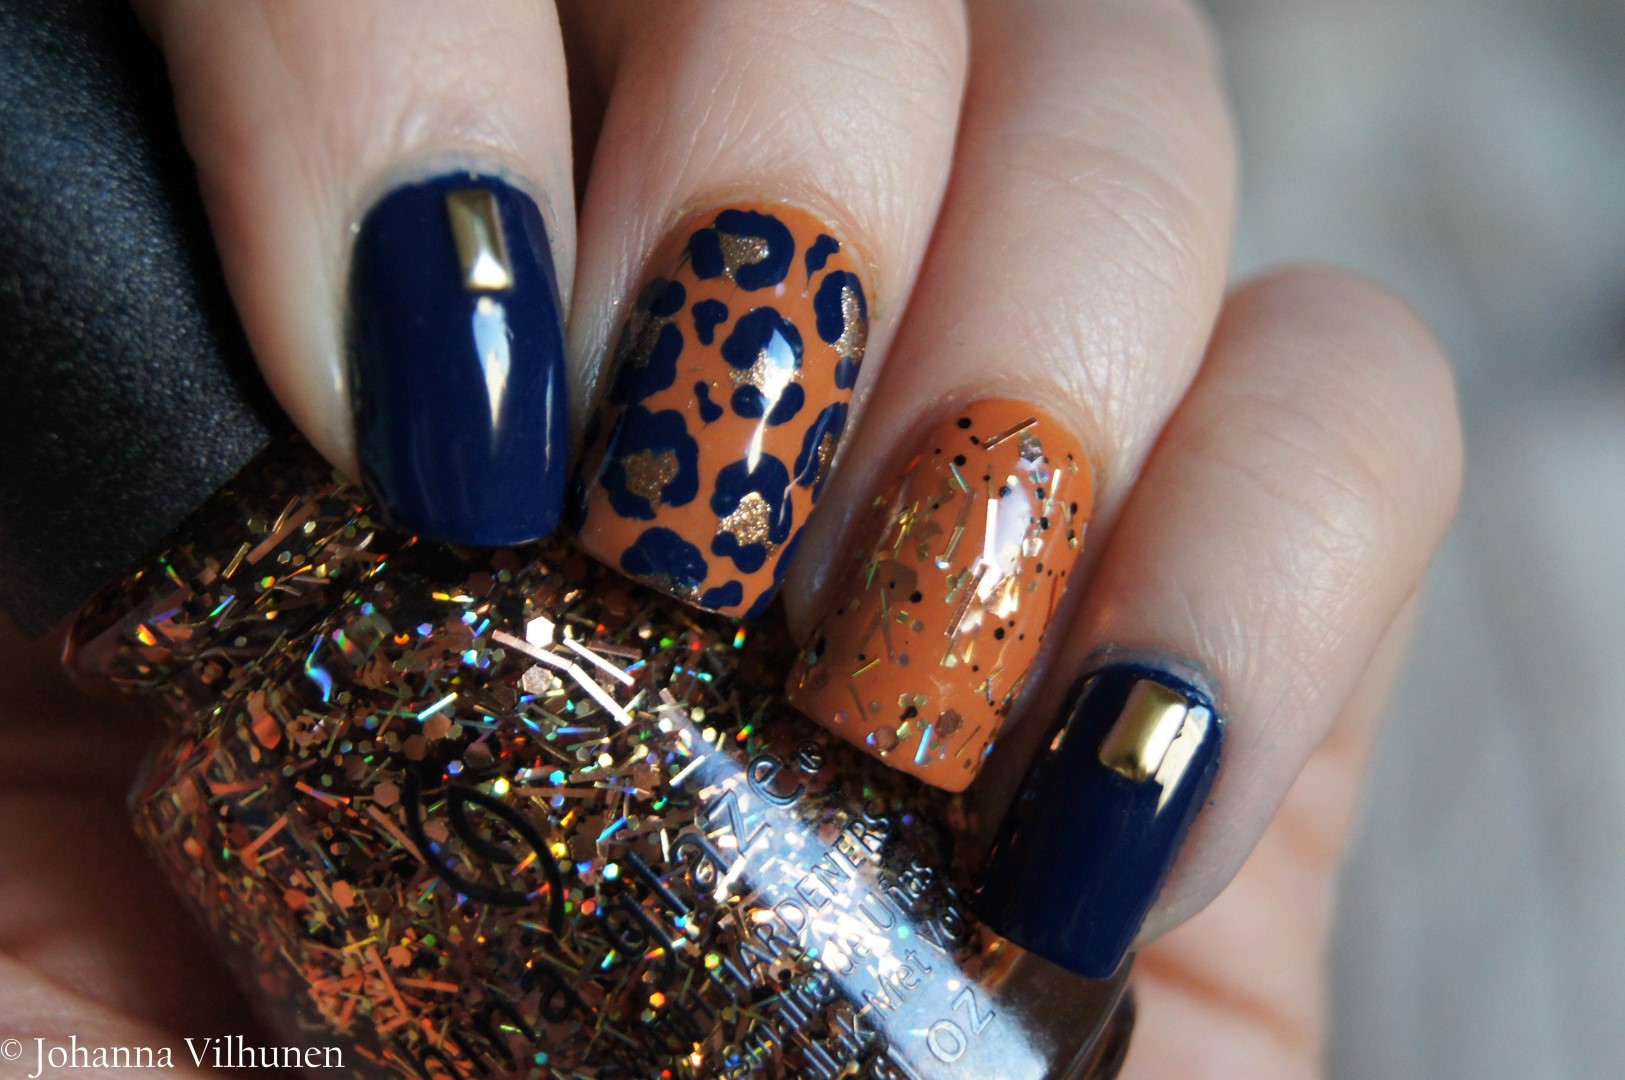
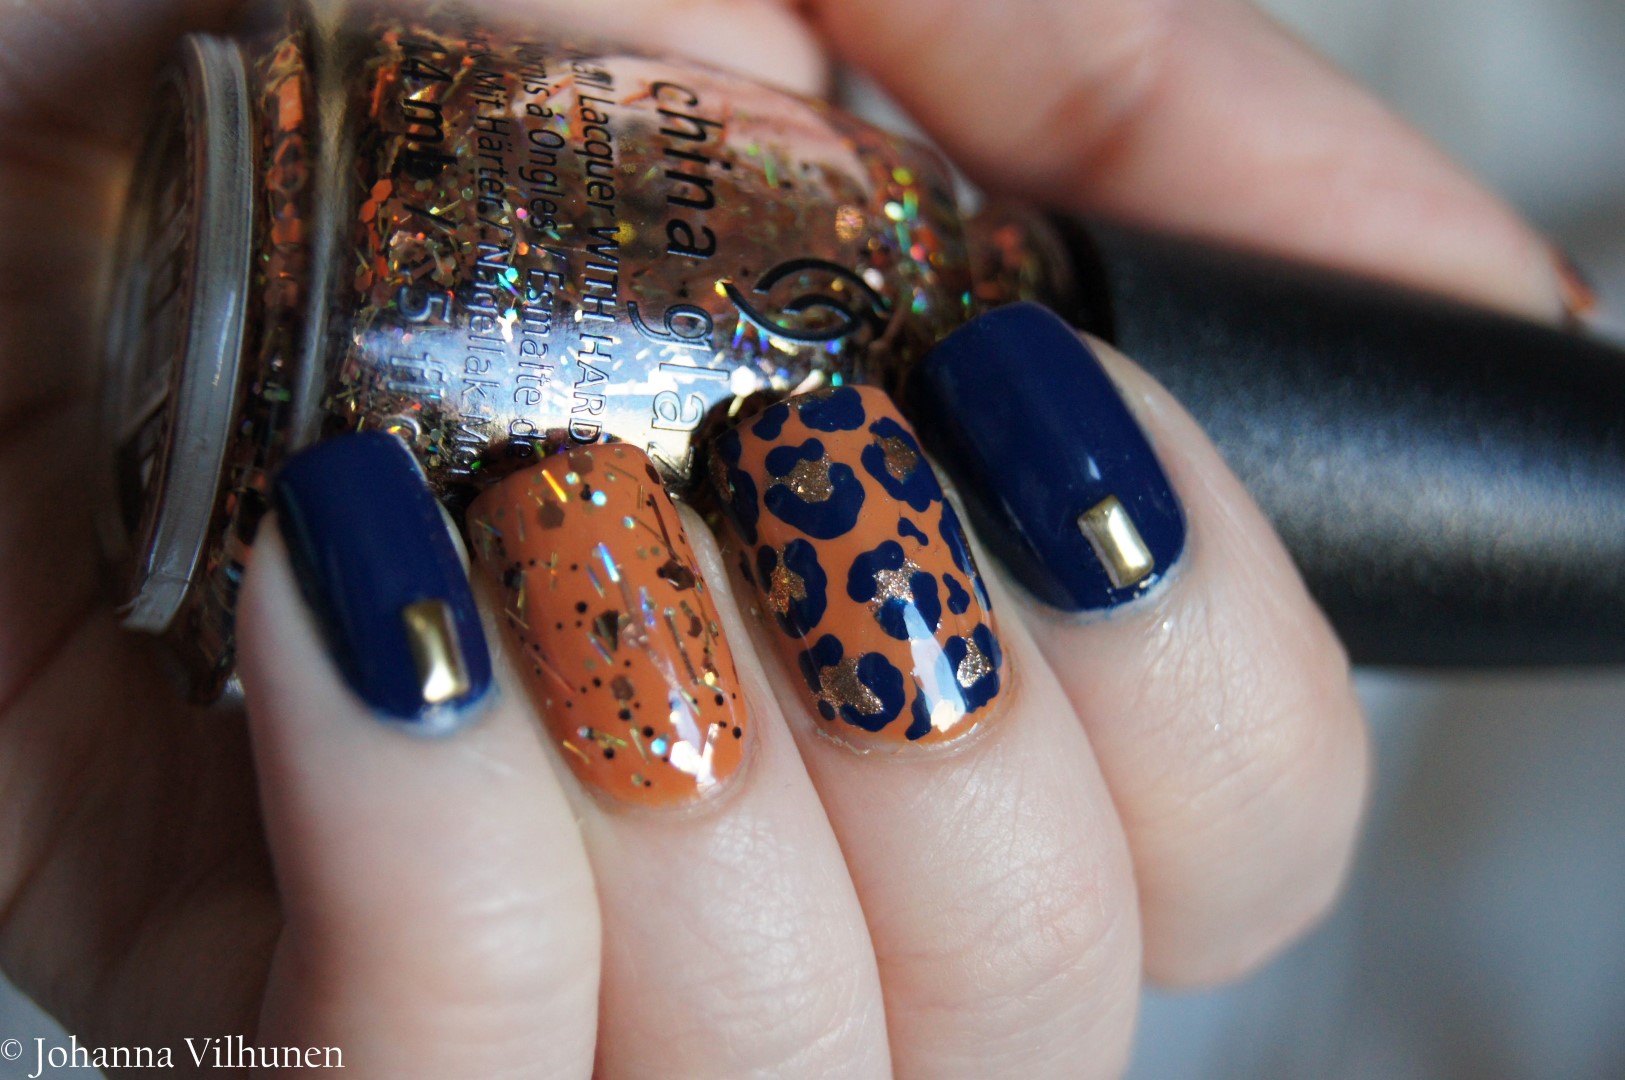
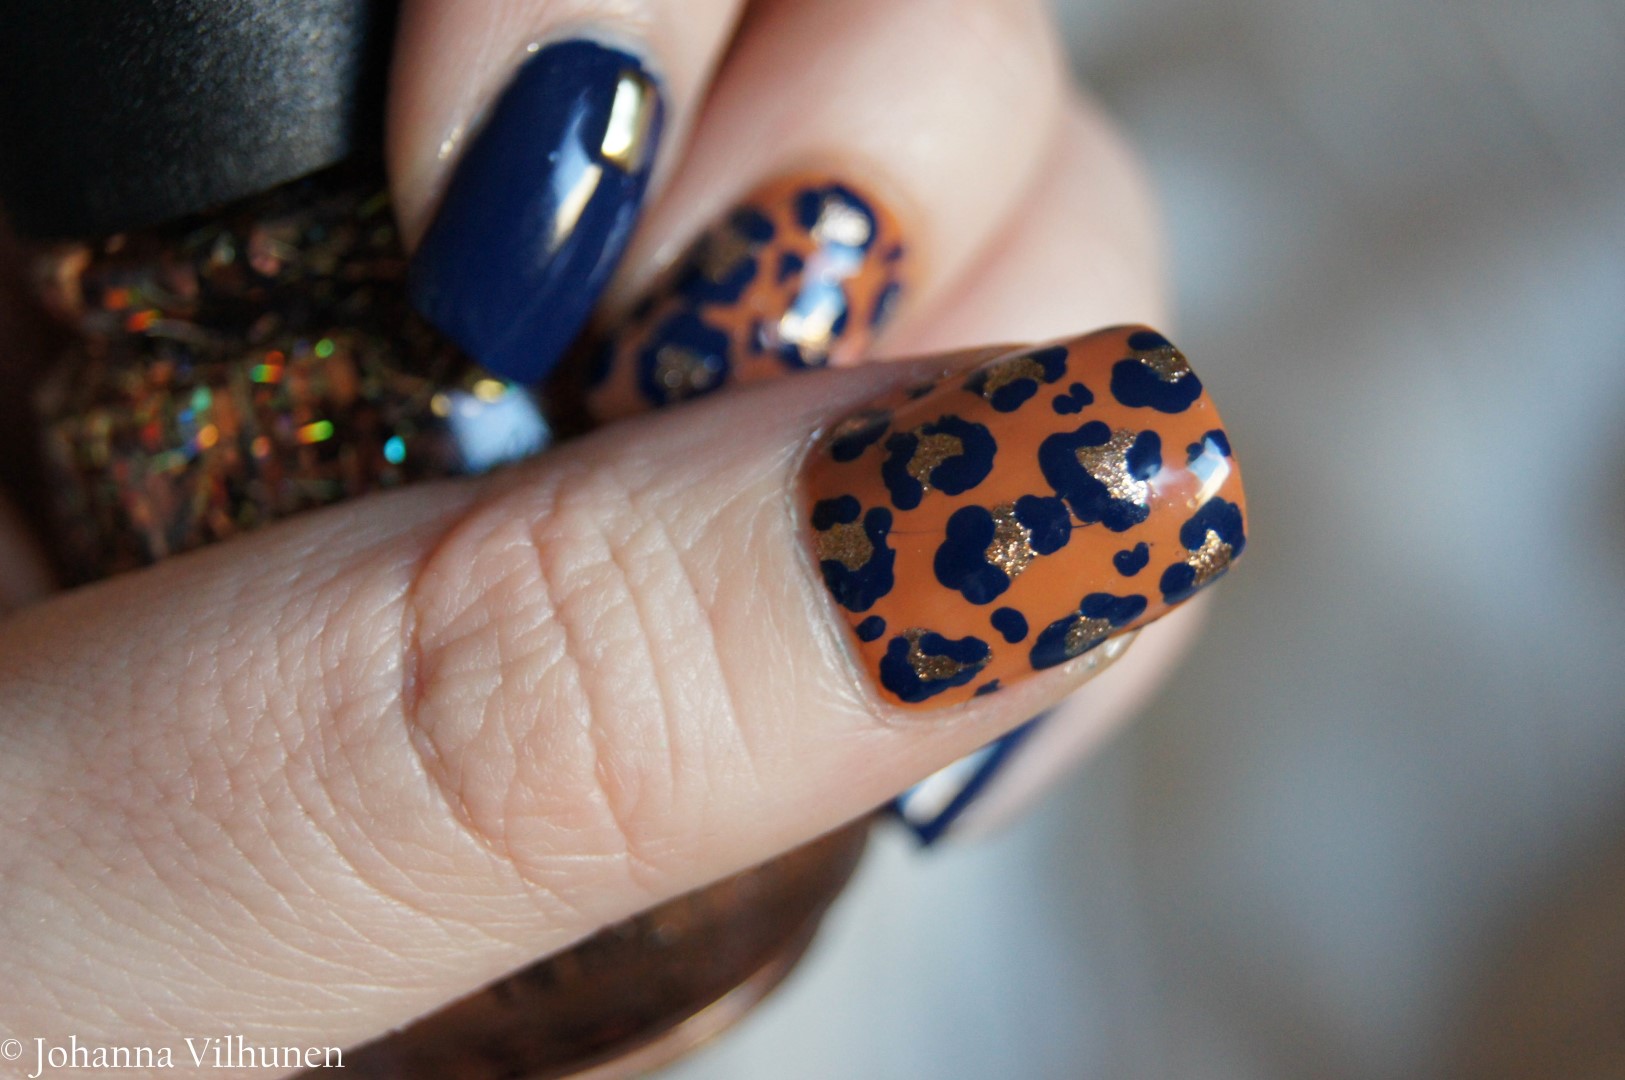
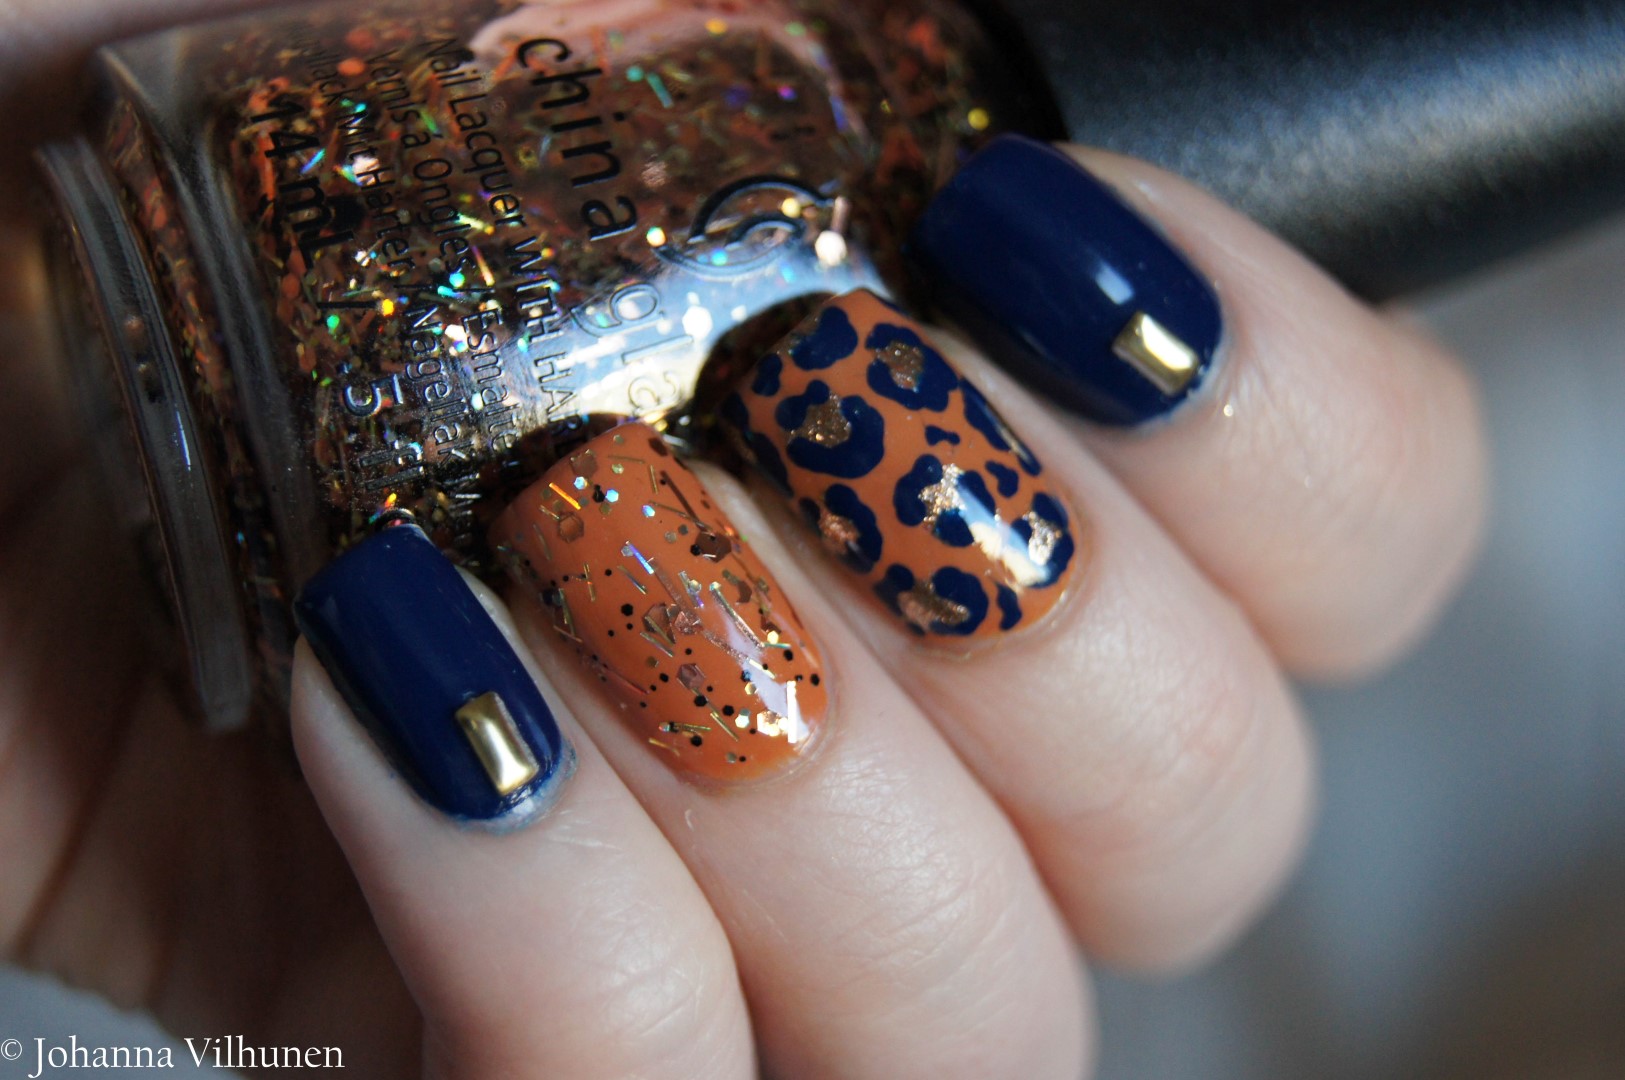
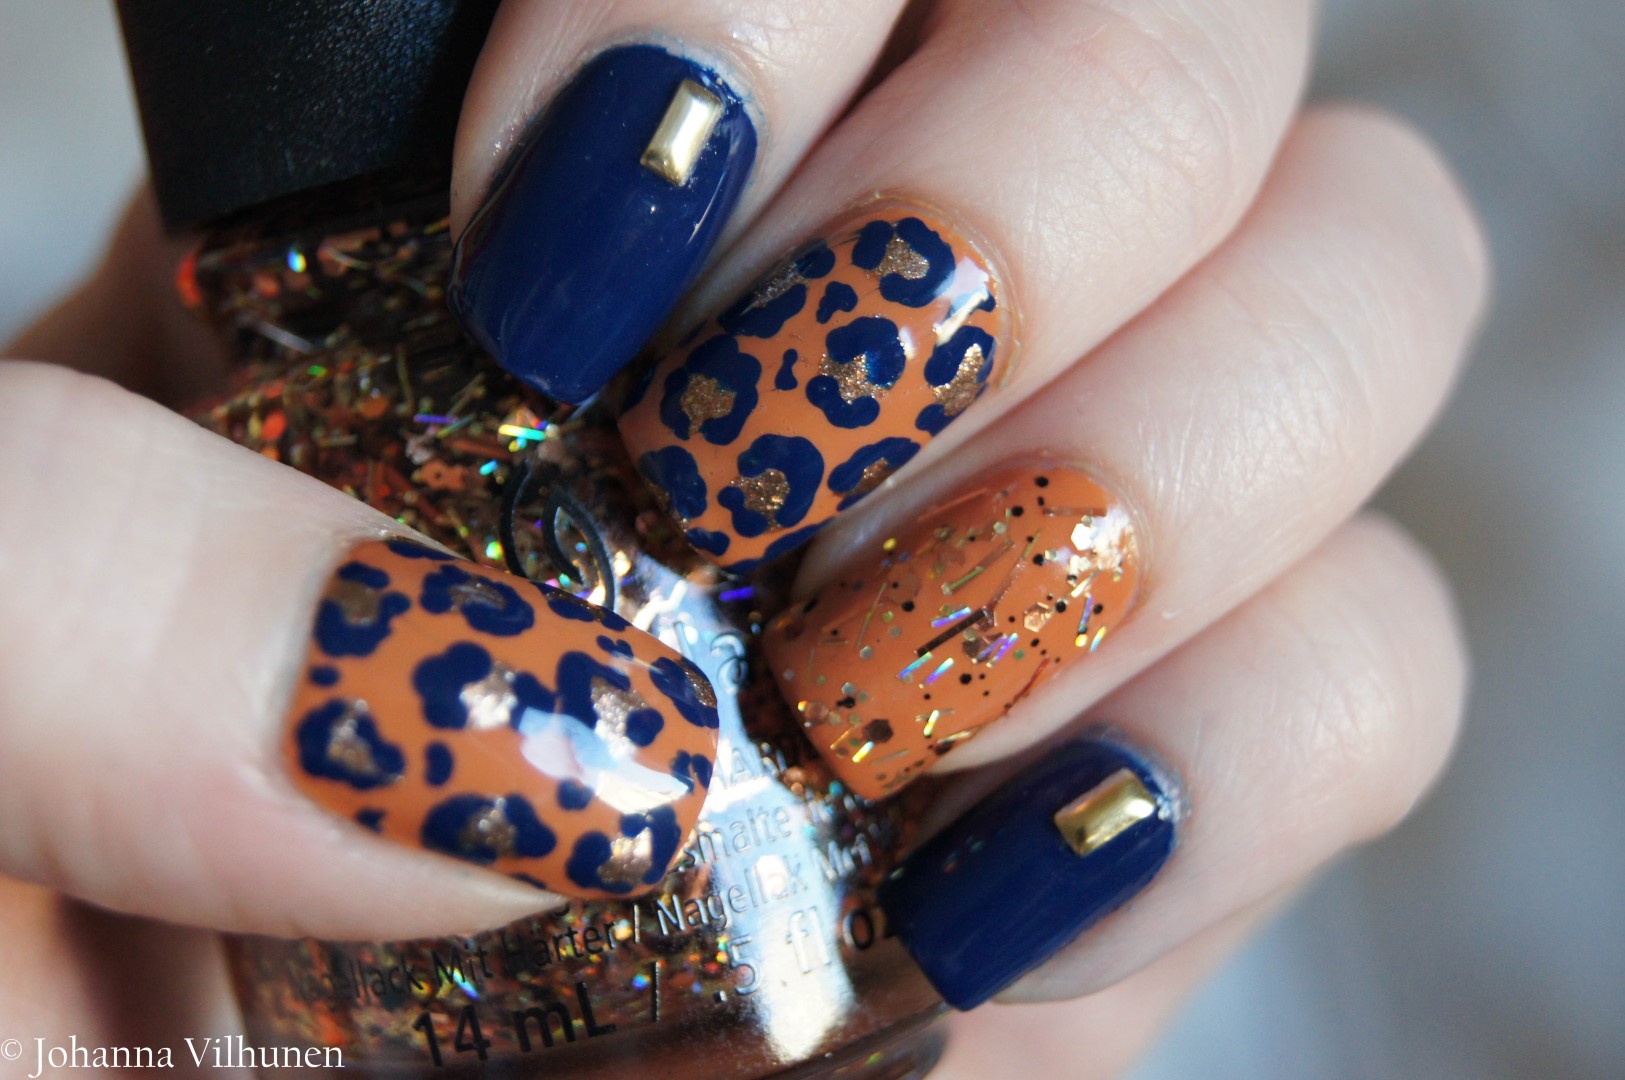
And because I clearly couldn't get enough of the navy blue, I used it in another mani as well. This leopard number was fun to wear and kinda really pushed me out of my comfort zone as far as colors go. 

DSC05535 (Large)DSC05511 (Large)

If the previous mani only used nail art brush, for this I only used a dotting tool. Goes to show that you can use pretty simple tools to create lots of fun designs. While I guess that the real artists use all sorts of brushes, I can honestly say that I use about three brushes and six dotting tools (three more often than others) to do 90% of my nail art. Then there are also all sorts of tape things and all that jazz, but when it comes to painting things, those are what I use.

DSC05528 (Large)

Colors I used were China Glaze Desert Sun, One Track Mind and Rest In Pieces. Rectangular studs are from Born Pretty Store

DSC05507 (Large)

These two are currently strongly at least in top 10 for my nails I've done this year. Of course that can change any time, depending what colors I will find and how inspired I will get, but I think these might be quite strong favorites this year.

What do you think about these nails? Let me know in the comments! ♥

Now, I will try to make good notes for myself so that I could actually make it through the test. Only three weeks until my summer start, hooray! So see you all soon with a food post, I believe!

Have a fabulous day ♥

Rose Nails ♥

Hello my darlings!

How are you all today? ♥
I've been busy with school until four, and after that with all the stuff at home. I have no idea where all the time went. And I should read for tomorrow's exam - I haven't even started, yikes. And to top it all, I need to correct one official paperwork for our study. All fun and games, huh? Honestly, I couldn't be more happy to start weekend tomorrow.

Anyway, just to take my mind off the stressful things, I decided to blog about these nails for you.

 photo DSC02647Large.jpg

Florals, matte black, polka dots, stripes. These nails have a lot going on, but to me, that still isn't too much. I gotta say, I really, really loved this mani a lot.

 photo DSC02659Large.jpg photo DSC02676Large.jpg

The colors I used were Essie Licorice, China Glaze White On White, China Glaze At Vase Value, China Glaze Feel The Breeze, China Glaze Highlight Of My Summer and China Glaze Dune Our Thing. The studs are from Born Pretty Store, and the patterns were painted with thin nail art brushes and dotting tools.

 photo DSC02668Large.jpg

I topped the design with matte top coat, because I felt it fit the theme better than glossy one. I used my Born Pretty Store top coat.

 photo DSC02671Large.jpg

And there you go, a mix and match mani with all sorts of girly stuff. I loved this one, but how about you?

Let me know what you think in the comments below ♥

Now, I need to try and study for next morning's exam, I have no idea whether I'm going to pass or not since the subject feels pretty foreign, but I'm sure a bit of refreshing and skipping the class before exam will totally do the trick. Right?

But I'll get back to you tomorrow, no matter how the exam goes. So talk to you then.

Love you!

Halloween Nails: Mix N Match Orange ♥

Hello lovelies!

How are you all? ♥

I've been doing so much this weekend I can't even believe it. You know those weekends when you get so inspired to do something that you simply lose the sense of time? That happened to me this weekend. However, now that I'm getting ready for the week, I figured I should also post something here for you. (Taken that I'm a day behind in my posting, and I need to get certain posts up before Halloween.)

 photo DSC02907Large.jpg

So this one is another nail inspiration post. If painting all these seems too complicated, you can pick each one, and just use that.

I think orange is such a perfect Halloween color, along with the "obvious" autumn colors like black and vampy reds and purples. So I used China Glaze Stoked To Be Soaked (2 coats) as a base, and painted some Halloweeny things over it.

 photo DSC02921Large.jpg

The other polishes I used were Essie Licorice, Essie BelugariaChina Glaze White On White and Rimmel Lasting Finish 280 Sunshine. Tools I needed for this were couple of thin brushes and a dotting tool.

 photo DSC02909Large.jpg

Never again painting/drawing a bat without a reference picture. :D That was tough!

 photo DSC02924Large.jpg

There you go, some more nail art inspiration for Halloween, hope this helps any of you!

Let me know what you think about these nails in the comments below!

Now, I need to prep some posts for the week, and do plenty of other stuff for tomorrow. But talk to you soon, I still have few Halloween posts coming up for you within the next few days. ♥

Have a fabulous day!

Skittle vs. Vuitton ♥

Hello everybody!

How are you all? ♥

Sorry for the few days' absence and all, but I was kind of celebrating my birthday as well as my fiance's so I haven't even opened my laptop during the long weekend. Also, on Friday we had a funeral to go to, so that day I really didn't feel like blogging if you know what I mean.

Anyways, today I really wanted to show you these two nail art designs for couple of weeks ago - and with this I hope I'll get more posts up than usual since I'm again back on track with the writing. I have many nice posts in store for you, including Nail Art 101 part 2, couple of guest posts, product reviews and the regular stuff, so I really need to get on with the typing. But stay tuned later for that, and now, please enjoy this nail art post:

 photo DSC08753Large.jpg

So first up is this cute little skittle mani (or mix and match, however you prefer), where I used light blue base and added a little rainbow and some black to make it more special.

 photo DSC08772Large.jpg

With this mani, I was happy to use the Essie Belugaria for the accent nail. It's such a cool black texture polish with glitter, and it looks absolutely perfect to me.

 photo DSC08761Large.jpg photo DSC08755Large.jpg

The other polishes I used were China Glaze At Vase Value, Grass Is Lime Greener, Sweet Hook and Glitz N Pieces. The studs I used are from Born Pretty Store.

 photo DSC08771Large.jpg photo DSC08806Large.jpg

The other mani today is much more subtle, and not necessarily something I really like. But I felt like learning some stamping again, so I took out the stamping plates and some gold polishes and tried to do something somewhat classy.

 photo DSC08810Large.jpg

I realized only watching these pics that the images didn't really interpret to the photos that much, but I hope you can recognize the famous print that is made by Louis Vuitton. The image made me think of the well-known brown bags, so I figured I would create something inspired by that.

 photo DSC08826Large.jpg photo DSC08816Large.jpg

And one with a bit of a different light. The polishes I used were China Glaze I'm Not Lion, Fast Track and Goldie But Goodie. Stamping plate I used is from Born Pretty Store. Like I said, I wasn't maybe 100% happy with these, but then again, you can't always have a great success. And I think some of you enjoy seeing more neutral/wearable nail art.

 photo DSC08831Large.jpg

So that's it for today, two very different manis in my opinion, and both of them at least somewhat nice. Hope you liked them - let me know in the comments what you think!

Now, I gotta head out to have a little shopping trip in IKEA and have a nice lunch with my boo before heading to work. Tomorrow is my fiance's birthday, so you guys get to enjoy a guest post as I need to be having a nice time with my man before my work shift. But later this week, I will be posting a new outfit post and other nice things, so keep checking in or follow this blog/me in Twitter, Instagram, Facebook or Bloglovin' so you won't miss any updates!

Have a fabulous day ♥

Valentine's Day Nail Art

Heya lovelies!

How are you all? ♥

I'm almost done with my week at work, and totally ready to welcome the weekend I'm gonna spend with boys, playing video games, watching sports and having drinks. But tomorrow (well, technically, today) is Valentine's Day, and even if I know we're not gonna do anything too special, I'm still pretty excited because it gives me an excuse to dress up or girly and cute - hopefully photos will follow!

Today, however, I wanted to share couple of V-Day nail art ideas with you. First of these is my actual Valentine's Day mani, and the second one is something I made already last month - and had a problem editing the pics...

 photo DSC07111Large.jpg

So, my Valentine's Day mani this year is a little mix 'n' match mani with lots of pink and hearts. Again, I was trying new things, so I'm not 100% happy with it, but it's pretty nice anyways.

 photo DSC07115Large.jpg

And my thumb says "love". Cute.

 photo DSC07117Large.jpg

 photo DSC07118Large.jpg

I'm sorry for the little mess the nails might have, but my top coat was running low and I can't get another one before the weekend, so... Yeah. Awkward, I know.

 photo DSC07121Large.jpg

 photo DSC06922Large.jpg

Okay, so, with this one, I had huge problems with the light, so I couldn't quite get the shades right... But try to look a bit past that, okay? I'm so bad with photo editing that it's hard for me to get the colors right, but I tried filters - and probably failed completely. :D

 photo DSC06923Large.jpg

 photo DSC06928Large.jpg

So this one, too, is a mix 'n' match mani, with gradient heart, a bow, triangle and glitter! I'm so, so sorry you can't see all it's cuteness here, like I said, the light was impossible to work with and I didn't have the chance to shoot the photos again. Boo.

 photo DSC06932Large.jpg

I will provide you with the instructions for the gradient heart later on, so if you're curious about that, just stay tuned!

 photo DSC06933Large.jpg

So, here are my little bits of inspiration for V-Day nails. I really hope you liked them, and tomorrow, I will be posting a little makeup haul for you to see (I'm super excited about that!).

What do you guys think about these? What will you wear on your nails on Valentine's Day? Comment below and let me know! 

Now it's time to go get some sleep so that I will be up early to get all the things done before the boys get here, so good night for those reading this before going to sleep!

Have a lovely day ♥

Let's be friends in IG!